59 38 399 D3352
5 – 138
D3352.076.01.13.02
07.2008
5.19 Service routine S034
Tabs 5
S034.4: Display/calibrate center position of ceph scan sensor axis
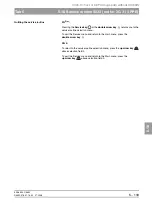
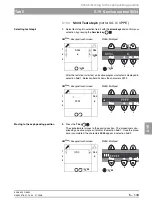
Checking the new center position of the
ceph scan (sensor axis)
9.
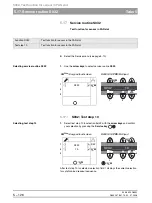
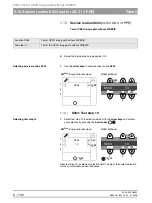
Quit the test mode by pressing the
T key
.
NOTE
i
The offset settings are taken into account in normal operation.
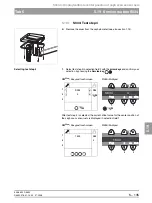
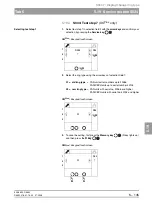
10.
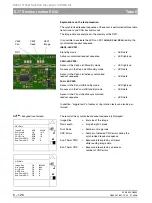
Move the sensor to its referenz position by pressing the
R key
.
NOTE
i
The sensor can always be moved back and forth between its front and center
positions with the R key.
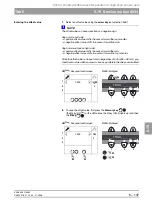
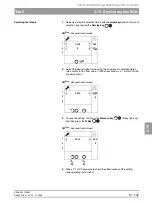
11.
Move the sensor to its center position by pressing the
R key
.
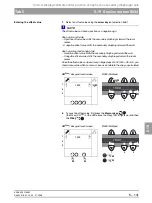
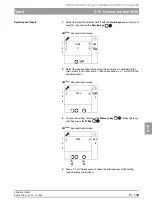
12.
Measure distances
L1
and
L2
with a slide gage and calculate the remain-
ing offset as described on page 5-136.
– If the offset is still > ± 0.5 mm, the offset value must be corrected again.
Repeat the service routine from item 2.
– If the offset is < ± 0.5 mm, the calibration is OK.
z
Continue with service routine S034.5.
Quitting the service routine
XG
Plus
:
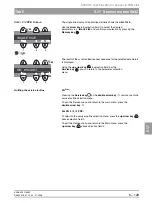
To return to the Service menu, press the
double arrow key
.
To quit the Service menu and return to the main menu, press the
double arrow key
.
XG 5:
To return to the Service menu, press the
up arrow key
above selection
field 3.
To quit the Service menu and return to the Main menu, press the
up arrow key
above selection field 3.
T
T
R
R
R
R
Summary of Contents for ORTHOPHOS XG 3 DS
Page 4: ......
Page 9: ...ORTHOPHOS XG 1General information...
Page 12: ...59 38 399 D3352 1 4 D3352 076 01 13 02 07 2008 Tab1...
Page 59: ...ORTHOPHOS XG 2 Messages...
Page 124: ...59 38 399 D3352 2 66 D3352 076 01 13 02 07 2008 2 6 List of available service routines Tab 2...
Page 125: ...ORTHOPHOS XG 3 Troubleshooting...
Page 153: ...ORTHOPHOS XG 4 Adjustment...
Page 269: ...ORTHOPHOS XG 5 Service routines...
Page 433: ...ORTHOPHOS XG 6 Repair...
Page 436: ...59 38 399 D3352 6 4 D3352 076 01 13 02 07 2008 Tab6...
Page 530: ...59 38 399 D3352 6 98 D3352 076 01 13 02 07 2008 6 21 Replacing cables Tabs 6...
Page 531: ...ORTHOPHOS XG 7 Maintenance...
Page 577: ...b 59 38 399 D3352 D3352 076 01 13 02 07 2008...


