båÖäáëÜ
59 38 399 D3352
D3352.076.01.13.02
07.2008
5 – 143
Tab 5
5.19 Service routine S034
5.19
S034.6: Moving to the ceph packing position
5.19.3
S034: Test step 6
(not for XG 3 / 3 PPE)
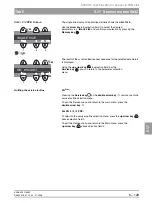
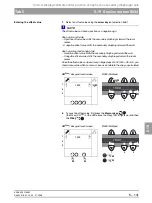
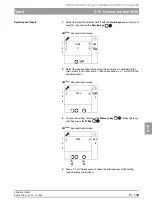
Selecting test step 6
1.
Select test step 6 in selection field 2 with the
arrow keys
and confirm your
selection by pressing the
Service key
.
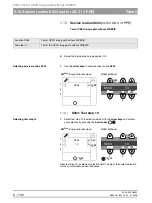
After the test step is started, an inactive progress indicator is displayed in
selection field 1. Selection field 2 shows the characters FFFF.
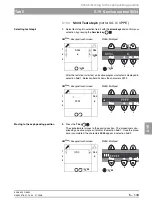
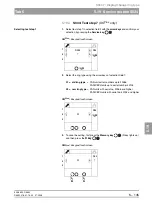
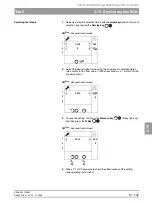
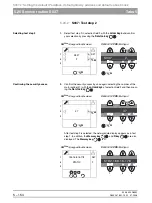
Moving to the ceph packing position
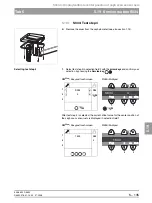
2.
Press the
T key
.
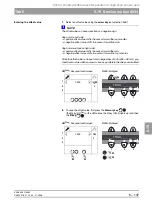
The cephalometer moves to the packing position. The procedure is visu-
alized by an active progress indicator in selection field 1. Once the proce-
dure is completed, the characters
0000
appear in selection field 2.
1
2
3
+
-
S034
6
n
(
1
2
3
S034_______6____
XG
Plus
:
Easypad touchscreen
XG 5
: Multipad
+
-
(
n
(
o
(
o
S34
(
n
T
1
2
3
FFFF
n
(
1
2
3
_______FFFF____
XG
Plus
:
Easypad touchscreen
XG 5
: Multipad
S34
6
T
T
T
n
(
1
2
3
1
2
3
+
-
XG
Plus
:
Easypad touchscreen
XG 5
: Multipad
6
S34
T
(
n
(
n
Summary of Contents for ORTHOPHOS XG 3 DS
Page 4: ......
Page 9: ...ORTHOPHOS XG 1General information...
Page 12: ...59 38 399 D3352 1 4 D3352 076 01 13 02 07 2008 Tab1...
Page 59: ...ORTHOPHOS XG 2 Messages...
Page 124: ...59 38 399 D3352 2 66 D3352 076 01 13 02 07 2008 2 6 List of available service routines Tab 2...
Page 125: ...ORTHOPHOS XG 3 Troubleshooting...
Page 153: ...ORTHOPHOS XG 4 Adjustment...
Page 269: ...ORTHOPHOS XG 5 Service routines...
Page 433: ...ORTHOPHOS XG 6 Repair...
Page 436: ...59 38 399 D3352 6 4 D3352 076 01 13 02 07 2008 Tab6...
Page 530: ...59 38 399 D3352 6 98 D3352 076 01 13 02 07 2008 6 21 Replacing cables Tabs 6...
Page 531: ...ORTHOPHOS XG 7 Maintenance...
Page 577: ...b 59 38 399 D3352 D3352 076 01 13 02 07 2008...

