59 38 399 D3352
6 – 20
D3352.076.01.13.02
07.2008
6.4 Replacing the headrest
Tabs 6
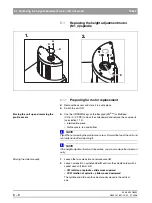
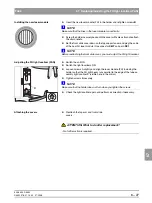
Aligning the new headrest
z
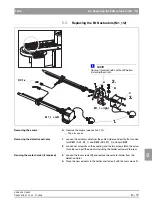
Switch the unit
ON
.
z
Switch the light localizers
ON
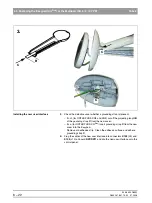
and align the headrest so that the MS light
beam strikes the center of the forehead support.
z
Tighten screw
A
securely.
NOTE
i
Make sure that the headrest does not turn when you tighten the screw.
ATTENTION: What to do after replacement?
– Check the function of the headrest using the forehead and temple
support keys on the user interface.
– No further action is required.
6.4.1
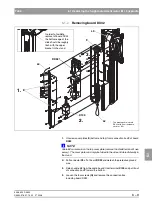
Laying cables when replacing the headrests
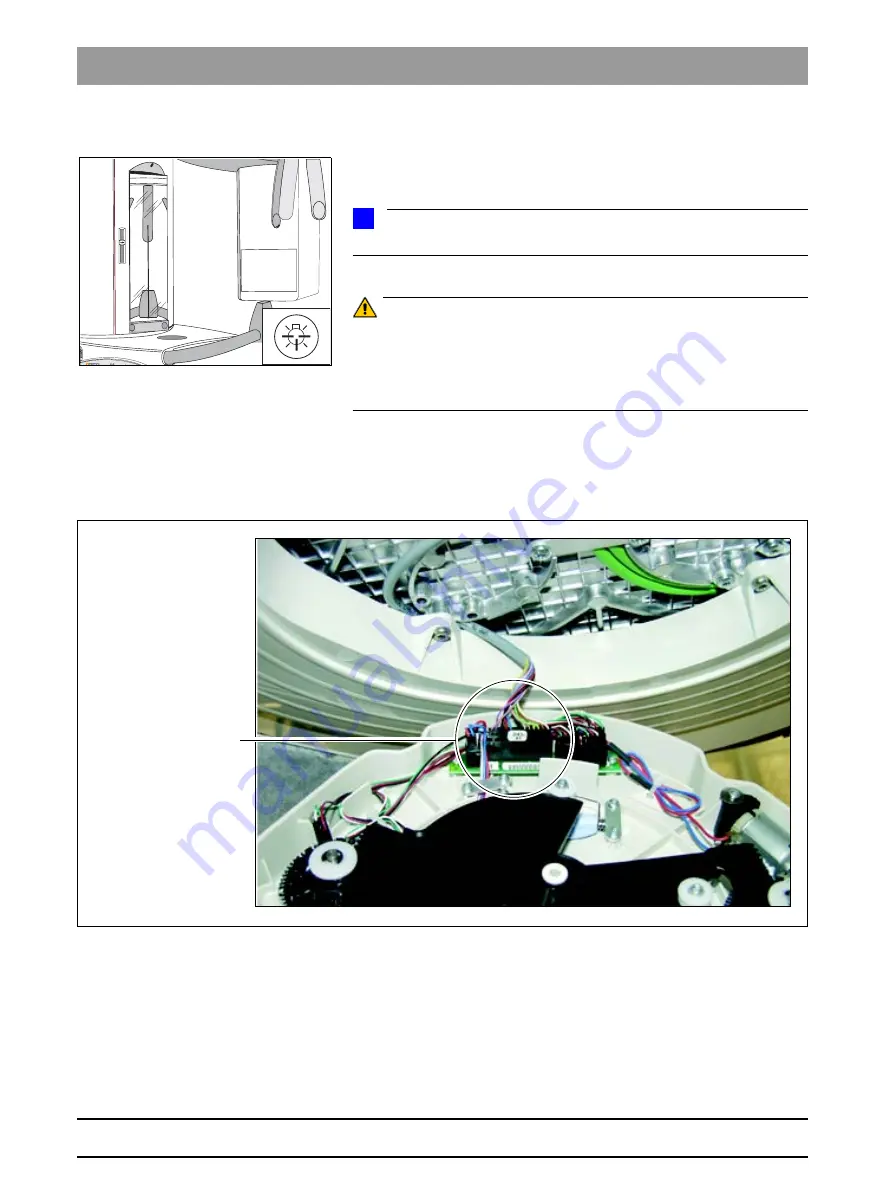
29
Plug cable L13 into con-
nector X1 (DX5).
Summary of Contents for ORTHOPHOS XG 3 DS
Page 4: ......
Page 9: ...ORTHOPHOS XG 1General information...
Page 12: ...59 38 399 D3352 1 4 D3352 076 01 13 02 07 2008 Tab1...
Page 59: ...ORTHOPHOS XG 2 Messages...
Page 124: ...59 38 399 D3352 2 66 D3352 076 01 13 02 07 2008 2 6 List of available service routines Tab 2...
Page 125: ...ORTHOPHOS XG 3 Troubleshooting...
Page 153: ...ORTHOPHOS XG 4 Adjustment...
Page 269: ...ORTHOPHOS XG 5 Service routines...
Page 433: ...ORTHOPHOS XG 6 Repair...
Page 436: ...59 38 399 D3352 6 4 D3352 076 01 13 02 07 2008 Tab6...
Page 530: ...59 38 399 D3352 6 98 D3352 076 01 13 02 07 2008 6 21 Replacing cables Tabs 6...
Page 531: ...ORTHOPHOS XG 7 Maintenance...
Page 577: ...b 59 38 399 D3352 D3352 076 01 13 02 07 2008...

