59 38 399 D3352
6 – 72
D3352.076.01.13.02
07.2008
6.20 Replacing circuit boards
Tabs 6
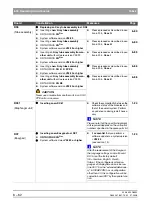
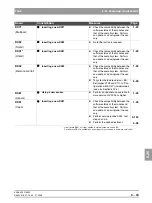
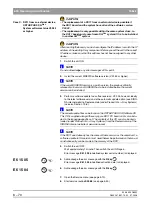
Case D: New DX11,
ORTHOPHOS XG 5
System software status
V02.20
CAUTION
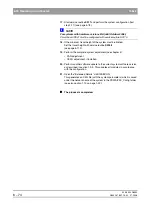
After a new DX11 is inserted, the IP address is initially reset to
the factory setting. Make sure that no second system is running on
the same IP address before switching the system to a new IP address.
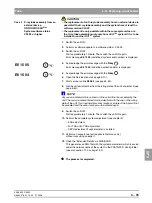
1.
Switch the unit ON.
CAUTION
Do not acknowledge any error messages displayed at this point!
2.
Install the current SIDEXIS software version
(V01.53 or higher).
NOTE
i
If the current SIDEXIS version is a patch version, the previous officially
released main version of SIDEXIS has to be installed before the current
version can be installed.
3.
Perform a software update to the latest software version via the automatic
update option (see SIRONA internet website, Dealer domain (under Pro-
duct Info
Æ
X-ray Systems) (see also Section 1.9.6).
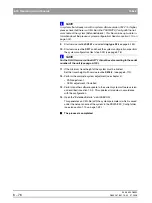
NOTE
i
The current update file can be found on the ORTHOPHOS XG Software CD.
This CD is supplied along with every spare DX11 PC board and is also inclu-
ded in the language-specific set. The contents of this CD can also be down-
loaded (under Product Info
Æ
X-ray Systems) from the Dealer domain of the
SIRONA internet website at www.sirona.com
CAUTION
If the DX11 used already has the same software version as the overall unit, a
software update to this version must nevertheless be performed so that an ad-
ministrative entry can be made in the memory of the DX11.
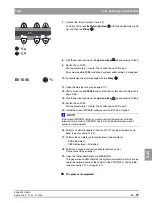
4.
Switch the unit OFF.
Wait approximately 1 minute. Then switch the unit ON again.
The error message
E1 10 03
(format flash file system) is displayed.
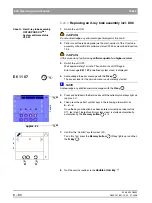
5.
Acknowledge the error message with the
R key
.
The formatting of the flash file system is started automatically. Error mes-
sage
E1 10 04
is displayed during the entire process (approx. 5 - 6 min.).
When the formatting is finished, the error message is automatically ac-
knowledged by the system and error message
E6 11 07
(undefined sys-
tem class) is displayed.
6.
Acknowledge the error message with the
R key
.
The access level for the service menu (level 4) is automatically started.
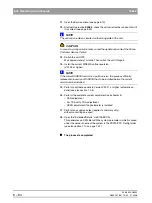
NOTE
i
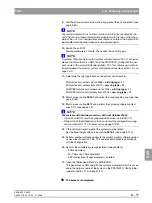
Acknowledge any additional error messages with the
R key
.
E1 10 03
(
E1 10 04
E6 11 07
5 - 6 min.
R
R
E6 11 07
(
R
R
R
Summary of Contents for ORTHOPHOS XG 3 DS
Page 4: ......
Page 9: ...ORTHOPHOS XG 1General information...
Page 12: ...59 38 399 D3352 1 4 D3352 076 01 13 02 07 2008 Tab1...
Page 59: ...ORTHOPHOS XG 2 Messages...
Page 124: ...59 38 399 D3352 2 66 D3352 076 01 13 02 07 2008 2 6 List of available service routines Tab 2...
Page 125: ...ORTHOPHOS XG 3 Troubleshooting...
Page 153: ...ORTHOPHOS XG 4 Adjustment...
Page 269: ...ORTHOPHOS XG 5 Service routines...
Page 433: ...ORTHOPHOS XG 6 Repair...
Page 436: ...59 38 399 D3352 6 4 D3352 076 01 13 02 07 2008 Tab6...
Page 530: ...59 38 399 D3352 6 98 D3352 076 01 13 02 07 2008 6 21 Replacing cables Tabs 6...
Page 531: ...ORTHOPHOS XG 7 Maintenance...
Page 577: ...b 59 38 399 D3352 D3352 076 01 13 02 07 2008...


