P22
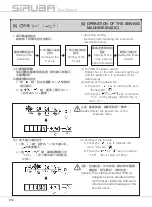
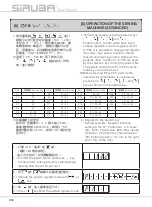
2.
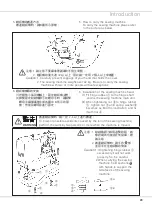
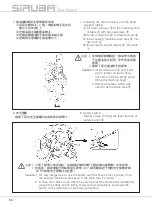
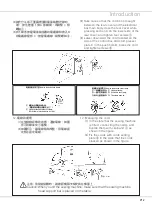
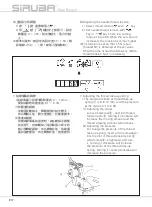
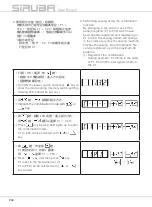
圖案形狀的確認
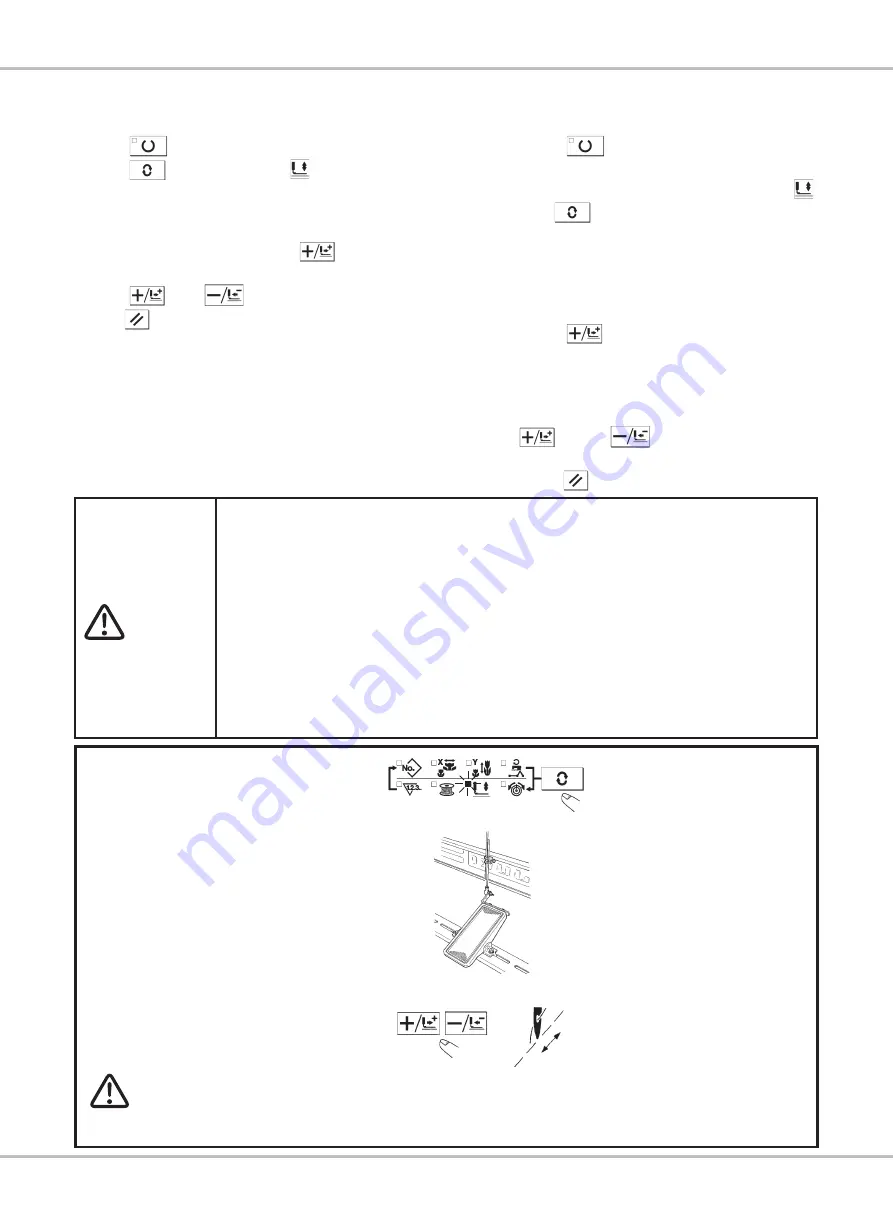
⑴按
鍵,讓準備
LED
亮燈。
⑵用
鍵選擇壓腳下降
。
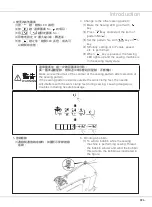
⑶踩腳踏開關讓壓腳下降。
✽參考
:
此方式時,踩腳踏開關後縫紉機也
不起動。
⑷在壓腳下降後的狀態,按
鍵。
✽參考
:
離開腳踏開關之後壓腳也不上升。
⑸用
鍵、
鍵確認形狀。
⑹按
鍵讓壓腳上升。
注意
:
打開(
ON
)電源後,壓腳不下降。
Caution
:
The work clamp feet do not come down immediately after turning ON the
power.
Introduction
2. Checking the contour of a sewing pattern
⑴
Press
key to make the READY
LED light up.
⑵
Select the work clamp foot lowering
with
key.
⑶
Lower the work clamp feet with the foot
switch.
✽
The sewing machine does not start
even when the foot switch is depressed
under this mode.
⑷
Press
key in the state that the
work clamp feet are lowered.
✽
The work clamp feet do not go up even
when the foot switch is detached.
⑸
Confirm the contour of the pattern with
key or
key.
⑹
The work clamp feet will go up
when
key is pressed.
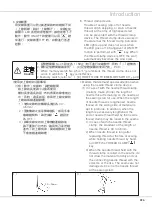
1.
選擇圖案後,請一定確認圖案的形狀。萬一圖案遠離壓腳,縫製途中機針
會碰到壓腳,弄斷機針。
2.
確認圖案形狀時,請注意如果在針桿下降後的狀態下按了+/-鍵的話,
針桿將自動地復位到上位置之後壓腳才移動。
1. Make sure without fail of the contour of the sewing pattern after selection
of the sewing pattern.If the sewing pattern extends outside the work
clamp feet, the needle will interfere with the work clamp feet during
sewing, causing dangerous troubles including needle breakage.
2. When making sure of the contour of the sewing pattern, press + / -
key with the needle bar lowered,and the work clamp feet move after
automatically making the needle bar return to the upper position.
WARNING
警告

