10
SETTINGS AND ADJUSTMENTS
All adjustments must be made on the basis of the specific characteristics of the appliance. Check inlet and outlet
pressure using the pressure test points provided. After testing, carefully seal test points with the provided screws.
Recommended torque: 1.0 Nm.
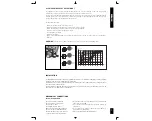
Adjusting the outlet pressure
All the adjustments must be carried out in the following order:
Check the inlet P
IN
and outlet P
INT
pressure using the pressure test points provided.
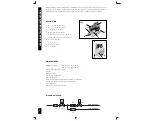
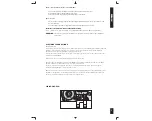
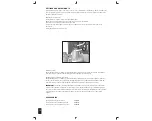
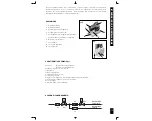
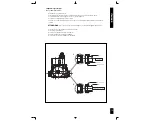
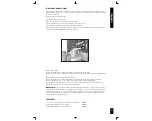
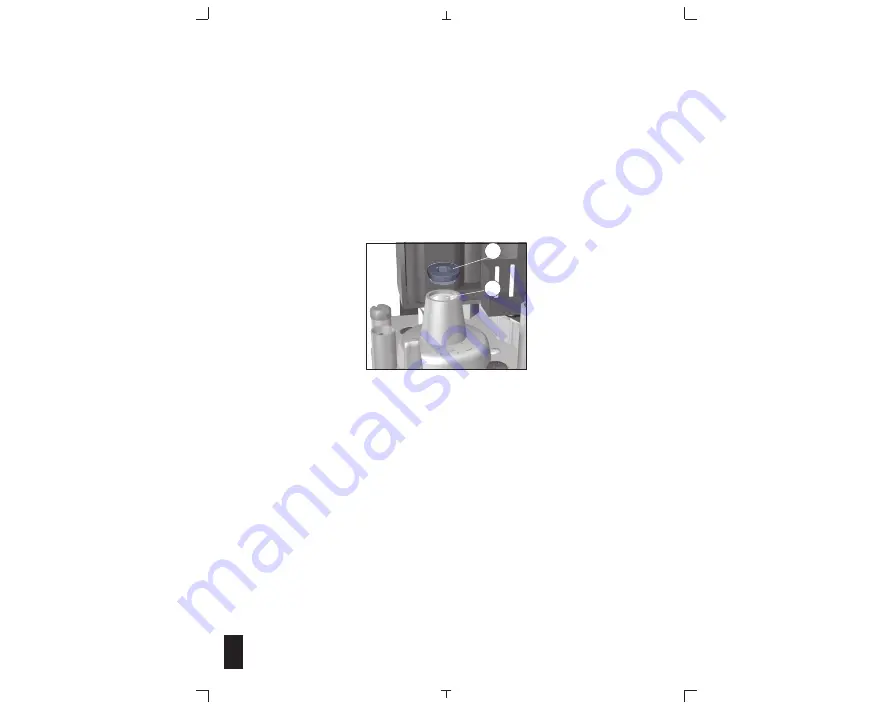
Remove the protective plug C using a 4 mm Allen wrench.
Screw in the screw D by using a screw driver with 5.5 x 0.8 blade, to increase the pressure and screw it out to
decrease it.
After setting put back the protective plug.
Gas family change
Check that the appliance is suitable for operation with the gas family in question. Adjust the minimum and maximum
outlet pressures in accordance with the values given in the appliance instruction booklet.
Changing gas group within the same family
Check that the appliance is suitable for operation with the gas group in question. Check in the appliance instruction
booklet if any operations are necessary when changing the gas group. If so, adjust the minimum and maximum gas
outlet pressures in accordance with the appliance manufacturer's instructions and as stated previously.
IMPORTANT:
at the end of all setting and adjustment operations, check electrical insulation, gas seals and the
efficiency of the appliance. In particular, it is necessary to ensure that the flame does not go out and that light back
does not occur at the minimum and maximum gas outlet pressures. After carrying out all adjustments, fit the provided
seals and/or block the setting screws with paint, taking care not to obstruct the breather orifice of the pressure
regulator.
ACCESSORIES
Union joint for main gas connections
0.982.001
Electric supply connector with 3 wires power
0.960.401
Electric supply connector with 4 wires power
0.960.400
D
C


