-ment are dependent one upon another.
Adjustments carried out in the wrong sequence may even
nullify previous adjustments.
b. Carry out the adjustment in the order listed, as the adjust
c. Conclude adjustments by tightening the adjustment screws
securely (but do not tightening them more than necessary,
as you may strip the threads, twist off the screw or place
undue stress on the parts).
d. The attachment screws must also be tightened sufficiently
upon completion of adjustments.
e. Always repeat checking operations after adjustments are
made in order to verify results.
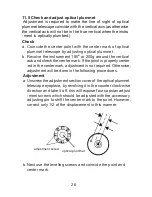
11.1 Check and adjust the plate level
Check
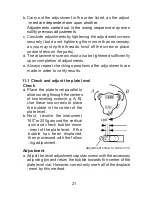
a. Place the plate level parallel to
aline running through the centers
of two leveling screw(e.g. A, B).
Use these two screws to place
the bubble in the center of the
plate level.
b. Next, revolve the instrument
180 or 200g around the vertical
axis and check bubble move
-ment of the plate level. If the
bubble has been displaced,
then processed with the follow
-ing adjustment.
Adjustment
21
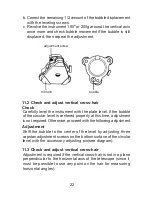
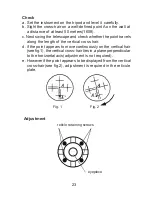
a. Adjust the level adjustment capstan screw with the accessory
adjusting pin and return the bubble towards the center of the
plate level vial. However, correct only one-half of the displace
-ment by this method.
O
adjustment screw to correct 1/2

