Conformance Check Module
How to Perform a Conformance Survey
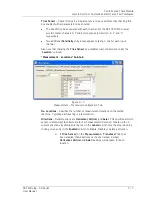
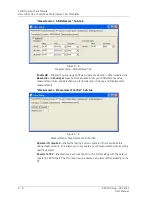
up arrow) and press the
< Col / Col >
function buttons to scroll through measurement
result columns.
Survey Warning Messages
At times, the Conformance Check module may display prompts and messages that
indicate a warning or operating error. Messages may include:
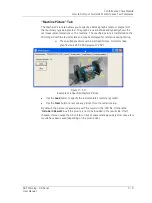
ICP Error
- As data collection initiates, a screen momentarily displays a message
indicating a measurement in progress. The message field beneath the Home screen
displays
ICP error channel(s) X
. This indicates the GX has detected an open circuit on
the transducer inpu
t. Check that the sensor is connected to the CH1 input, that there is
no sensor cable damage, and that the specified sensor is connected.
Measurement has already been taken. Continue?
– Displays when an attempt is
made to overwrite existing readings.
Not all measurements have been taken …
- Displays when an attempt is made to
finish a survey before all the readings have been taken.
How to Save Your Test Results
Test result readings (overall values) are stored in the Microlog GX’s
Mobile
Device/Internal Disk/ConfCheck/Saved
folder for future review. Stored test result files
are issued a .CCR filename extension, and optionally stored as .CSV files (based on test
template settings).
Tip
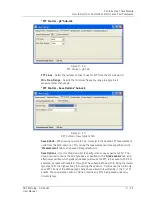
– in addition to overall readings, conformance check spectra
are also stored on the GX (if enabled in the template - see the
setup generator application’s
FFT Control
tab), but cannot be
reviewed using the Conformance Check module. Spectral data is
stored in comma separated value format (.csv) and stored under
the Microlog GX’s
Analyser
folder in a
ConfCheck
folder on the
internal disk (
Mobile Device/Internal Disk/Analyser/ConfCheck)
.
These .csv spectra files may be copied to the host computer and
viewed with the @ptitude Analyst / Analysis and Reporting
Manager software, Microsoft Excel
®
, or another host application.
•
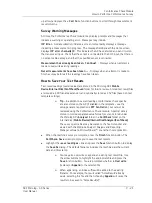
When the machine’s survey is complete, press the
Finish
function button. The
ConfCheck-Save
screen prompts you to save the test results.
•
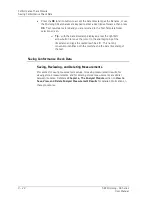
Highlight the
–save reading as–
line and press the
Save
function button to display
the
Save As
dialog. The default filename includes the machine plus the current
date and timestamp.
You may also overwrite or append an existing test result file.
Use
the arrow buttons to highlight the appropriate file and press the
Save
function button. You are prompted whether to
Overwrite
(replace) or
Append
to the selected file.
When appending, an index suffix will be added to the existing
filename. For example, if a result called “SomeResult” already
exists, selecting this file and then choosing
Append
will cause the
results to be saved to “SomeResult(2)”.
SKF Microlog - GX Series
9 - 21
User Manual

