23
SERENE SC112N-A
Replacement Procedures
Service Manual
Doors
The chiller is fitted with a front and back door. The front door can be
identified as being on the electronic controller side and is fitted with a door
switch to monitor door openings. The front door should be directed towards
the customer. The rear door is not fitted with a door switch and should face
away from the customer. It is used for restocking product.
Replacing
Door Gasket
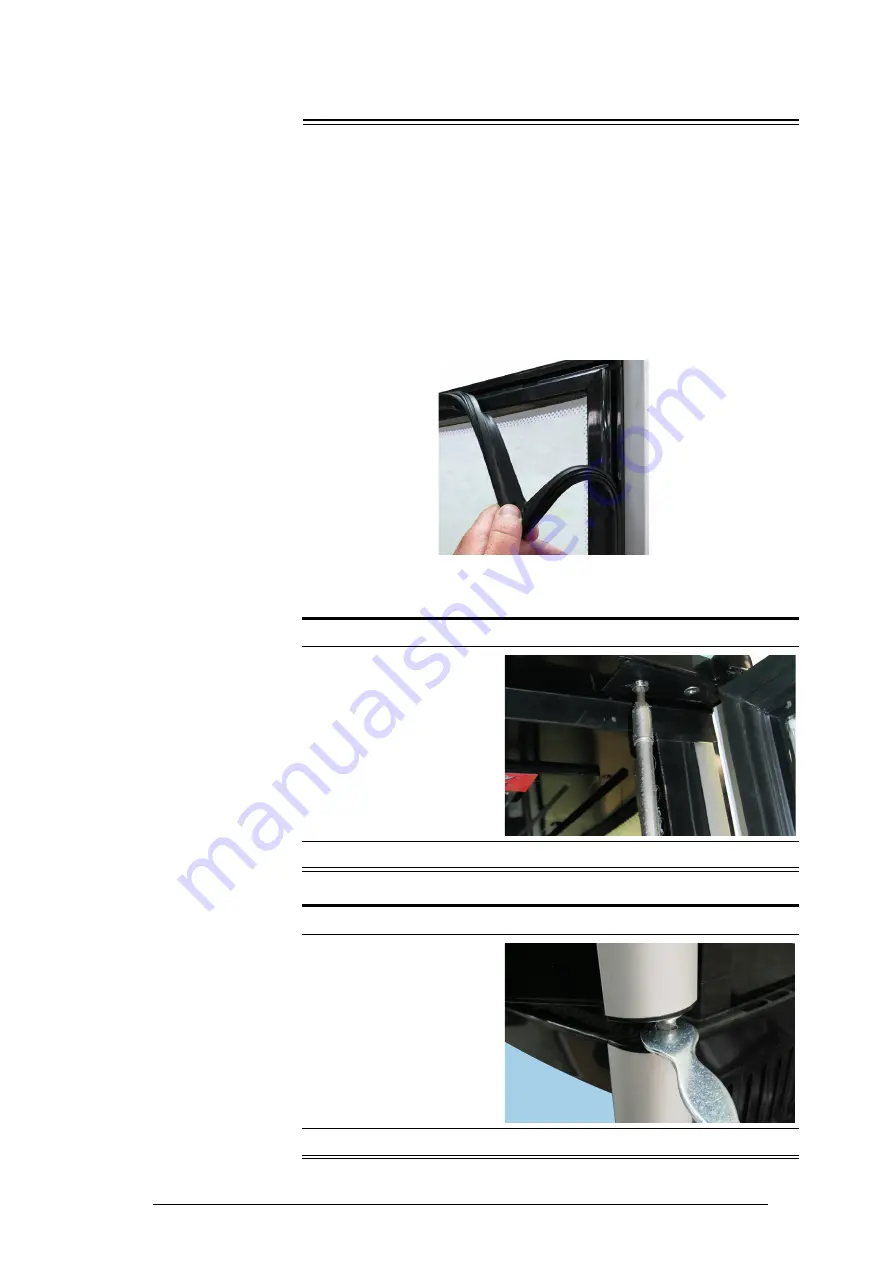
The one-piece door gasket clips into the door frame and runs around the
perimeter of the door. You can remove the gasket by peeling it from the door
frame, starting at a corner.
If the gasket is out of shape after you fit it, use a hair dryer to heat and
reshape it.
Removing and
Fitting Doors
For ease of servicing the doors can be removed from the chiller.
To remove a door
To refit a door
Figure 3: Door gasket
1. Isolate the chiller from the power supply by unplugging from the wall socket.
2. Detach the top hinge from
the cabinet by opening the
door and undoing the two
fixing screws.
3. Lift the door up and off the cabinet.
1. Isolate the chiller from the power supply by unplugging from the wall socket.
2. Use a flat hex spanner or
strong 2mm steel pin to
rotate the capstan about
half a turn in the direction
of door closing. While
holding the tension with
the spanner, slot the
capstan into the hole on
the bottom of the door
opening and lock in place.
3. Reattach the top hinge and fix in place with two fixing screws. Check tension.

