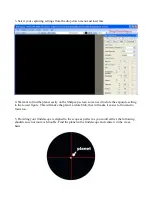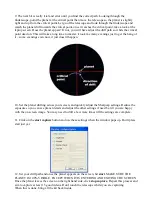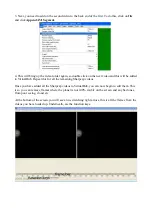
9. The next bit is really trial and error until you find the correct path. Looking through the
finderscope, point the planet at the critical point then move the telescope so the planet is slightly
right and up from the critical point. Let go of the telescope and look through the finderscope and
watch the planet drift towards the critical point, once it reaches the critical point, take a look at the
laptop screen. Does the planet appear? If not, you will have adjust the drift path so it hits the critical
point dead on. This will take a long time to master, it took me many evenings just to get the hang of
it – some evenings even now, it just doesn't happen.
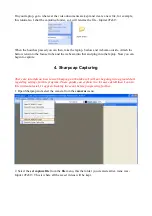
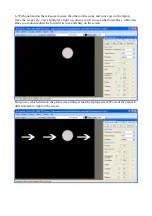
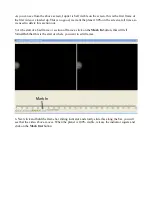
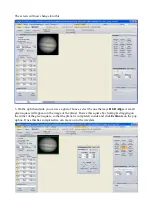
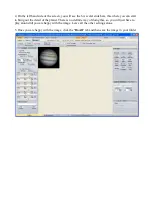
10. Set the planet drifting across your screen, and quickly adjust the Sharpcap settings. Reduce the
exposure so you can see planet details and adjust the other settings if need be, till you are happy
with the on screen image. You may need to drift a few more times till the settings are complete.
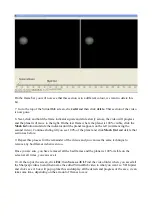
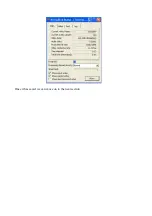
11. Click on the
start capture
button and use these settings when the window pops up. Don't press
start just yet.
12. Set your drift path and once the planet appears on the screen, hit
start
. MAKE SURE THE
PLANET IS 100% VISIBLE, EXCEPT WHEN IT IS ENTERING AND EXITING THE SCREEN.
Once the planet leaves the screen on the right hand side, click
stop capture.
Repeat this process and
aim to capture at least 15 good videos. Don't touch the telescope whilst you are capturing.
When this is done, bring all the kit back inside.


