Part III: Astronomy with the Hand Control
9
(
Continued
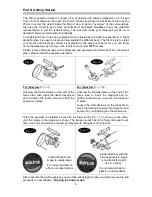
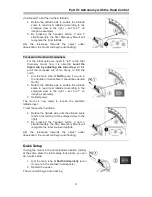
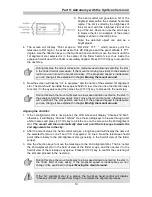
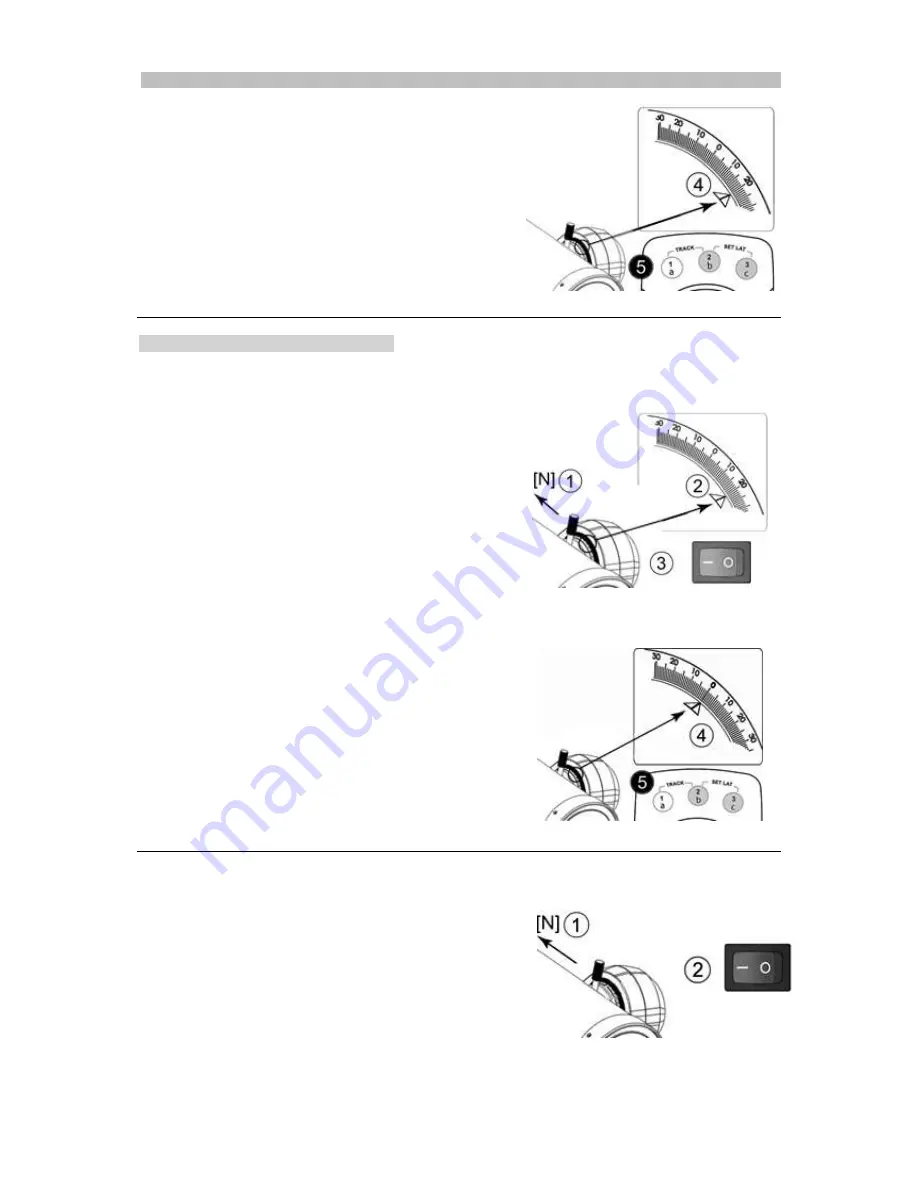
) To set the northern latitude:
4. Rotate the altitude axis to enable the altitude
scale to read local latitude (according to the
enlarged view to the right
– set to 21° on
image as example).
5. By pressing the handset button 2 and 3
simultaneously, the Star Discovery Mount will
recognize the local latitude.
Aim the telescope towards the object under
observation: the mount will begin auto tracking.
For users in Southern Hemisphere
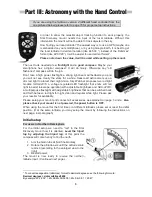
For the initial setup we need to “tell” to the Star
Discovery mount how it is oriented.
Level the
tripod top by adjusting the tripod leg.
At this
point the compass will come handy to find the
north.
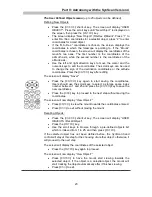
1. Aim the main tube at
North
(
even if we are in
the Southern Hemisphere it should be oriented
North
)
2. Rotate the altitude axis to enable the altitude
scale to read local latitude (according to the
enlarged view to the right
– set to 21° on
image as example).
3. Restart power.
The mount is now ready to receive the southern
latitude input.
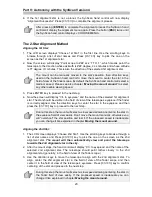
To set the southern latitude:
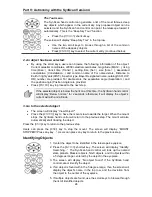
4. Rotate the altitude axis until the altitude scale
reads 0 (according to the enlarged view to the
right)
5. By pressing the handset button 2 and 3
simultaneously, the Star Discovery Mount will
recognize the local southern latitude.
Aim the telescope towards the object under
observation: the mount will begin auto tracking.
Quick Setup
If using the mount in the same latitude location (mainly
at the same place the initial setup took place), you can
do a quick setup.
1. Aim the main tube at
North horizontally
(even
if you are in the southern hemisphere).
2. Restart the power.
The mount will begin auto tracking.


