Part II: Getting Started
6
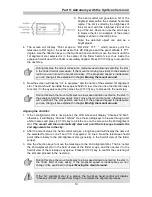
The 23mm eyepiece delivers
a larger view of objects with fewer enlargement, as if “seen
from a
further distance” than with the 10mm. When observing it is advisable to first use the
23mm to center the object inside the field of view to
get an “overview” of the surroundings,
then use
the 10mm to get “closer” and discern more details. Needless to say the graphical
representation is just for understanding. The real view inside your telescope will be more
detailed, crisper and will deliver faint details.
To understand how to use an eyepiece with your telescope it is better to experiment in bright
daylight when it is easy to locate and manipulate the different parts. The first step is to install
your mount and telescope outside, as explained in the previous chapter. As you can freely
move the telescope by hand you can let the mount power
OFF
for now.
Please remove the dust caps on the telescope and eyepieces and store them in a convenient
place. Please install the eyepiece as follow:
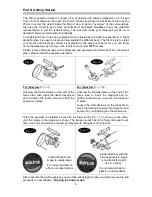
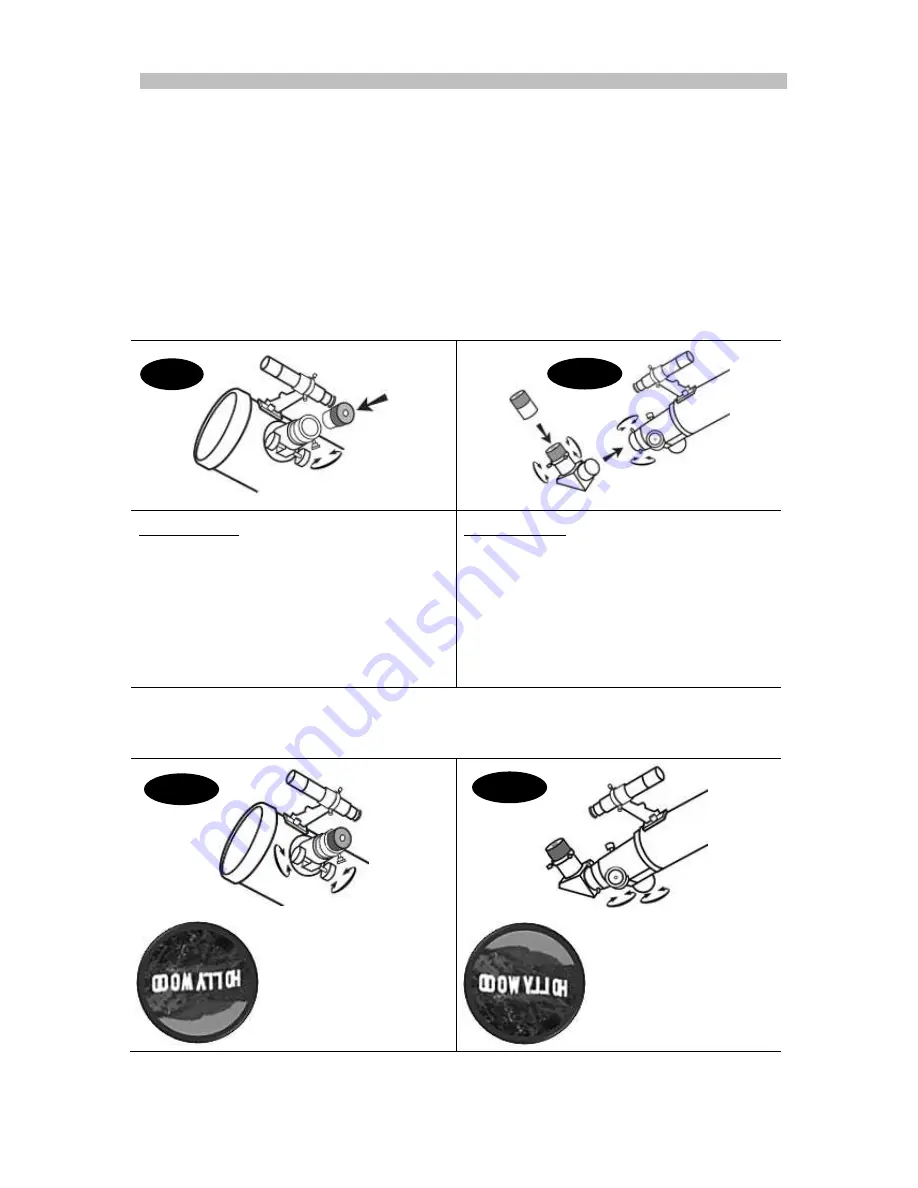
For reflectors (
Fig. 9
):
Unscrew the thumbscrews on the end of the
focus tube, then insert the desired eyepiece
and re-tighten the thumb screws to hold the
eyepiece in place.
For refractors (
Fig. 10
):
Unscrew the thumbscrews on the end of the
focus tube to insert the diagonal and re-
tighten thumbscrews to secure the diagonal
in place.
Loosen the thumbscrews on the diagonal to
insert the desired eyepiece into diagonal and
secure it by re-tightening the thumb screws.
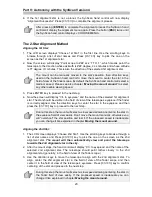
Once the eyepiece is installed, slowly turn the focus knobs
(
Fig. 11
)
, one way or the other,
until the image in the eyepiece is sharp. The image usually has to be finely refocused over
time, due to small variations caused by temperature changes or other factors.
Inside reflectors the
image is upside-down.
It is normal and has no
effects on observations
Inside refractors with the
star diagonal the image
is inverted left-to-right
like in a mirror.
It is normal and has no
effects on observations
After experimenting with eyepiece you can take advantage to have your telescope set up and
proceeds to next chapter:
“aligning the finder scope”
Fig. 9
Fig. 10
Fig. 11
Fig. 11


