MOSQUITO 3D PRO - INSTRUCTION MANUAL
page -10-
MOSQUITO 3D PRO --- MOSQUITO
3D PRO --- MOSQUITO 3D PRO
MOSQUITO 3D PRO --- MOSQUI
TO 3D PRO --- MOSQUITO 3D PRO
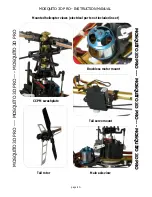
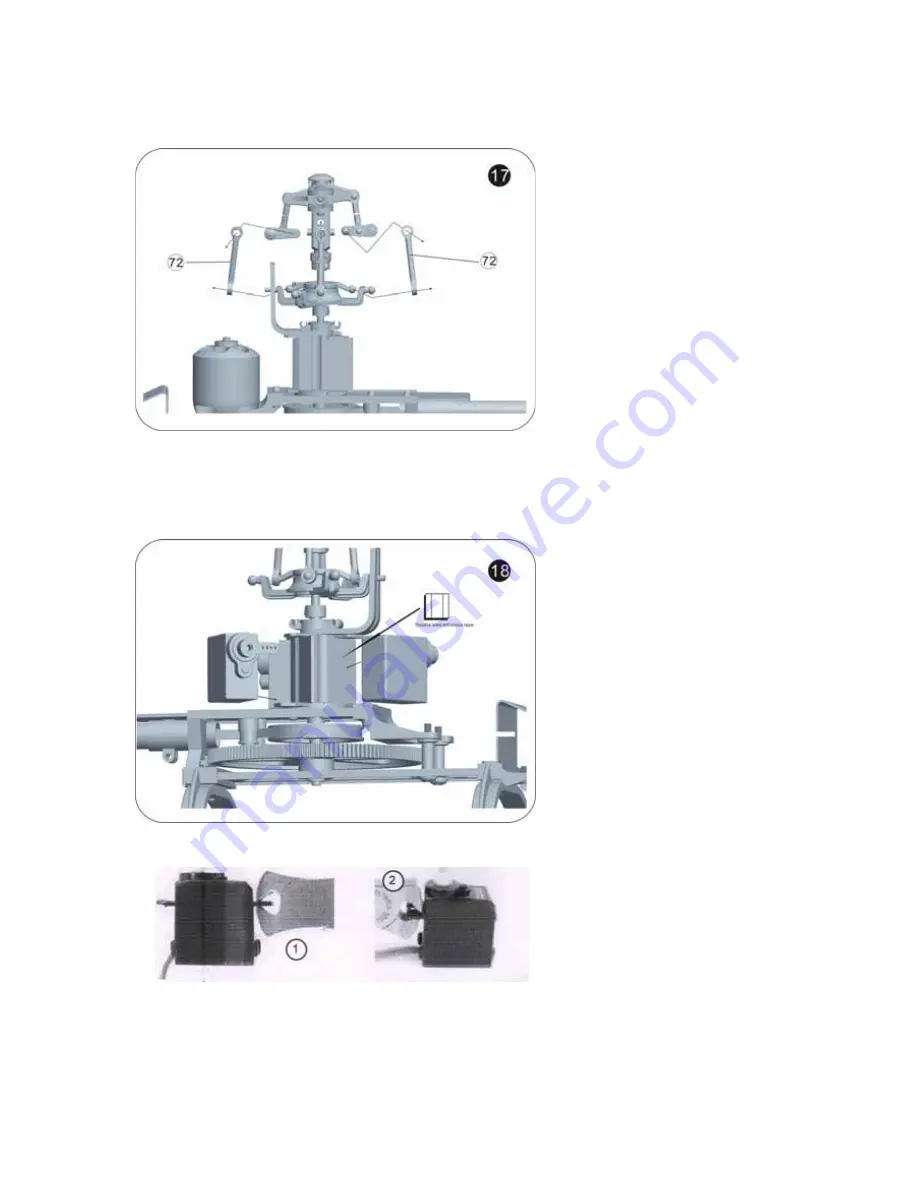
STEP 17 - Collective pitch connector mount
STEP 18 - Servo mount
Modify servos
Connect the pitch connectors (72) as
shown to the swashplate and the in-
ner ball links of the translation levers
(11). (Picture doesn´t show the rota-
ting frame in order to easy the view)
Mount the servos as shown on the
picture with a double side adhesive
foam tape.
A long half servo arm may
have to be created by cutting a full or
cross arm. After testing the radio equip-
ment the servos will be in their center po-
sition. Remove the servo retaining screw
and the orignial servo arm. Replace the
original arm with one of the long half
arms. Some servo arms require widening
the hole in the arm in order for them to
accept the Mosquitos pushrods (74)
using a #55 drill bit (1.34mm or 0.052“).
Leave the servos in center position for the
following step.
1&2 Trim both servo mounting flanges
from each of the three servos.
Before installing your will need to remove
the pushrods form the swashplate of the
helicopter. Keep the pushrods on the side
until you install the correct servo arms
(next step).


