9
skybarhome.com
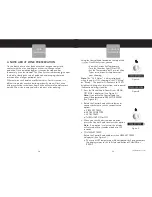
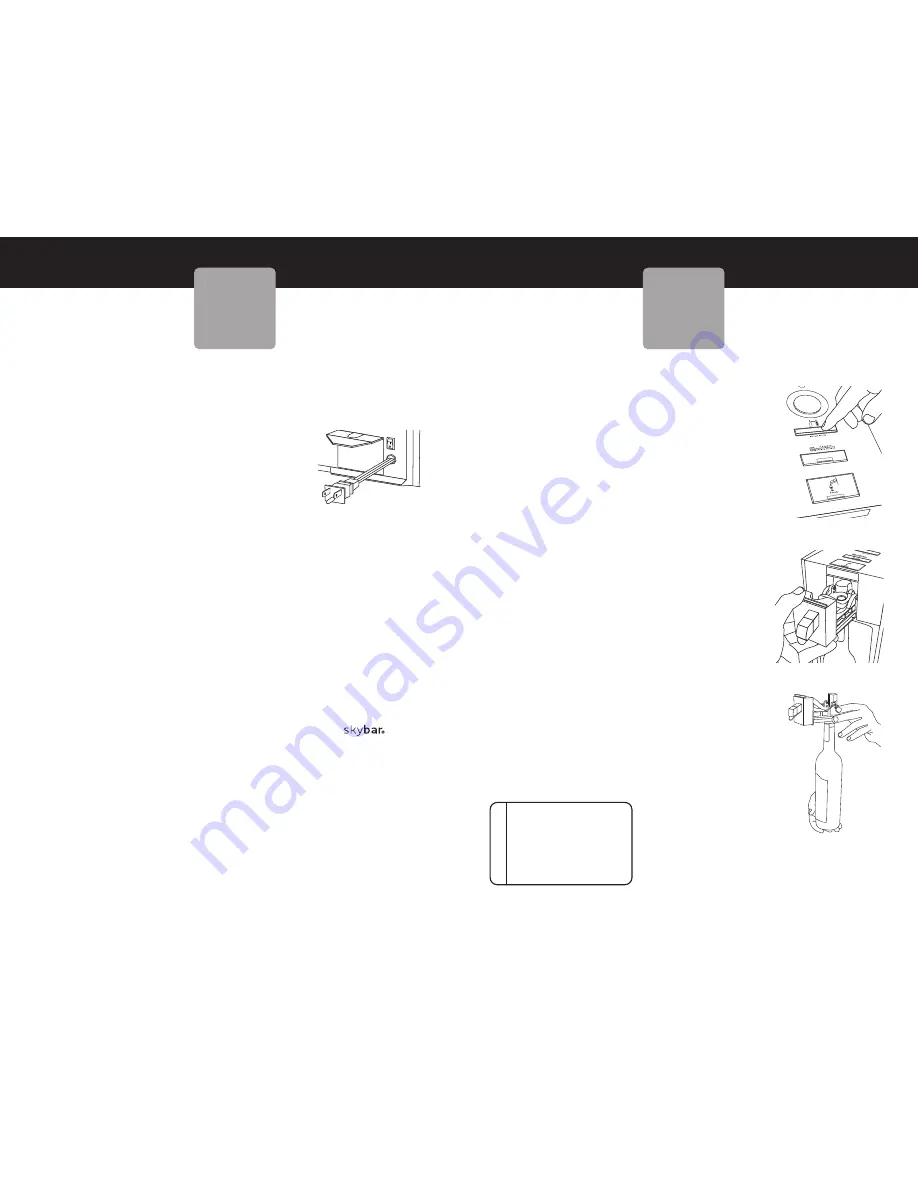
INSTALLING OR REPLACING THE WINE BOTTLE
1. Open the Chilling Chamber door.
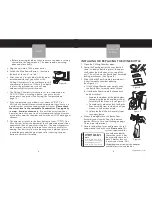
2. Grasp the Pour Spout (or the wine bottle if
there is already a bottle in place), then press
the Replace Bottle Button at the top of the
unit. This will release the Bottle Pour Assembly
locking mechanism. (See Figure B.)
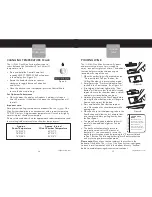
3. Slide the Bottle Pour Assembly forward until
it has cleared the chamber opening.
(See Figure C.)
a. If the Chilling Chamber was empty, carry
the Bottle Pour Assembly to the kitchen.
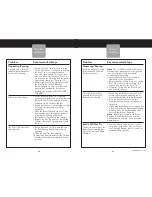
b. If the Bottle Pour Assembly already has a
bottle attached:
i. Support the bottom of the bottle when
transporting the bottle and Bottle Pour
Assembly to the kitchen. (See Figure D.)
ii. To avoid spills, do not unlock the Bottle
Pour Assembly from the bottle until you
are over a sink or countertop.
iii. Unlock the Bottle Pour Assembly from
the empty bottle.
4. Always thoroughly rinse the Bottle Pour
Assembly and clean the Pour Tip between
bottles. (Refer to Care and Cleaning on page
18 for more information.)
5. Uncork the bottle of wine and remove the foil
wrap around the bottle neck.
Please note:
This
system is optimized for
use with wine bottles
that utilize corks. It may
be used with some, but
not all, bottles that use
a screw cap closure. Visit
skybarhome.com to view the adaptor
available for screw cap bottles.
INSTALLING
BOTTLES
SCROLL / SELEC
T
Figure B
Figure C
EXCHANGE BOTTLES
WITHOUT MAKING A
MESS.
To avoid spills, always work
over a sink when attaching or
detaching the Bottle Pour
Assembly from a wine bottle.
S
U
G
G
E
S
T
IO
N
Figure D
SETUP
8
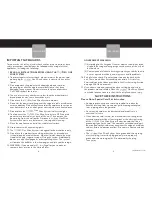
e. Before releasing the door, check to ensure the door is securely
seated into the hinge mounts. The door should now swing
open and close freely.
3. Plug the unit into a 120V power outlet.
4. Switch the Main Power Button – located in
the back of the unit – to “on.”
• After the unit is switched on (with the door
installed and closed), you will hear the
Chilling Chamber cycle on and begin to chill
and attempt to preserve. If there is no bottle
in place, the preservation cycle will stop
automatically after several seconds.
• The Chilling Chamber is factory pre-set to a temperature of
50°F/10°C. When installing a bottle, you can select the
temperature you prefer. (See Setting the Temperature on
page 13.)
• If the temperature in your home rises above 80°F/27°C or
60% relative humidity for an extended period of time, there is a
possibility that excessive condensation will occur.
Please check
the water level in the removable Condensation Tray regularly
in warm, humid environments.
If you will be away from your
home for more than one week, we recommend that you remove
wine bottles from the chamber and turn the unit OFF during your
absence.
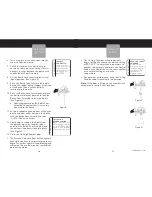
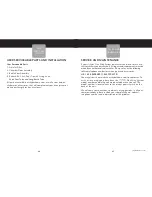
5. The drip tray attaches to the front bottom of your
One
Wine System, below the bottom of the chamber door and slides
underneath the unit and clicks into place. The drip tray protects
table surfaces from the last drop of wine that may occur after
pouring. For best results, when pouring wine, hold your glass a
second longer under the pour spout after releasing the pour
button to catch this last drop.
Figure A


