25
•
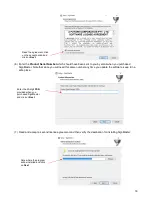
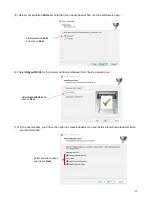
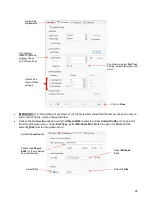
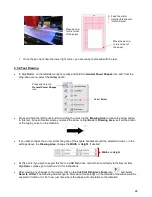
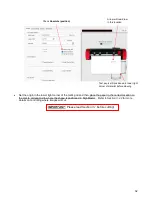
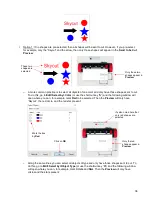
Click on
Done
at the bottom of the
Vinyl Spooler
window and you will be returned to the
Send to be Cut
window. More about the settings on the left side of the window will be covered in
Section 3.3.
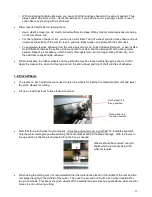
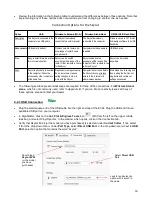
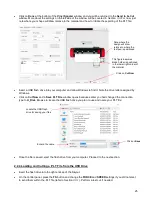
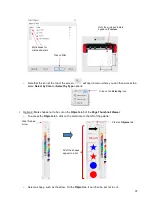
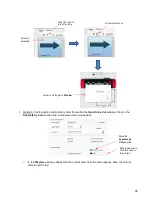
For now, just
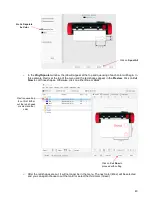
note where your shape will draw relative to the material and how to initiate the exporting of the PLT file:
•
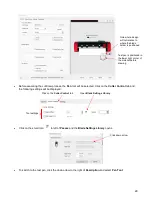
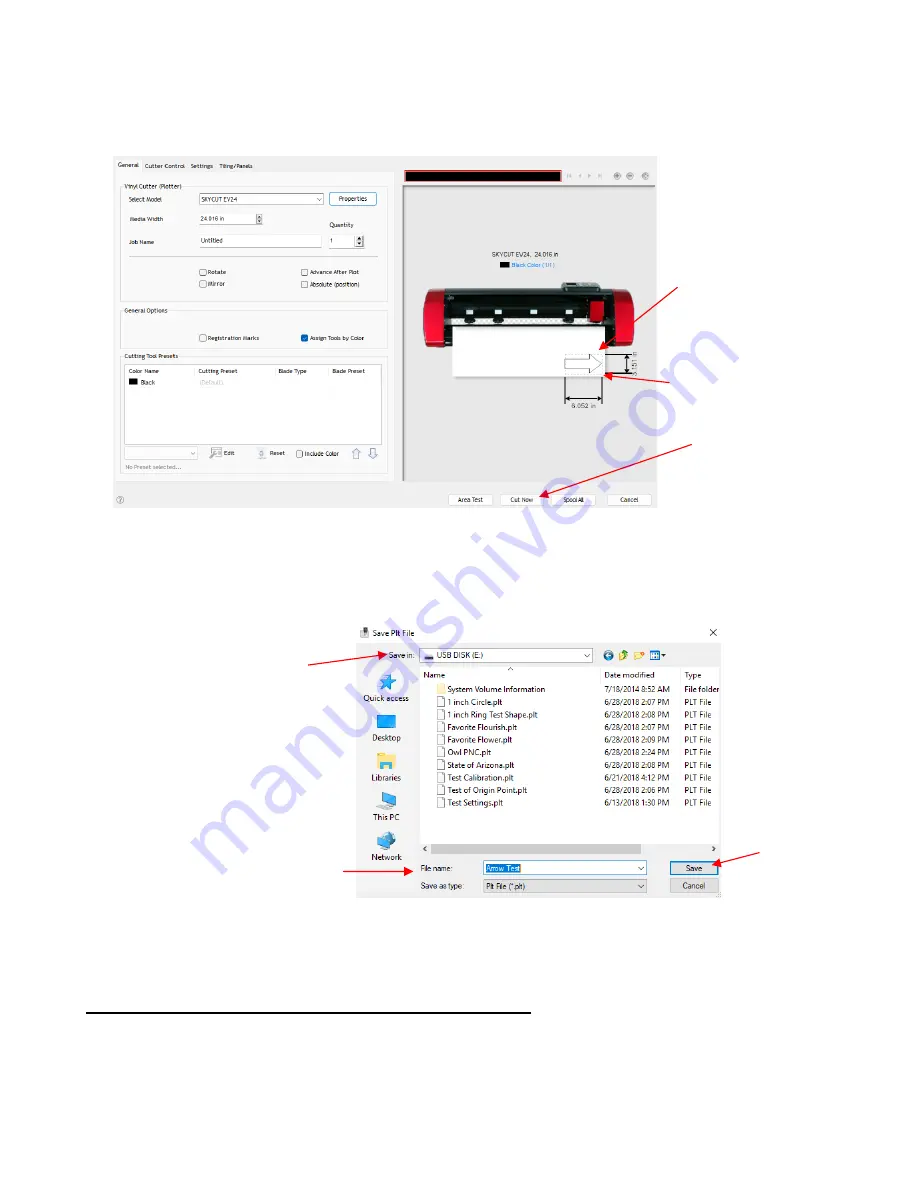
Insert a USB flash drive into your computer and allow Windows to find it. Note the drive letter assigned by
Windows.
•
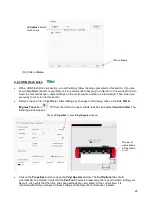
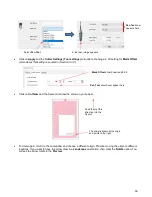
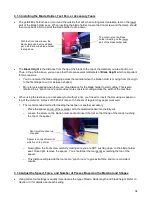
Click on
Cut Now
and a
Save PLT File
window opens because earlier you had changed the connection
type to
U_Disk
. Browse to locate the USB flash drive you plan to use and name your PLT file:
•
Once the file is saved, eject the flash drive from your computer. Proceed to the next section.
2.2.4 Loading and Cutting a .PLT File from the USB Drive
•
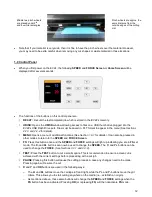
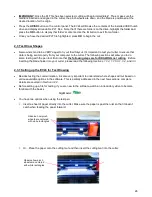
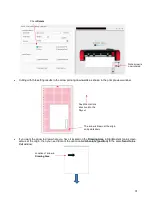
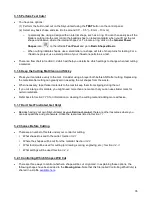
Insert the flash drive into the right endcap of the Skycut.
•
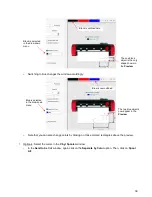
On the control panel
,
press the
FS
button and change the
FORCE
and
SPEED
settings if you did not elect
to send them within the .PLT file (refer to
Section 3.3.1).
Perform a test cut, if needed.
Note where the
design will draw
relative to where the
test pen is positioned
Click on
Cut Now
This figure assumes
blade holder is positioned
in the lower right corner of
the material
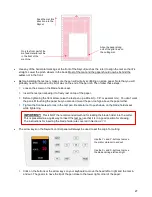
Locate the USB flash
drive for saving your files
Enter a file name
Click on
Save

