57
3.8 Scale Calibration
•
If you were to cut out any particular shape, for example,
a 10” x 10” square, you might find that it actually
measures 9-15/16
” x 10-1/32”. It will be very close to 10” x 10” but perhaps just slightly smaller or larger in
either or both dimensions. Now this might be perfectly acceptable for the type of cutting you do. Therefore, it
may not even be necessary to do this particular calibration. However, if you do want to make sure your
shapes are cut precisely to scale, the following procedure will allow you to calibrate your Skycut.
•
The calibration process can be conducted in inches, cm, or mm. Both mm and inches will be presented
here. In general, it is recommended that mm be used, however, if you do not have a metric ruler, then you
can use inches instead.
•
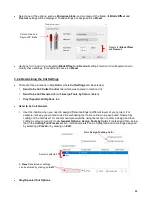
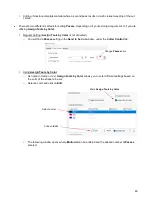
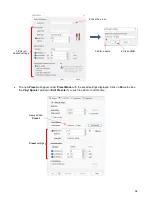
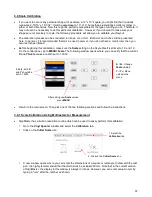
Before beginning this calibration, make sure the
Scale
setting on the Skycut itself is still set to 1.0 and 1.0.
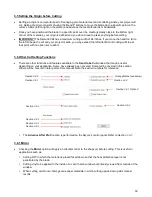
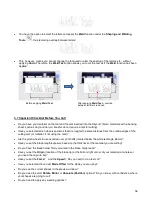
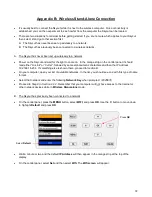
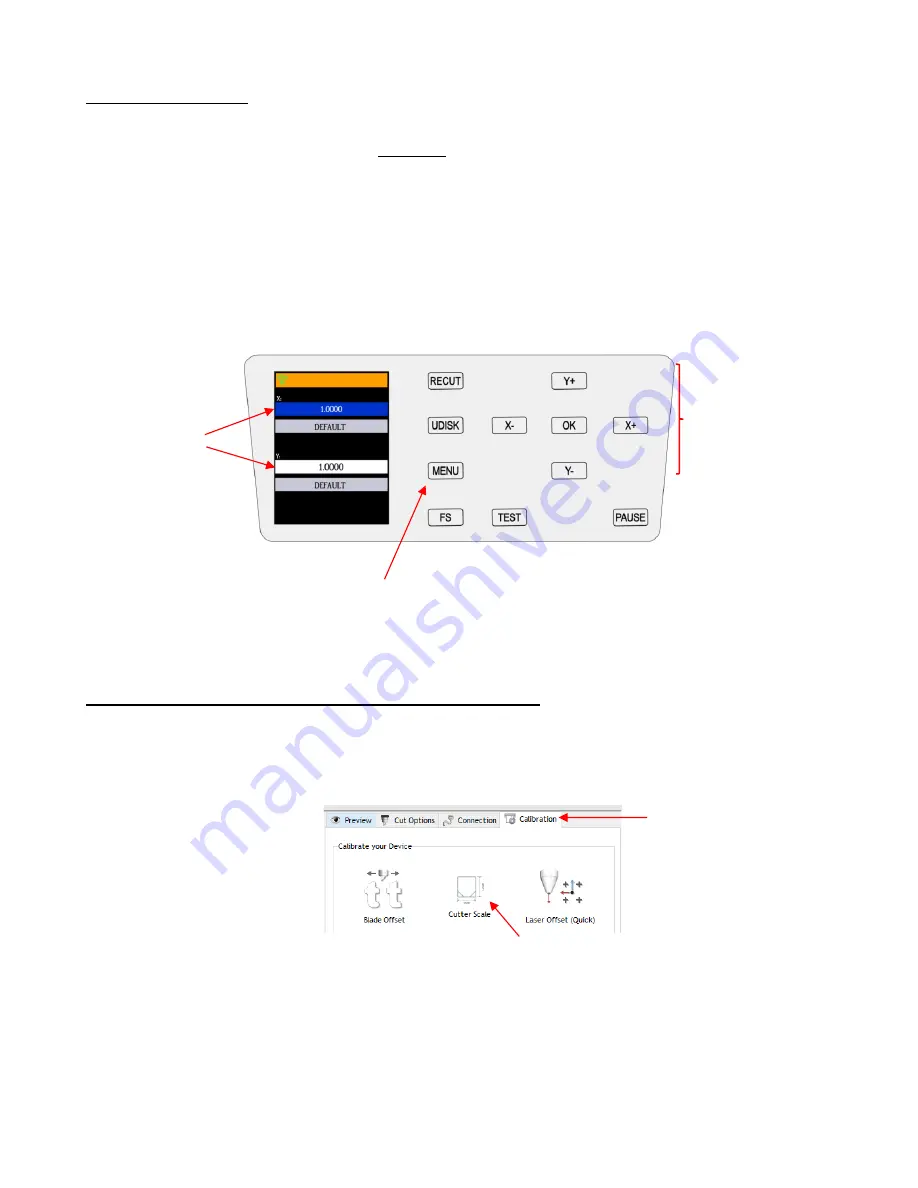
On the control panel, go to
MENU>Scale
. The following window opens where you can verify that the current
X
and
Y Scale
values are both set to 1.0000:
•
Return to the main screen. Then pick one of the two following sections and follow the instructions.
3.8.1 Scale Calibration Using Millimeters for Measurement
•
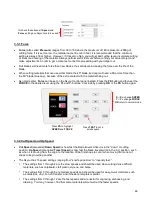
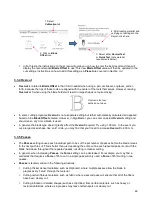
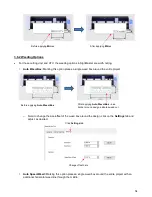
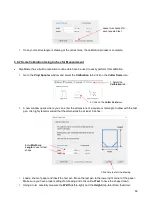
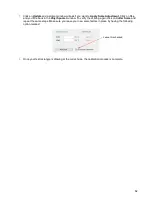
SignMaster has a built-in resolution routine which can be used to easily perform this calibration:
Go to the
Vinyl Spooler
window and select the
Calibration
tab.
Click on the
Cutter Scale
icon:
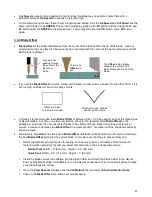
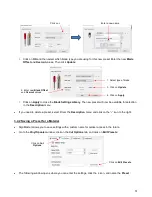
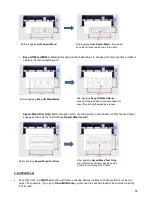
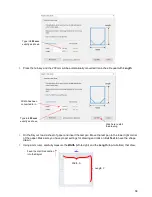
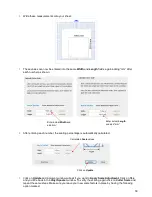
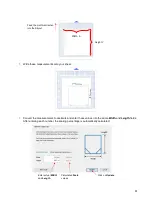
A new window opens where you can enter the dimensions of a square or rectangle to draw with the test
pen. It is highly recommended that the dimensions be at least 200 mm. Note that in the current version
of SignMaster, the display in this window is always in inches. However, you can enter values in mm by
typing in “mm” after the number as shown:
1. Select the
Calibration
tab
2. Click on the
Cutter Scale
icon
Initially, both
X
and
Y
should be
set to 1.0000
After setting new
Scale
values,
press
MENU
Y- / Y+:
Move
up/down the
menu
X- / X+:
Change
Scale
values

