background image

12

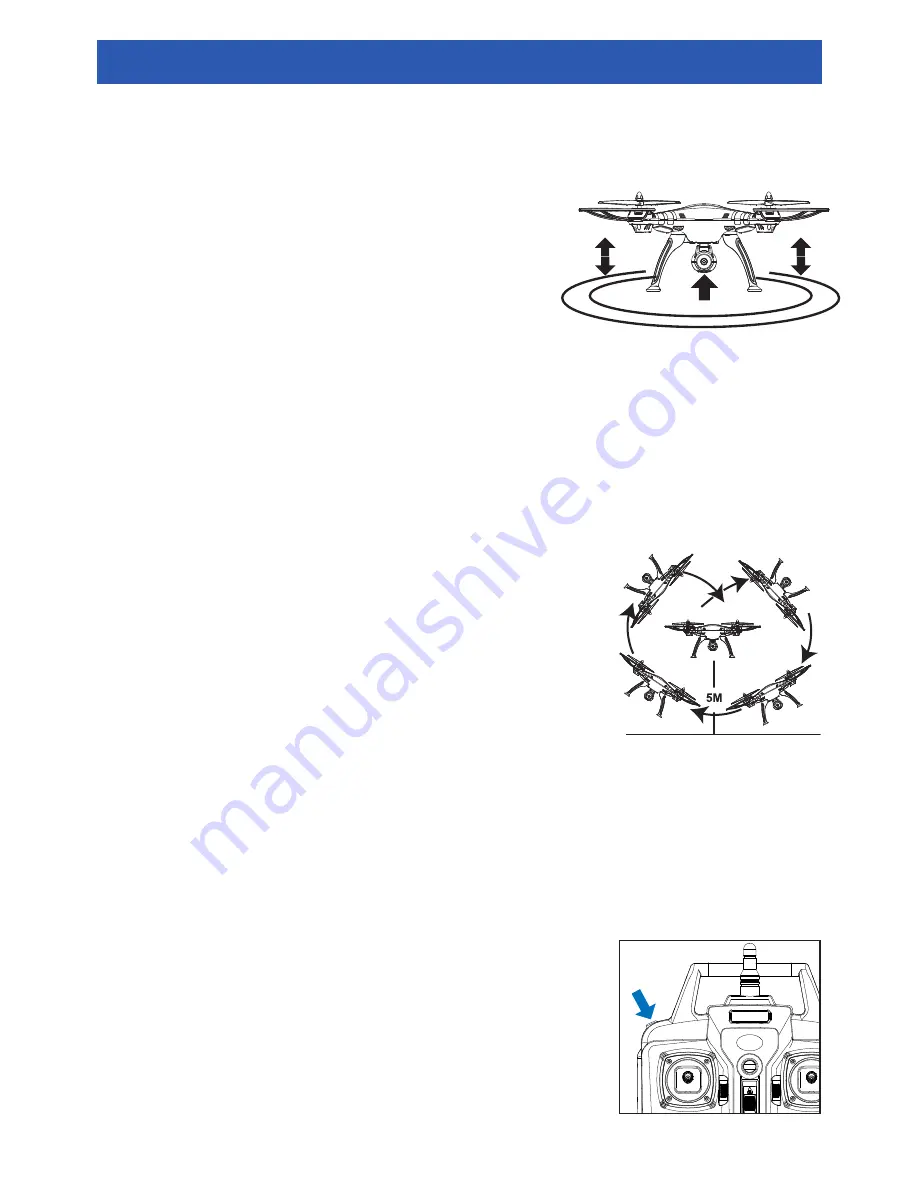
Mastered basic maneuver techniques? It’s time to progress to 

some of the more advanced flying maneuvers like 360° flips. 
To perform a 360° flip, first bring the Drone to about 5 meters 

above the ground. Then, press and hold the 

Flip

 button on the 

controller and move the right stick in the direction you want to 

flip. Immediately after flipping the Drone, you need to quickly 

apply some throttle to restore balance and minimize a sudden 

loss of altitude.

Speed control settings are available on the controller. The 

controller defaults to Low rate setting each time you turn it 

on.
To toggle between low and high rates, simply press the 

Speed Control

 button once. The controller beeps twice 

when it switches to High mode. When you switch back to 

Low mode, the controller beeps once. 
You can check the rate indicator on the LCD screen to 

confirm the controller’s current rate setting.

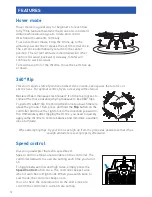
Hover mode is a great way for beginners to learn how 

to fly! This feature maintains the Drone at a consistent 

altitude while allowing you to rotate and control 

directional movements normally.
To activate Hover mode, bring the Drone up to the 

altitude you want, then release the Left (throttle) stick. 

The Left stick automatically returns to the center 

position. The current altitude is maintained. All other 

controls (forward, backward, sideway, rotate) will 

continue to work as usual. 
To resume control of the throttle, move the Left stick up 

or down. 

360° flip

Speed control

Hover mode

This stunt requires lots of practice and best done in wide-open spaces that are free of 

obstructions. For optimal control, fly on a clear day without wind.

When attempting flips, fly your Drone as high up from the ground as possible so that it has 

enough altitude to recover properly afterward.

Give your quadcopter that extra speed boost.

FEATURES

Summary of Contents for XTREEM

Page 1: ...Sky Ranger GIANT RC QUADCOPTER SHOOTS BIG TIME 720P HD VIDEOS INSTRUCTION MANUAL...

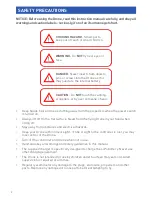
Page 2: ...ver use other charging equipment The Drone is not intended for use by children under fourteen 14 years old Adult supervision is required at all times Regularly examine for any damage to the plugs encl...

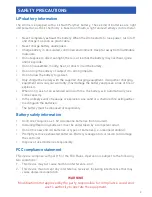
Page 3: ...uish the batteries The battery must be disposed of responsibly Controller requires 4 x 1 5V AA alkaline batteries not included Installing Replacing batteries must be undertaken by a competent adult Do...

Page 4: ...im position 2 Forward and backward trim position 3 M1 Rotation M2 Sideway trim position 4 Forward movement gauge 5 Backward movement gauge 6 Left movement gauge 7 Right movement gauge 8 Rotate left mo...

Page 5: ...TION Only charge the battery with the original charger Using other charging equipment will void your warranty may damage the battery and could result in fire or explosion Connect the white battery cha...

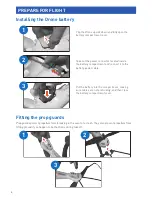
Page 6: ...you happen to tip the Drone during takeoff Flip the Drone upside down and fully open the battery compartment cover Take out the power connector located inside the battery compartment and connect it to...

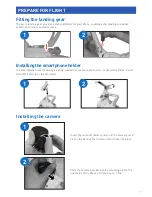
Page 7: ...ng the smartphone holder The smartphone holder featuring a spring loaded clip to secure your device conveniently slides in and out of the antenna on the controller 1 2 Insert the microSD memory card i...

Page 8: ...once it is paired with the controller To start the motors depending on which mode the controller has been set to default is mode 1 push both left and right sticks to the positions as shown on the rig...

Page 9: ...ontroller Check the LCD screen to confirm the current flight mode Flight Mode button Left stick Left stick Right stick Right stick In this mode the Left stick controls altitude climb descend and rotat...

Page 10: ...eo recording time display To stop recording tap the Video button again Captured photos and videos are stored on the microSD card as well as on your smartphone memory If the camera does not contain a m...

Page 11: ...rone on the ground pointing it in the direction of where you ll be flying it toward 3 Link the controller When the Drone initially links up with the controller it remembers a reference heading that it...

Page 12: ...indicator on the LCD screen to confirm the controller s current rate setting Hover mode is a great way for beginners to learn how to fly This feature maintains the Drone at a consistent altitude whil...

Page 13: ...rone status lights will start blinking as well Before power to the motors is cut off entirely gradually move the left stick all the way down to slow the propellers until you can land the Drone safely...

Page 14: ...the gyro sensor First place your Drone on a level ground and then hold both Left and Right sticks to the lower right corner for about 3 seconds The Drone status lights blink rapidly before turning so...

Page 15: ...15 1 3 5 7 8 6 4 2 REPLACING A DAMAGED PROPELLER...

Page 16: ...itting or removal of this product by a tradesman or other person or any other costs associated with its use are the responsibility of the end user This warranty applies to the original purchaser of th...

Reviews: