……………………………………………………
7. Installing The SkyWind NG
Seite 17
| Owners Manual SkyWind NG, Version 5.1
…………………………
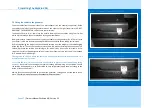
7.2 Fitting the cables to the generator
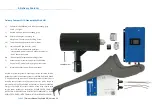
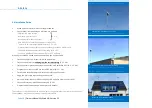
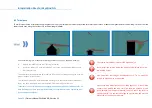
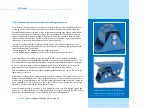
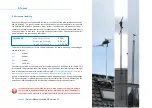
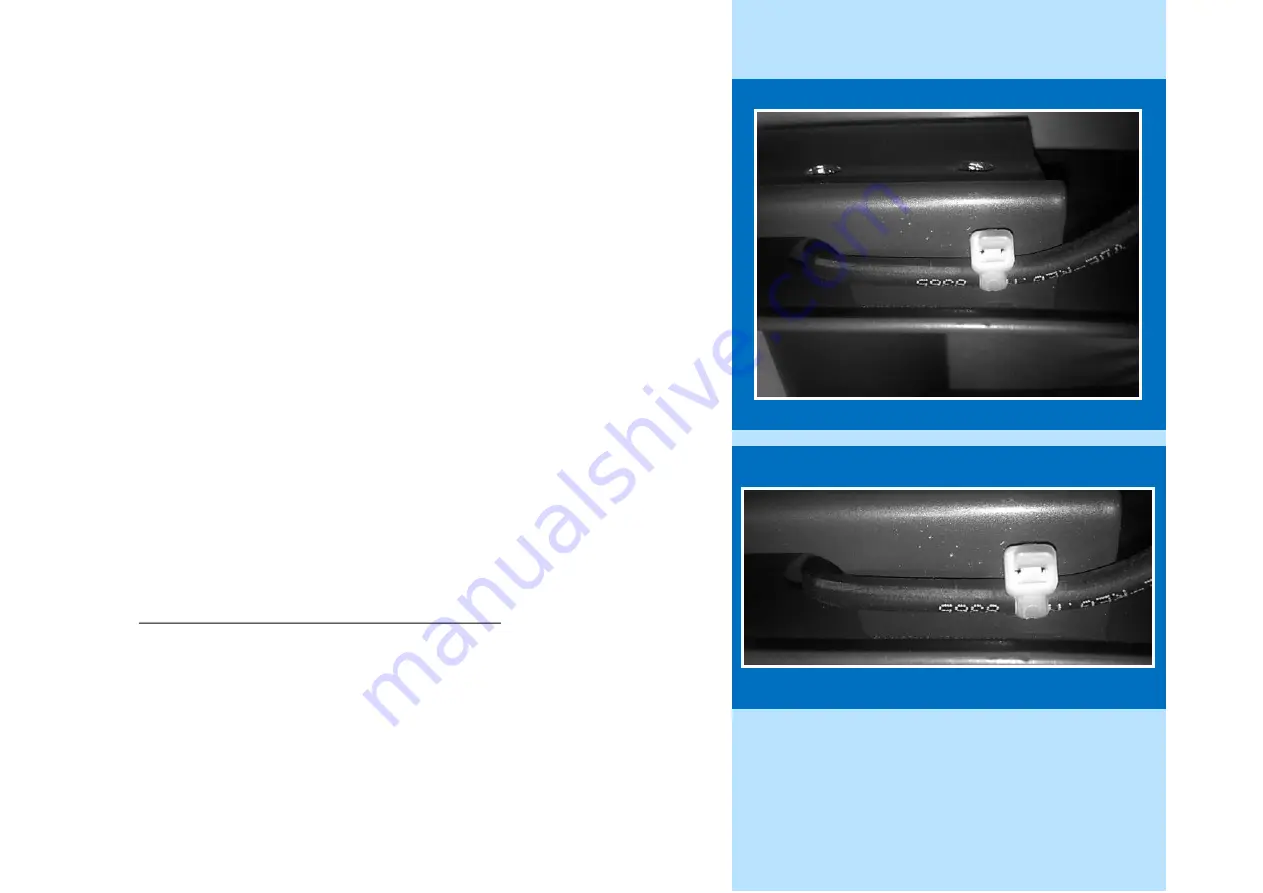
Feed the cables from the underside of the mast adapter into the nacelle (see picture). Guide
one cable to the left of the main generator mount, the other to the right (see picture). DO NOT
DISMOUNT THE GENERATOR, this will void your warranty.
Feed about 30cm (1 ft) of cable into the nacelle. Now tighten the cables using four zip
-
ties
which are fed through the holes provided in the generator mount.
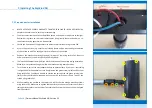
Now permanently connect the ends of the output cables of the generator (2x 0.75 mm²) with
your 6 mm² cable. We recommend using CRIMP connection with shrink tubing for isolation.
By firmly tightening the zip
-
ties the connection is secured from the weight of the cable hanging
inside the tower. The nacelle can also turn into the wind without harming the connection. The
cable will prevent the turbine from turning to far, which is why it has to be solar cable. A slip
-
ring used in other turbine designs would only provide a lifetime of two years and is not needed
for a down
-
wind turbine design.
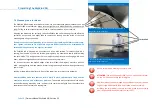
Please grease up the part where the cables are exiting the mast adapter into the nacelle. This
will prevent wear on the cables.
Use Loctite 243 for all screw connections on the turbine to prevent unwanted loosening during
operation
. Be careful to not damage the turbines coating while working on the turbine. Should
the turbine be damaged (or is to be installed on very salty places) apply the wax coating to the
inside of the nacelle as well.
Always plan to use enough cable to get from the generator, through and out the tower in one
piece. The cable must not have any connections within the tower!
…………………………
…………………………
…………………………


