……………………………………………………
7. Installing The SkyWind NG
Seite 18
| Owners Manual SkyWind NG, Version 5.1
…………………………
7.3 Preparations for Installation
NEVER USE OTHER SCREWS AND PARTS THAN THOSE INCLUDED IN YOUR DELIVERY! Do
not place the turbine on its back to prevent damage.
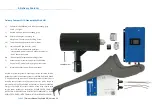
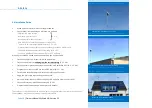
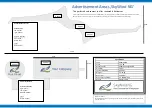
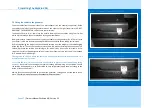
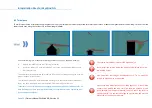
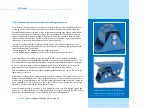
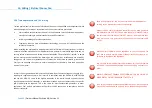
Feed the cables into the nacelle as described before and shown in the picture to the right.
Remember to grease up the tower contact point (see picture). Never and under no cir-
cumstances may the generator be dismounted.
Should you find screws of the generator to be loose reinstall them using Loctite 243.
At very corrosive sites (e.g. coasts or on islands) please apply a wax coating to the inside
of the nacelle as well. The coating must cover all parts of the nacelle.
Remount the nacelle cover by tightening all screws to 2 Nm using Loctite 243. Be exact
and make sure every screw is correctly and firmly fitted.
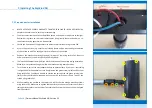
The installation helper screw (red) can block the rotation of the nacelle during installation.
Make sure it is loosened enough to allow free rotation during later operation.
Turn the lower part of the mast adapter and try to vibrate a little, if you can´t—everything
is alright. Should the adapter not turn freely loosen the green screws a little and fix them
using Loctite 243. Should you be able to vibrate the part tighten the green screws just a
little so that the vibration disappears but you can still turn the part freely. Then fix the
screws using Loctite 243.
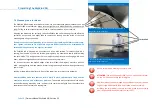
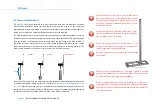
While mounting the nacelle to the tower you will fix the two orange mounting screws
using Loctite 243. Make sure to tighten these perfectly even and check that the turbine is
sitting perfectly vertical on the tower. The turbine will not work if the nacelle is misaligned
from the vertical.

