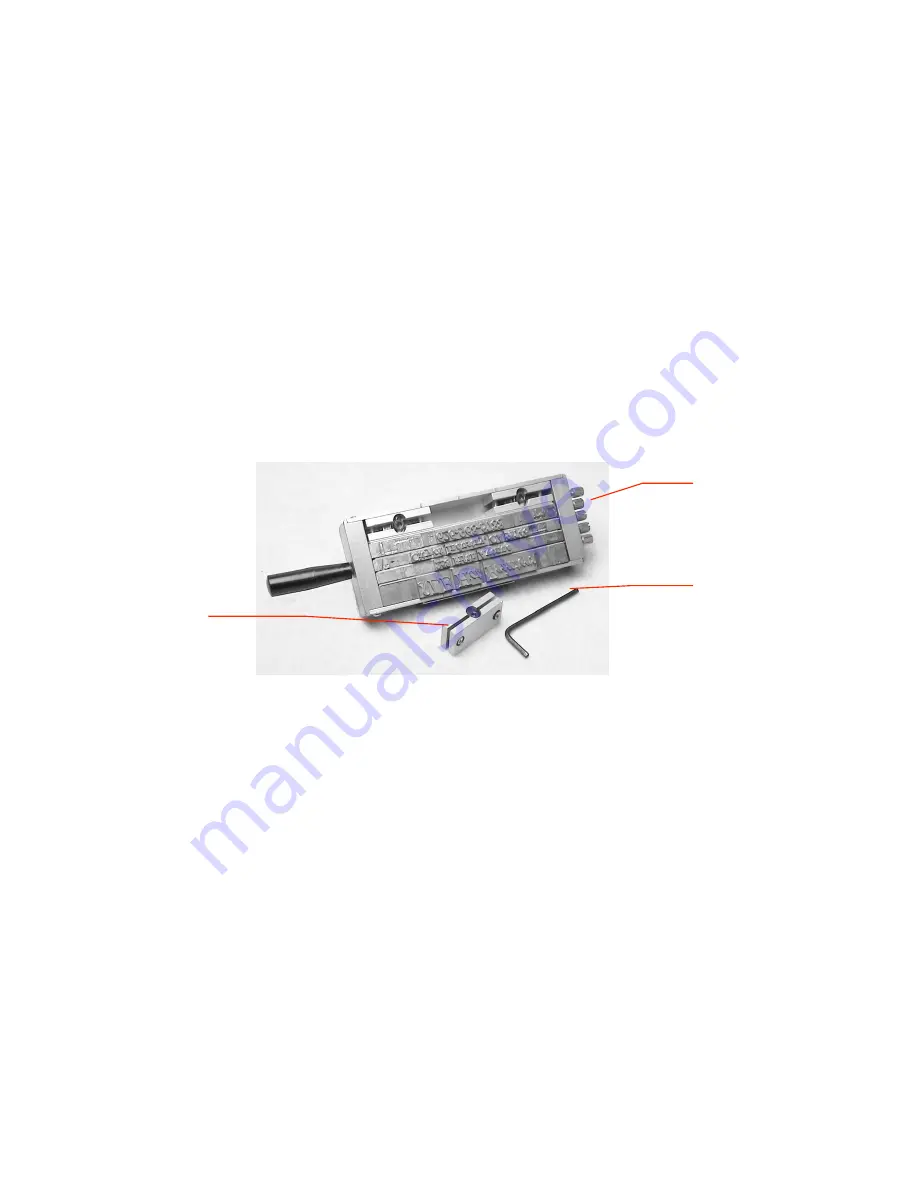
5. Insert the Type Holder into the Adapter Sleeve. When imprinting at the top of a page, such as
on stationery, insert the Type Holder from the left side of the Adapter Sleeve. When
imprinting at the bottom of a page, such as on greeting cards, insert the Type Holder from the
right side of the Adapter Sleeve.
6. Remove the Handle from the Type Holder. Allow the type to heat up before imprinting.
NOTES:
•
To remove an Adapter Sleeve, use a pencil and push the Adapter out of the Heater Platen.
Always use a Holding Pad as the Adapter Sleeve can become very hot.
•
Always remove the Type Holder from the machine and loosen the screws when you are
through imprinting. Type last longer when it doesn't cool under pressure.
Printing with the Open Chase Type Holder
The Open Chase Type Holder is used for multi-line print jobs. A typical application is printing on
paper napkins.
1. Place the Type Holder onto the typesetting stand with the open side facing you and the handle
pointing to the left.
2. Place one or more lead rules into the holder, to achieve the desired starting distance from the
side of the holder.
3. Beginning from left to right, position the first character of the first word, with the nick facing
upward. The letters will appear upside down. Use the tweezers (furnished with your
accessories) to facilitate the handling and placement of the individual type.
4. Continue adding characters in the normal spelling sequence, until the first word is complete.
5. Place a spacer after each word to create a clear separation of words.
6. Continue the procedure until the first line is complete. If space remains, shift the completed
line toward the center of the holder and fill the end openings with spacers.
7. Place one or more lead rules on top of the first line, to create the desired space between the
first and second line. If you prefer less space between lines you may eliminate the lead rules
altogether.
8. Continue the same procedure for each succeeding line. Complete the setup by placing at least
one lead rule atop the last row of type. Be sure to leave enough space for the Quoins.
9. Place the Quoin(s) in position to lock the type.
Quoin
Helping
Allen key


