1
1
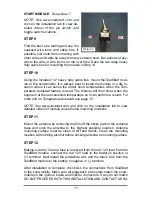
START MODULE.
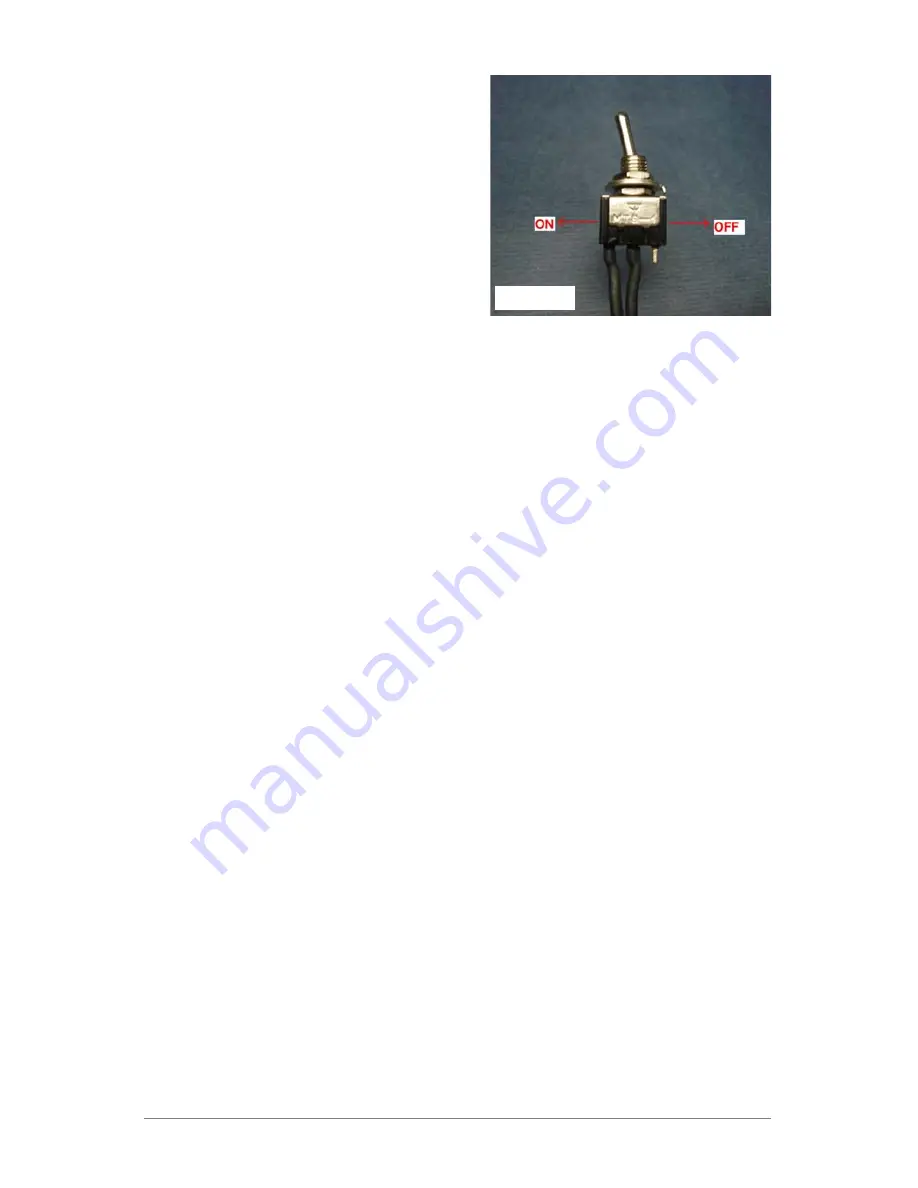
See picture 7.
NOTE: See www.sledstart.com and
click on the installation tab to view de-
tailed videos of the pin switch and
toggle switch locations.
STEP 9
Find the best wire routing and use the
supplied wire loom and cable ties. If
possible, just route the loom along with
other wires and cable tie away from any extreme heat. Be cautious of any-
where the wire or wire loom can rub over time. Save the two large heavy
duty cable ties for mounting the module in Step 10.
STEP 10
Using the included 14" heavy duty cable ties, mount the SledStart mod-
ule to the snowmobile. It is always best to install the module in a dry lo-
cation where it can sense the under hood temperatures when the Tem-
perature Autostart feature is used. The module will then know when the
engine is at the user-selected temperature so it can perform a restart. For
more info on Temperature Autostart see page 1
5
.
NOTE: See www.sledstart.com and click on the installation tab to view
detailed videos of module and antenna mounting locations.
STEP 11
Mount the antenna by removing the film off the sticky pad on the antenna
base and stick the antenna to the highest possible location. Antenna
mounting surface must be clean of dirt and debris. Clean the mounting
location with rubbing alcohol before sticking antenna to mounting surface.
STEP 12
Making sure the 30 amp fuse is removed from the red 12V lead from the
SledStart module, connect the red 12V lead to the battery's positive or
(+) terminal. Next install the pink/white wire and the black wire from the
SledStart module to the battery's negative or (-) terminal.
After installation is complete, check ALL the connections from SledStart
to the snowmobile. Make sure all piggyback wire colors match the snow-
mobile on the ignition, brake and injector connectors. If any do not match
DO NOT PROCEED WITH THIS INSTALLATION AND CONTACT US IM-
Picture 7

