1
3
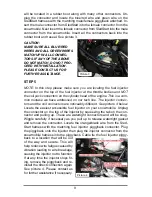
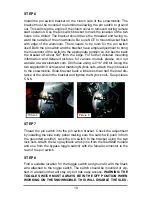
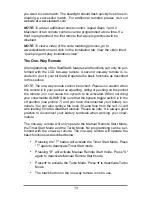
you want to code match. The headlight should flash quickly five times in-
dicating a successful match. For additional remotes please visit our
website at www.sledstart.com
NOTE: To add an additional remote control, repeat Steps 1 and 2.
Maximum of two remote controls can be programmed at one time. If a
third is programmed, the first remote that was programmed will be
disabled.
NOTE: To view a video of the code matching process, go to
www.sledstart.com and click on the installation tab. View the video titled
"quick plug and play installation video"
The One-Way Remote
All programming of the SledStart's features and functions can only be per-
formed with the LCD two-way remote. A second one-way remote is in-
cluded in your in your kit that will operate the basic functions as described
in this section.
NOTE: The one-way remote cannot be locked. Please use caution when
this remote is in your pocket as squatting, sitting or pushing on the pocket
the remote is in can cause the system to be activated. When servicing
your snowmobile ALWAYS be sure that the bypass toggle switch is in the
off position (see picture 7) and you have disconnected your battery ter-
minals. You can also remove the main 30-amp fuse from the red 12-volt
wire leading from the SledStart module. Please be safe. It is always good
practice to disconnect your battery terminals when working your snow-
mobile.
The one-way remote will only operate the Manual Remote Start Mode,
the Timer Start Mode and the Turbo Mode. No programming can be per-
formed with the one-way remote. The one-way remote will operate the
basic functions as described below:
•
Pressing the "T" button will activate the Timer Start Mode. Press
"T" again to deactivate Timer Start mode.
•
Pressing "S" will activate Manual Remote Start mode. Press "S"
again to deactivate Manual Remote Start mode.
•
Press
to activate the Turbo Mode. Press
to deactivate Turbo
Mode.
•
The blank button on the one way remote is not in use.

