background image

Installation & User Manual, Radio Remote 8985/8986 

       Page 3

  You must always install at least one original Sidepower panel.

  With the boat on land, only run the thruster for a fraction of a second, as without resistance it 

will accelerate very fast to a damaging rpm.

  This manual is intended to support educated / experienced staff and is therefore not suffi cient 

in all details for the correct installation.

  When installed in boats approved or classifi ed according to international or special national 

rules, the installer is responsible for following the demands in accordance with these regula-
tions / classifi cation rules. The instructions in this guide can not be guaranteed to comply with 
all different regulations / classifi cation rules.

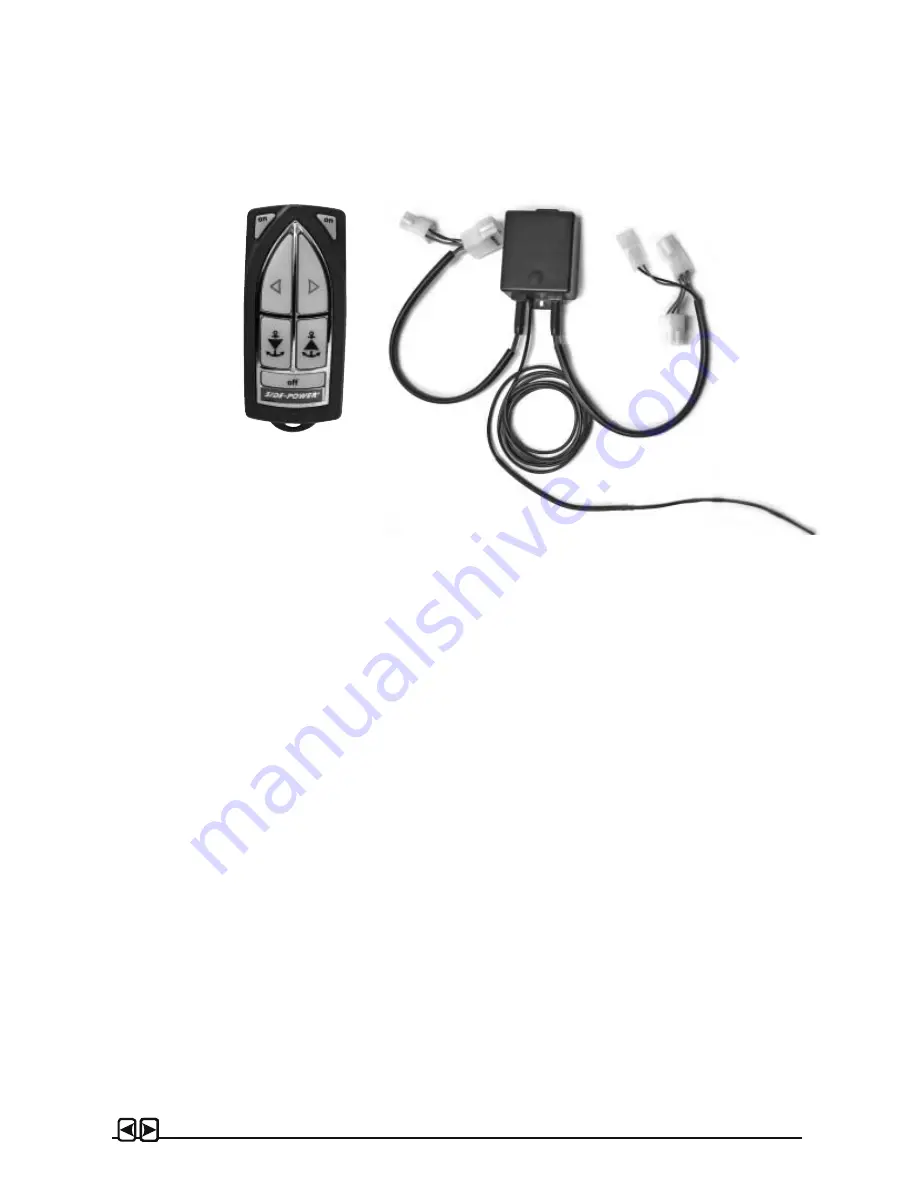
  The transmitter and the receiver have the same factory preset code so no programmng is nec-

essary. When additional transmitters are to be used, the receiver must be programmed again 
for all transmitters (please see programming section on page 7).

  If a Sidepower automatic main switch is fi tted, the “OFF” button on your transmitter will shut off 

the main switch providing no other control panels are “ON”.


Transmitter


Receiver


Model 8986 

8932A

Power feed 

2 x 3V battery (type: CR2032) 

From thruster

Frequency (MHz) 

433,92 

433,92

Adress range 

65.000 

65.000

Operation temp. 

-150C / +550C 

-150C / +550C

Technology S.M.T. 

S.M.T.

HxWxD (mm) 

95x48x25 

90x60x30

Weight (g) 

60 

135

Technical specifi cations

Important precautions

Summary of Contents for Side-Power 8932A

Page 1: ...ual Radio Remote 8985 8986 Made in Norway Sleipner Motor AS version 3 3 2009 SLEIPNER MOTOR AS P O Box 519 N 1612 Fredrikstad Norway Tel 47 69 30 00 60 Fax 47 69 30 00 70 w w w s i d e p o w e r c o m sidepower sleipner no ...

Page 2: ...mitter unit Part 8926 1 x Wire harness 6 1282 Additional transmitters can be ordered separatly Part 8986 Part 8985 The transmitter and the receiver have the same factory preset code so no programmng is necessary The battery is already inserted in the transmitter Additional transmitter s Part 8986 When additional transmitters are to be used the receiver must be programmed again for all transmitters...

Page 3: ...les The instructions in this guide can not be guaranteed to comply with all different regulations classification rules The transmitter and the receiver have the same factory preset code so no programmng is nec essary When additional transmitters are to be used the receiver must be programmed again for all transmitters please see programming section on page 7 If a Sidepower automatic main switch is...

Page 4: ...e programmed again for all transmitters please see programming section on page 7 The receiver must have a separate power supply fitted with a 5 Amp fuse in the positive lead that has either a separate power switch or is shut of by the thrusters system main power switch The receiver can not be powered by the thrusters s control looms even if you find posi tive and negative lead there Mount the rece...

Page 5: ...Installation User Manual Radio Remote 8985 8986 Page 5 ...

Page 6: ...main switch optional To bow thruster control panel BOW Sleipner Motor AS Norway www side power com 2 blue black 4 red B 3 grey black signal to wind lass up signal to wind lass down windlass control power B windlass WLAS Red 12 24V Batt 5A fuse Black 12 24V Batt 5 A Receiver Part 8932 Fused power supply from a circuit with ON OFF switch To bow thruster Yellow Sidepower automatic main switch optiona...

Page 7: ... all transmitters 1 Deactivate the receiver and all transmitters press OFF on all transmitters Turn off the main power switch for the thruster s 2 Turn on the power to the receiver 3 Remove the plastic plug from the receiver box as shown above 4 Press the PROG button at the receiver The receiver is then in Program mode The receiver will stay in Program mode for 30 seconds indicated by blinking LED...

Page 8: ...teries 3 Insert the new batteries Type CR2032 3V Brand name recommended Be sure to insert the battery with the positive pole up 4 Close the transmitter Put the cover back in place ensure that the rubber seal between remote upper and lower part is located correctly Place the 3 screws remember sealing washer in their recessed holes and tighten Installation User Manual Radio Remote 8985 8986 Page 8 R...

Page 9: ...e maximum continues usage time of the electrical thruster is approx 3 minutes The electro motor has a built in thermal cut off switch that will shut it off when overheating and re engage it when it has cooled down some This should be considered when planning your manouvering Never use a thruster close to somebody in the water as the thruster will draw objects close by into the tunnel and contact w...

Page 10: ...ction by pushing the red button for port movement or the green button for starboard movement How to use the windlass Please consult your windlass manual for use and precautions NB Max load on the windlass signal output is 3A Remote Control Deactivation Push the transmitter s OFF button the remote control deactivates automatically after appr 4 minutes after the last usage Turn off the power switch ...

Page 11: ...LO DXWR KRYHGEU WHU 5 6257 9 RUV QLQJ UDGLRPRWWDNHU 5DGLRPRWWDNHU SRO RJ SRO RQWDNWKXV LVRODVMRQVWU PSH NWLY GHO DY DQWHQQH P DQWHQQHIRUOHQJHU Receiver 2m antenna extension Active antenna Yellow Red Blue Grey Yellow Red Blue Grey Red Black 12 24V supply for receiver 12 24V supply 12 24V supply Optional Auto main switch NOT IN USE 4 lead 1 lead connector Channel B Channel A Insulation Max load 3A B...

Page 12: ...15 www imnasa com imnasa imnasa com Sweden Sleipner AB Strömstad Tel 46 526 629 50 Fax 46 526 152 95 www sleipnerab se Switzerland Marine Parts Technics AG Volketswil Tel 41 1 997 40 90 Fax 41 1 997 40 94 www marineparts ch info marineparts ch Singapore Malaysia Indonesia Vietnam Phillipines Island Marine Services Pte Ltd Singapore Tel 65 6795 2250 Fax 65 6795 2250 www island marine com karl islan...

Reviews: