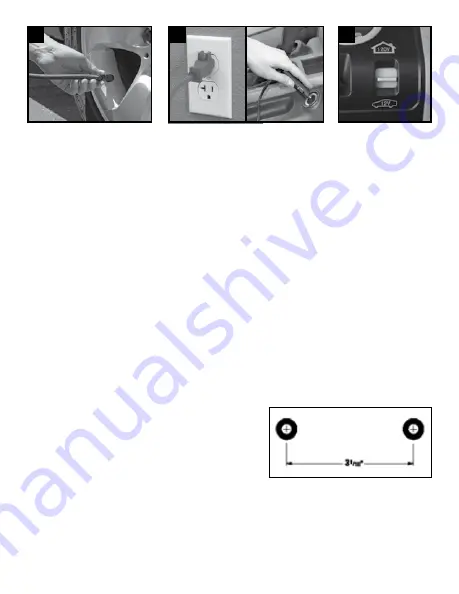
1
3
2
INFLATE RIGHT™ TECHNOLOGY INSTRUCTIONS
1. Hold the + or – button for approximately 2 seconds until the display flashes. Set the
required pressure using the + or – buttons, then wait 3 seconds. The display will
show the pressure value to which the tire will be inflated. (Continuously pressing
the “+” or “-“ button will enter into “Fast setting mode”, increasing or decreasing
the rate of target pressure at an increased speed.)
2. Use the toggle switch to power for the inflator to start.
3. When the pressure gauge reaches the pre-set value, the inflator will automatically
stop inflation. Once desired tire pressure is reached, disconnect the air hose and
unplug the power cord (if applicable).
WALL MOUNTING / STORAGE INSTRUCTIONS
Your inflator has built-in features for conveniently wall mounting the unit for storage. Use
the included hardware to wall-mount the unit. Take extra care to ensure there is no wiring,
plumbing, or other objects located within the wall behind your chosen mounting location.
Manufacturer is not responsible for any damage or losses incurred from complications in
wall-mounting.
For Drywall mounting:
1. Use the template below to mark mounting
locations on wall 3 1/16" apart.
2. Using 1/4" drill bit, drill holes at the marked
locations.
3. Using a hammer, tap in the wall anchors until
flush with the wall
4. Using a screwdriver or screw gun, install the
screws into the wall anchors, leaving approximately 3/8" protruding from the wall.
5. Hang the inflator on the screws using the recesses located on the back of the
inflator.
* Wall mount is for storage only. Remove inflator from wall mount and place on a hard
clean surface before operating
*NOTE:
Correct tire pressure can be found in vehicle owner's manual or on driver's
side door jamb.


