Page
4
of
21
•
Do not get distracted while riding your SlingBoard with actions such as answering your phone, listening
to music in headphones, or engaging in any other activities.
Learn slowly and don’t take chances by
SlingBoarding faster than your experience allows, or faster than is safe for the conditions.
•
Do not make modifications or use non-SlingBoard parts with SlingBoard products, it will affect the
performance, void the warranty, and may cause serious injury.
•
Store your SlingBoard products safely and do not leave them outdoors exposed to the sun or rain.
SET UP
Tools Required:
-
Flat head screwdriver
-
Phillips head screwdriver
-
Tape measure
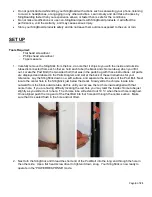
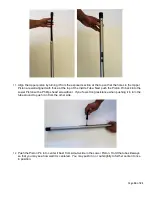
1. Carefully remove the SlingStick from the box, do note that it ships to you with the inside and outside
tubes disconnected from each other so hold each tube (the black and chrome tubes) when you lift it
out. Locate the Post Bolt (the two sided bolt) that was in the parts bag with these instructions. All parts
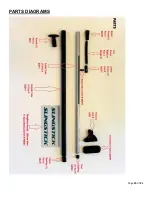
are displayed and labeled in the Parts Diagram and List at the back of these instructions for your
reference. Lay the SlingStick down on a soft surface, and separate the two sides of the Post Bolt. Next
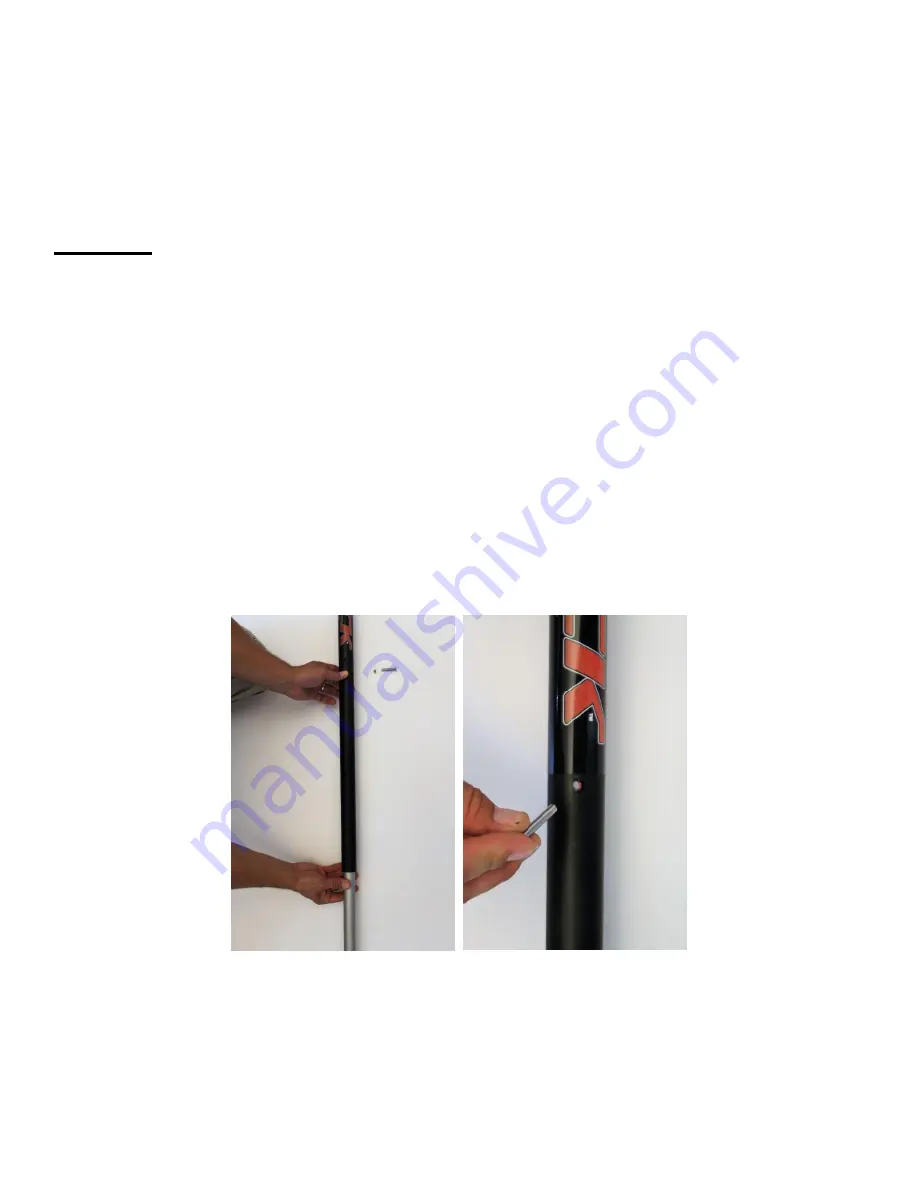
locate the center hole in the SlingStick just below the decal. Slowly slide the chrome inside tube
outward from the black outside tube, do this until you can see the red hole inside aligned with that
center hole. If you are having difficulty locating the red hole you may twist the inside chrome tube just
slightly as you slide it out to help.
The chrome tube will extend out 19 ¾” when the red hole is aligned.
Once aligned push the long end of the Post Bolt into that hole and through the center section. Make
sure that it is seated flush in the hole and not tilted.
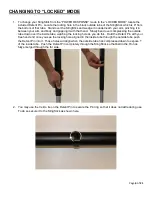
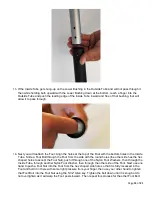
2. Next turn the SlingStick and thread the short end of the Post Bolt into the long end through the hole in
the other side. Use a flat head screw driver to tighten it down snug. Your SlingStick is now ready to
operate in the “POWER RESPONSE” mode.


