INSTRUC TIONS
ATL INSTALLATION, con’t.
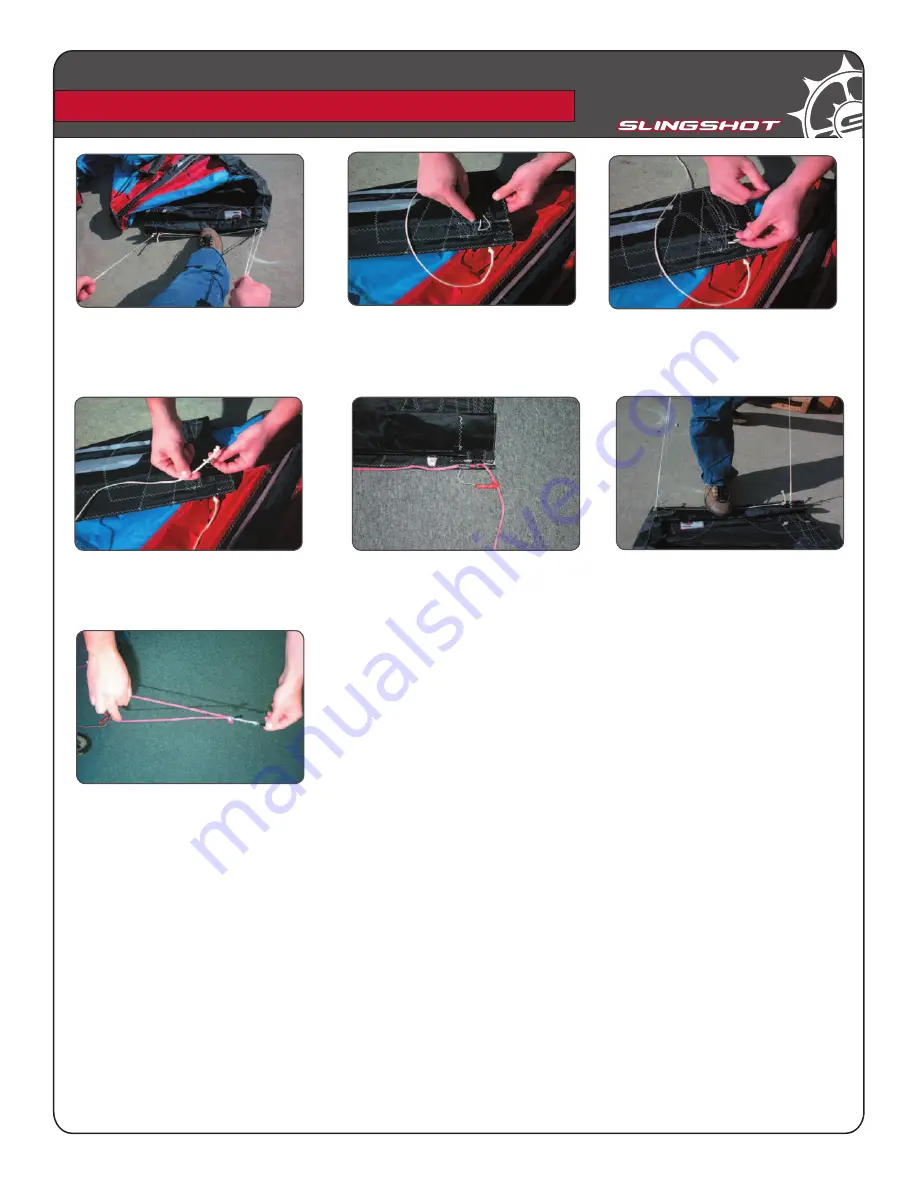
12. Pull the leach line out of the pocket
and form a larks head with the loop.
13. Slide the larks head over the trailing
edge bridle end knot. Continue pulling
bridle through until you reach the knot
near wingtip. Do not slide Lark’s head
over this knot.
14. Secure the larks head next to knot.
15. A properly installed ATL System.
Repeat for other wingtip.
10. Pull the bridle through ring until the
LE and the trailing edge are even. The
leading edge bridle should be in an upside
down “V” shape with one knot at the end
of lines. The trailing edge bridle will be a
single line.
11. Now you must attach the Leach
line to the bridle, see section B.
16. Finally, make sure to re attach the
kite pigtails to the bridle. This will “kook
proof” the setup.