background image

Sloan

®

AQUS

®

Water Conservation 

System Installation Instructions

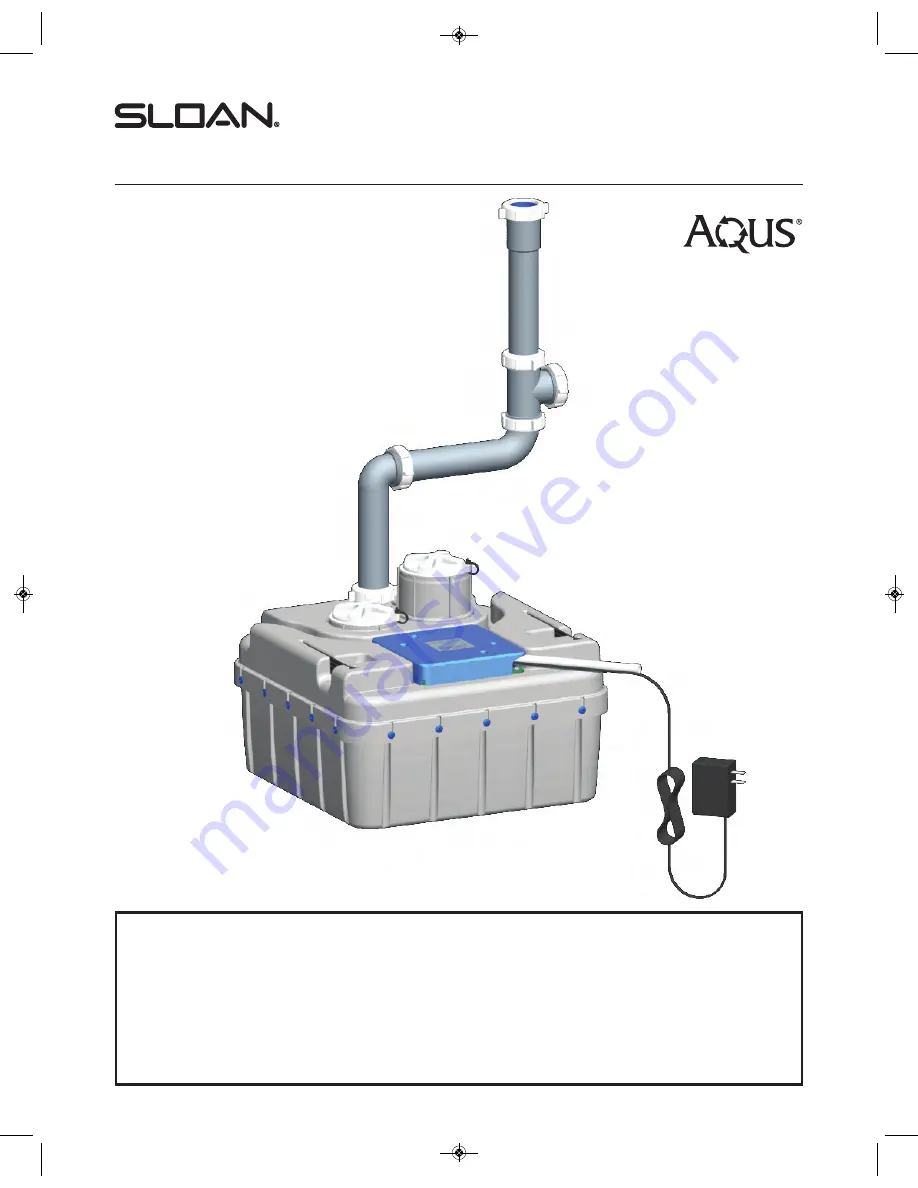
The Sloan

®

AQUS

®

Water Conservation

System is designed to reclaim sink water as
an alternative means for flushing toilets. It
operates with most, gravity-fed toilets.

The system prevents cross-contamination of
the fresh water system and does not interfere
with backflow prevention.
The following instructions will serve as a
guide when installing the Sloan

®

AQUS

®

Water Conservation System. As always, good
safety practices and care are recommended
during installation. If further assistance is
required, please contact your nearest Sloan
Representative office. 

Model 

HMA-7000 

Code No: 0816444

Rev. 2 (05/10)

LIMITED WARRANTY

Sloan Valve Company warrants the Sloan AQUS Water Conservation System to be made of first class materials, free from defects of material
or workmanship under normal use and to perform the service for which it is intended in a thoroughly reliable and efficient manner when
properly installed and serviced, for a period of 1 year from date of purchase. During this period, Sloan Valve Company will, at its option,
repair or replace any part or parts which prove to be thus defective if returned to Sloan Valve Company, at customer’s cost, and this shall be
the sole remedy available under this warranty. No claims will be allowed for labor, transportation or other incidental costs. This warranty
extends only to persons or organizations who purchase Sloan Valve Company’s products directly from Sloan Valve Company for purpose of
resale.
THERE ARE NO WARRANTIES WHICH EXTEND BEYOND THE DESCRIPTION ON THE FACE HEREOF. IN NO EVENT IS SLOAN VALVE
COMPANY RESPONSIBLE FOR ANY CONSEQUENTIAL DAMAGES OF ANY MEASURE WHATSOEVER. 

AQUS WCS Installation Instructions  5/25/10  2:01 PM  Page 1

Summary of Contents for Aqus

Page 1: ... materials free from defects of material or workmanship under normal use and to perform the service for which it is intended in a thoroughly reliable and efficient manner when properly installed and serviced for a period of 1 year from date of purchase During this period Sloan Valve Company will at its option repair or replace any part or parts which prove to be thus defective if returned to Sloan...

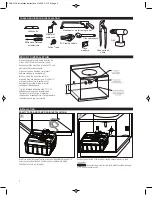
Page 2: ...lavatory sink drain outlet should be minimum of 12 above the vanity shelf 2 Prepare the lavatory vanity before installing the Sloan AQUS Water Conservation System Engage a certified electrician to install a 110 volt electrical outlet inside the vanity Disconnect existing plumbing components between sink pop up and wall drain Drill one hole in the side of the vanity for discharge hose and electrica...

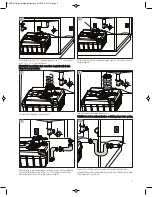
Page 3: ...nsert three cleansing tablets Replace cap WARNING Read the handling instructions on Tablet package before opening After trimming to appropriate lengths install waste arm to bottom of Baffle Tee and Tablet Dispenser inlet using 1 1 2 Slip Joint Nut and Slip Joint Washer Adjust position of Collection Tank for proper fit Connect P Trap to the wall drain and Baffle Tee side outlet Additional provided ...

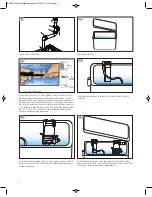
Page 4: ... pipe threaded connections Teflon Tape must be used NOTE It is not necessary to disassemble this fitting for application Merely insert tubing to stop and tighten nut Dupont s Reg T M Patent 1983 11 Install Level Sensor Assembly to back of toilet tank Adjust sensor switch to water line Assure that none of the components interfere with the operation of other components Insert gripper B into nut A Pu...

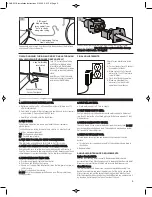
Page 5: ...NPLEASANT ODOR Chlorine tables have dissolved and reservoir has grown odor causing bacteria a Turn water on in sink and pour a capful of chlorine bleach down drain to shock odor b Replace tablets FINAL ADJUSTMENTS Check for any interference inside tank a Turn on lavatory faucet Check all connections for leaks b When system is full of reused water plug 12 volt Transformer into wall outlet c Flush t...

Page 6: ...Baffle Tee PVC 2 L Bend PVC Pipes Straight PVC 1 Slip Joint Washer 1 Slip Nut NOTE Cartridge Assembly can be rotated 90 degrees to adapt to the installation by removing the 4 screws hold the Cartridge Cover Disconnect the Tank Cover level sensor wires from circuit board remember what terminal the wires came from you will need to reconnect them Remove the Cartridge Assembly by removing the 2 screws...

Reviews: