background image

15 


CONFORMITÀ


CONFORMITY


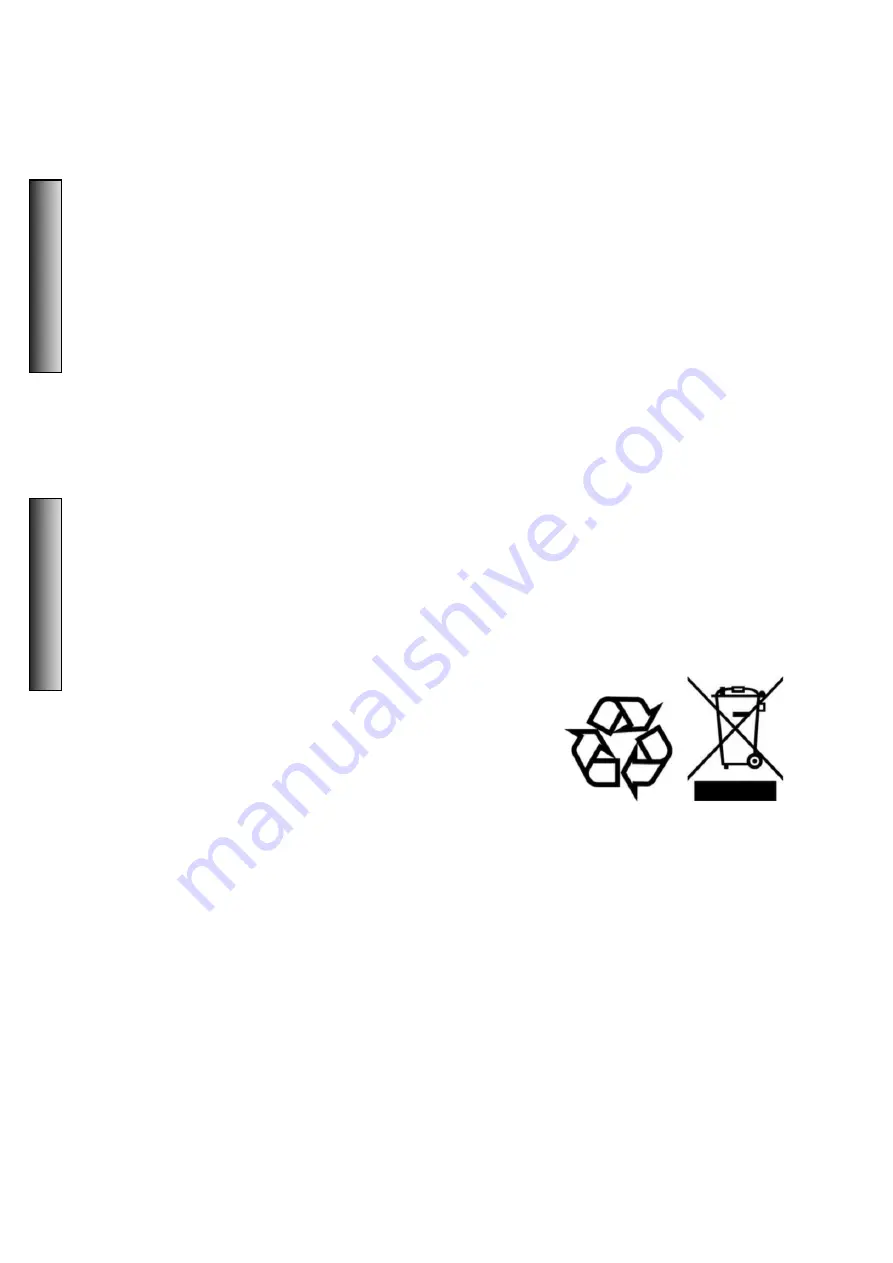
I prodotti sono stati progettati e realizzati con materiali e componenti di alta qualità, sono riciclabili e i materiali possono 
essere riutilizzati. Il simbolo indica che il prodotto deve essere smaltito separatamente dai rifiuti domestici una volta 
giunto a fine della vita. Vi preghiamo di smaltire questo apparecchio presso il vostro punto di raccolta o di riciclaggio.


Tutte le specifiche ed il design sono soggetti a modifiche senza preavviso. Tutte le informazioni sono corrette al momento 
della stampa. SM non garantisce per l'accuratezza o la completezza di qualsivoglia descrizione, fotografia o dichiarazione 
contenuta nel presente manuale. Colori e specifiche stampati possono variare leggermente rispetto al prodotto. I pro-
dotti SM vengono venduti esclusivamente attraverso rivenditori autorizzati. Questo manuale è protetto da copyright.


Ogni copia o la stampa è consentita solo tramite consenso scritto di SM. Lo stesso vale per la riproduzione o la copia di 
immagini.


Products are designed and manufactured with high quality materials and components, which are recyclable and can be 
reused. The symbol means that your product should be disposed of separately from household waste when it reaches 
end of life. Please dispose of this equipment at your local collection point or recycling center.


All specifications and design are subject to change without notice. All information was correct at time of printing.


SM does not guarantee for the accuracy or completeness of any description, photo or statement contained in this man-
ual. Printed colors and specifications may slightly vary from product. Products from SM are only sold through authorized 
dealer. This manual is protected by copyright.


Any copying or printing is only allowed with written consent of  SM. The same applies to reproduction or copying of 
images.


I

T

A

L

I

A
N
O

E

N
G

L

I

S

H

Summary of Contents for PROMIX6 XU

Page 1: ...PROMIX6 XU USB Interface Mixer USER MANUAL MANUALE D USO REV 00 18 ...

Page 2: ...NTRODUZIONE 3 PRECAUZIONI 5 PANNELLO DI CONTROLLO 6 CONNESSIONI 8 SPECIFICHE TECNICHE 14 CONFORMITÀ 15 INDEX INTRODUCTION 4 PRECAUTIONS 9 CONTROL PANEL 11 CONNECTIONS 13 TECHNICAL SPECIFICATIONS 14 CONFORMITY 15 ...

Page 3: ...njoy the use of the SM mixer Please read carefully through this manual before beginning to use so that you will be able to take full advantage of the PROMIX6 XU features and enjoy trouble free operation for years to come Please keep this manual at a safe and dry place where you easily can access it I T A L I A N O ATTENZIONE Prima di accendere il dispositivo leggere attentamente le istruzioni di s...

Page 4: ...e ed il dispositivo Non coprire o avvolgere l adattatore con un panno o una coperta Posizionamento Durante l installazione del dispositivo assicurarsi che la presa utilizzata sia facilmente accessibile In caso di problemi o malfunzionamenti spegnere immediatamente l interruttore di alimentazione e scollegare la spina dalla presa di corrente Quando non si utilizza il prodotto per un lungo periodo d...

Page 5: ...sse verificarsi un malfunziona mento non utilizzare lo strumento e farlo ispezionare da personale qualificato Esposizione all acqua Non esporre il dispositivo alla pioggia non usatelo vicino a corsi d acqua o in condizioni di umi dità o in presenza di liquidi che possano penetrare all interno Non inserire o rimuovere la spina elettrica con le mani bagnate Se notate qualche anomalia Se il cavo di a...

Page 6: ...6 PANNELLO DI CONTROLLO 1 2 3 4 5 6 7 8 9 10 11 12 13 14 15 16 17 18 19 20 21 22 23 24 25 26 27 28 I T A L I A N O ...

Page 7: ...l tasto riproduce il primo brano dell elenco delle registrazioni 4 Collegamento con PC quando si collega il cavo dati il mixer entra automati camente nello stato PC I driver vengono installati au tomaticamente attendere la conclusione dell installa zione prima di operare 12 Ingresso USB Ingresso per l utilizzo di mp3 tramite un dispositivo esterno o PC 13 MAIN OUT Ingressi Jack 6 3 mm per collegar...

Page 8: ...MITE XLR CONNESSIONE TRAMITE JACK 6 3 mm I T A L I A N O CABLAGGIO BILANCIATO 1 TERRA 3 NEGATIVO 2 POSITIVO CABLAGGIO SBILANCIATO 1 TERRA 3 PONTE CON PIN 1 2 POSITIVO CABLAGGIO BILANCIATO JACK STEREO CABLAGGIO SBILANCIATO JACK MONO ...

Page 9: ...en the AC power adaptor and the device Do not cover or wrap the AC power adaptor with a cloth or blanket Location When setting up the device make sure that the AC outlet you are using is easily accessible If some trouble or malfunction occurs immediately turn off the power switch and disconnect the plug from the outlet When you are not using the product for a long time make sure to unplug the powe...

Page 10: ... parts If it should appear to be malfunctioning discontinue use immediately and have it inspected by qualified service personnel Water warning Do not expose the device to rain use it near water or in damp or wet conditions on it containing liquids which might spill into any openings Never insert or remove an electric plug with wet hands If you notice any abnormality If the power cord or plug becom...

Page 11: ...11 CONTROL PANEL E N G L I S H 1 2 3 4 5 6 7 8 9 10 11 12 13 14 15 16 17 18 19 20 21 22 23 24 25 26 27 28 ...

Page 12: ...cording operation a Press the MODE key to select the REC b Press the button to start recording the LED screen shows the recording time press again to exit the re cording state and play the recorded music Long press to play the first music from the recorded list 4 Computer sound card when connect the computer data cable it will enter the PC playing states automatically The computer will install the...

Page 13: ...K 6 3 mm CONNECTIONS E N G L I S H BALANCED WIRING 1 GROUND SHIELDING 3 NEGATIVE SIGNAL 2 POSITIVE SIGNAL UNBALANCED WIRING 1 GROUND SHIELDING 3 BRIDGED TO PIN 1 2 POSITIVE SIGNAL STEREO JACK BALANCED WIRING MONO JACK UNBALANCED WIRING ...

Page 14: ... RETURN 1 BUS STEREO 1 SEND 1 INPUT CHANNEL FUNCTION PAD 26 dB EQ HIGH Gain 15dB 15dB Frequency 12kHz shelving MID Gain 15dB 15dB Frequency 2 5kHz shelving LOW Gain 15dB 15dB Frequency 80kHz shelving PEAK LED LED turns on when post EQ signal reaches 3 dB below clipping level LEVEL METER 2 5 segment LED meter 6 3 0 3 10 dB EFFECTS Built in POWER INPUT 15VDC 48VDC POWER CONSUMPTION 14 W ...

Page 15: ...sto manuale è protetto da copyright Ogni copia o la stampa è consentita solo tramite consenso scritto di SM Lo stesso vale per la riproduzione o la copia di immagini Products are designed and manufactured with high quality materials and components which are recyclable and can be reused The symbol means that your product should be disposed of separately from household waste when it reaches end of l...

Page 16: ...www sm professional com ...

Reviews: