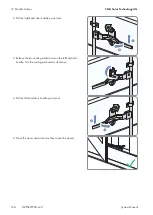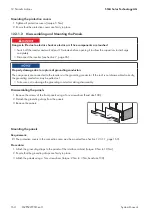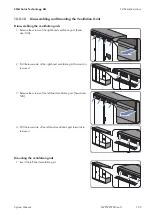
3. Unscrew and remove all parts of the base plate underneath
the connection area of the inverter. This will give you enough
room for inserting the cables.
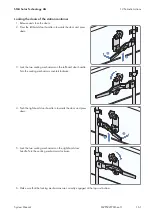
4. Lead all cables for the connection in the inverter through the opening. Make sure that the data cables are routed
separately from the power cables.
5. Connect the cables and remount all parts of the base plate (see Section 5.8.1, page 71).
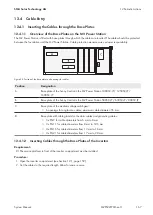
12.4.1.3 Inserting the Cables through the Base Plates of the Medium-Voltage
Switchgear
Requirements:
☐ The doors of the medium-voltage compartment must be open (see Section 12.1, page 159).
☐ The service platform in front of the medium-voltage compartment must be installed (see Section 12.2, page 162).
Cable requirement:
☐ Maximum cable diameter: 55 mm
Procedure:
1. Cut the cables to the required length. Allow for some reserve.
2. Disassemble the kick plate of the medium-voltage switchgear.
3. If protective tubes are used, carry out the following steps:
• Disassemble the base plate underneath the medium-voltage switchgear.
• Route protective tubes up to the base plates. Allow for some reserve.
• Close the protective tubes, e.g. with expanding foam.
• Mount the base plate.
4. Remove the cable support sleeves from the base plate.
5. Cut off the ends of the cable support sleeves. Observe the number and the diameter of the cables to guarantee
tightness.
6. Insert the cables in the base plate. Make sure that the cable support sleeves entirely close the openings.
7. Insert the cables through the cable support sleeves in the medium-voltage switchgear.
8. Mount the kick plates of the medium-voltage switchgear.
12.4.1.4 Inserting the Cables through the Cable Glands
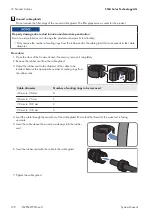
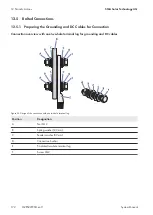
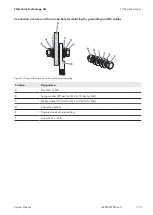
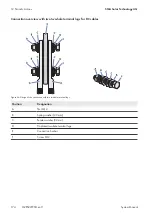
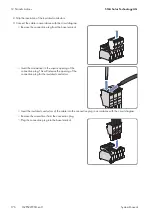
The grounding cables and data cables for the Communit must be inserted through the cable glands in the medium-
voltage switchgear compartment.
Cable requirements:
☐ Cable diameter for the grounding cables: 7 mm to 17 mm
☐ Cable diameter for the data cables: 4 mm to 9 mm
12 Periodic Actions
SMA Solar Technology AG
System Manual
MVPS22JP-SH-en-11
168
Summary of Contents for 1000-1SC
Page 257: ......


