7 Installing the AC-CON
SMA Solar Technology AG
Replacement Manual
ACCON-STPTL10-RM-xx-10
18
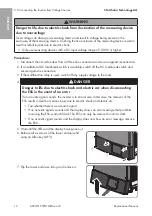
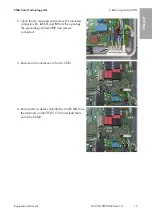
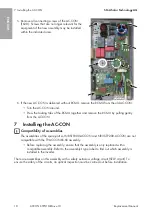
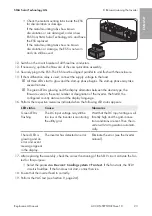
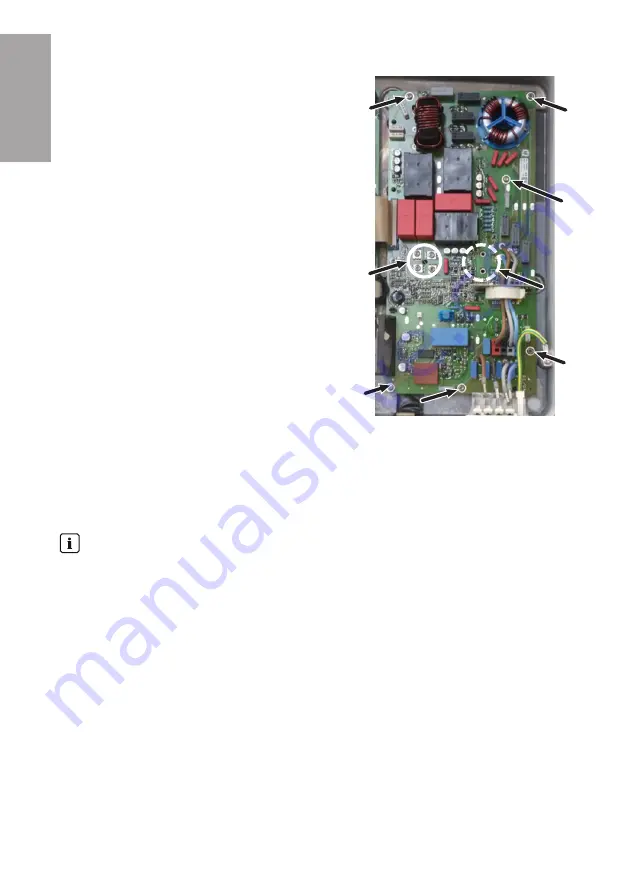
5. Remove all connecting screws of the AC-CON
(TX20). Screws that are no longer relevant for the
equipment of the new assembly may be installed
within the indicated area.
6. If the new AC-CON is delivered without RCMU, remove the RCMU from the old AC-CON:
• Turn the AC-CON around.
• Press the locking tabs of the RCMU together and remove the RCMU by pulling gently
from the AC-CON.
7
Installing the AC-CON
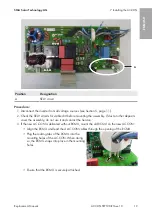
Compatibility of assemblies
The assemblies of the spare-part set NR-STP200-ACCON and NR3-STP200-ACCON are not
compatible with the TP-ACCON-XX.XX assembly.
• Before replacing the assembly, ensure that the assembly is only replaced with a
compatible assembly. Refer to the assembly's type label to find out which assembly is
installed in the inverter.
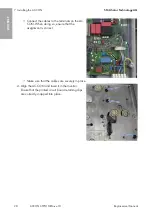
There are assemblies on this assembly with a safety extra-low voltage circuit (SELV circuit). To
ensure the safety of the circuits, an optical inspection must be carried out before installation.
ENGLISH
Summary of Contents for NR-STP-AC-CON
Page 74: ...1 SMA Solar Technology AG ACCON STPTL10 RM xx 10 74 1 5 1 6 X703 1 X703 6 10...
Page 77: ...2 SMA Solar Technology AG ACCON STPTL10 RM xx 10 77 DC DC DC DC 5...
Page 79: ...2 SMA Solar Technology AG ACCON STPTL10 RM xx 10 79 5 C v v SMA SMA...
Page 85: ...5 SMA Solar Technology AG ACCON STPTL10 RM xx 10 85 18 20 20 4 19 2 DC DC DC PE...
Page 86: ...6 AC CON SMA Solar Technology AG ACCON STPTL10 RM xx 10 86 DC PE 20 v v 6 AC CON 1 5 81...
Page 90: ...7 AC CON SMA Solar Technology AG ACCON STPTL10 RM xx 10 90 AC CON 4 AC CON...
Page 91: ...7 AC CON SMA Solar Technology AG ACCON STPTL10 RM xx 10 91 5 TX20 3 5 Nm 6 AC CON 7 AC 8 8 92...
Page 95: ...10 SMA Solar Technology AG ACCON STPTL10 RM xx 10 95 1 SMA Solar Technology AG 2...
Page 258: ...www SMA Solar com...

