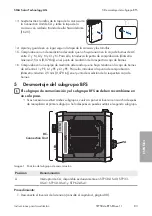
5 Desmontaje del subgrupo BFS
SMA Solar Technology AG
Instrucciones para la sustitución
STP50-4x-BFS-RM-xx-11
85
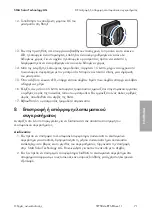
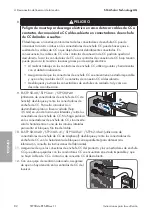
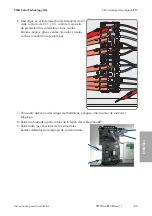
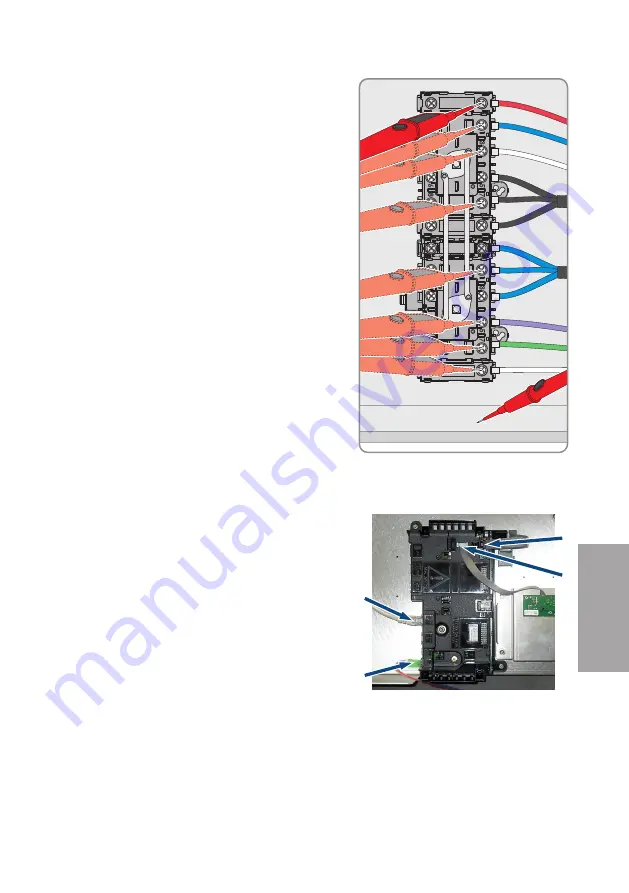
6. Descargue en el lado derecho del interruptor de CC
cada contacto de CC+ y CC- contra el conductor
de protección (los conductores rojos, azules,
blancos, negros, grises, verdes, morados y azules
contra el conductor de protección).
7. Para evitar daños por descargas electrostáticas, póngase a tierra antes de sustituir el
subgrupo.
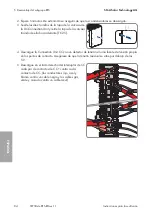
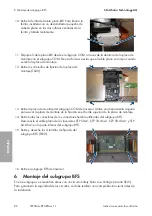
8. Retire la abrazadera para cables de la ferrita del cable plano
X1
.
9. Retire todos los conectores de los conectores
hembra utilizados del subgrupo de comunicación.
ESPAÑOL
Summary of Contents for STP 33-US-41
Page 57: ...1 SMA Solar Technology AG STP50 4x BFS RM xx 11 57 1 5 1 6 X703 1 X703 6 10...
Page 60: ...2 SMA Solar Technology AG STP50 4x BFS RM xx 11 60 DC DC DC DC 5...
Page 61: ...2 SMA Solar Technology AG STP50 4x BFS RM xx 11 61 AC DC DC AC DC 1000 V...
Page 62: ...2 SMA Solar Technology AG STP50 4x BFS RM xx 11 62 DC 5 C v v...
Page 67: ...5 BFS SMA Solar Technology AG STP50 4x BFS RM xx 11 67 5 DC DC DC 1 1 6 DC DC DC 7 8 X1...
Page 196: ...1 SMA Solar Technology AG STP50 4x BFS RM xx 11 196 1 5 1 6 X703 1 X703 6 10 WCtlHz Hz...
Page 198: ...2 SMA Solar Technology AG STP50 4x BFS RM xx 11 198 2 2 5 DC DC DC DC DC...
Page 199: ...2 SMA Solar Technology AG STP50 4x BFS RM xx 11 199 5 AC DC DC AC...
Page 200: ...2 SMA Solar Technology AG STP50 4x BFS RM xx 11 200 DC 1000 V DC 5 C...
Page 205: ...5 BFS SMA Solar Technology AG STP50 4x BFS RM xx 11 205 5 DC DC DC 1 1 6 DC DC DC 1 7 8 X1...
Page 211: ......
Page 212: ...www SMA Solar com...

