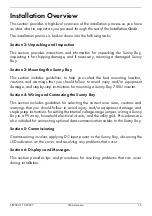
3-6
SMA America
SB700U-11:SE3207
Mounting Procedure
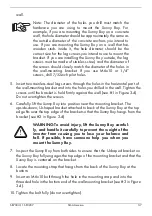
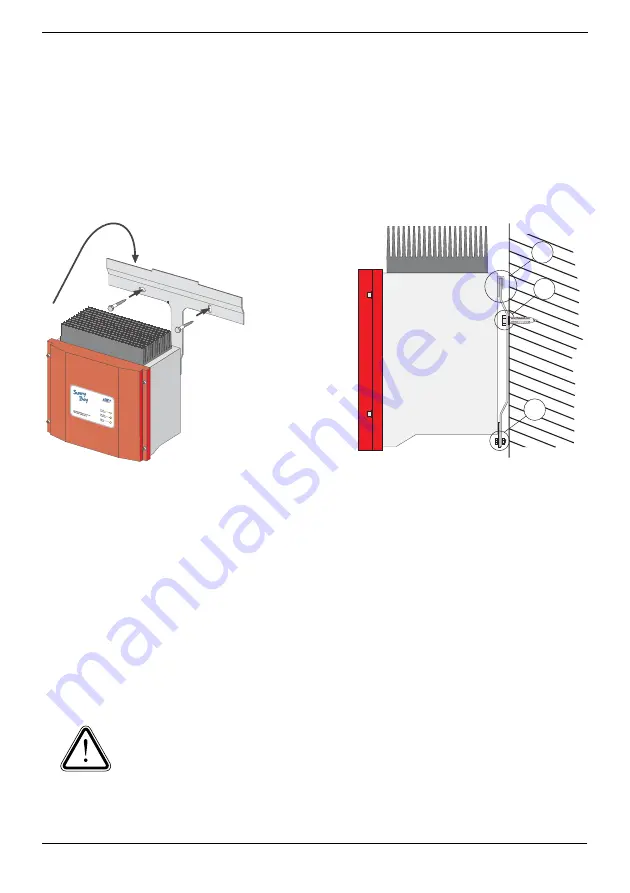
The Sunny Boy 700U is shipped with a T-shaped wall-mounting bracket that is
suitable for use with most walls (see Figure 3-4). The horizontal part of the T bracket
has two holes spaced for 16-inch centers for mounting on wooden wall studs, or it
can be mounted on concrete or stone walls. Make sure that the wall you choose to
mount the Sunny Boy on is sturdy enough to support its weight (16 kg/
36 lb.
) over
a long period of time and that the wall is plumb.
Figure 3-4 Sunny Boy 700U with Mounting Bracket
Use the following procedure to mount the Sunny Boy:
1. Locate the T-shaped wall-mounting bracket included in the shipping container
with the Sunny Boy.
2. Position the wall-mounting bracket against the wall where you intend to mount
the Sunny Boy (it is best to mount the Sunny Boy at approximately eye-level),
place a level on the top edge of the bracket, and adjust the position of the
bracket so that it is level.
3. Using the wall-mounting bracket as a template, mark the wall through the two
holes in the horizontal portion of the bracket.
CAUTION:Ensure that there are studs in the wall at the
places where you intend to drill the mounting-holes.
DO NOT
use molly or toggle bolts to mount the Sunny Boy to sheet
rock or panelling.
4. Set the bracket aside temporarily, and drill holes at the marks you made on the
2
3
1
Summary of Contents for Sunny Boy SB 700U
Page 1: ...Sunny Boy SB 700U Installation Guide Version 1 1 SB700U 11 SE3207 TBE SB07U...
Page 2: ...ii SMA America SB700U 11 SE3207...
Page 14: ...1 6 SMA America SB700U 11 SE3207...
Page 16: ...2 2 SMA AmericaSB700U 11 SE3207...
Page 24: ...3 8 SMA America SB700U 11 SE3207 11 Verify that the Sunny Boy 700U is firmly mounted in place...
Page 46: ...4 22 SMA America SB700U 11 SE3207...
Page 50: ...6 2 SMA America SB700U 11 SE3207 Figure 6 1 The Sunny Boy LED Status Indicator...
Page 84: ...8 6 SMA America SB700U 11 SE3207...
Page 85: ......

