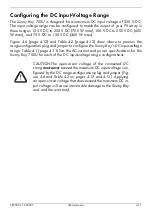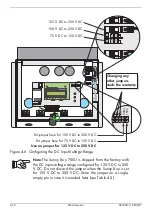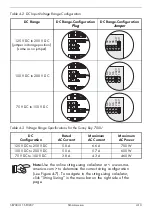
SB700U-11:SE3207
SMA America
4-15
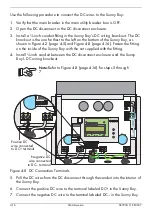
Connecting the DC Wires
WARNING: You must connect the wires that carry
the DC voltage from the PV array to the Sunny Boy
in the order described in the following procedure.
Deviating from this procedure could expose you to
lethal voltages that can cause serious injury and/or
death.
WARNING: PV arrays are energized when ex-
posed to light. Use safe working practices when
working on PV arrays.
WARNING: Always turn OFF
all
AC and DC break-
ers and switches in the PV system and wait a mini-
mum of 5 minutes for the Sunny Boy to completely
discharge before connecting any wires to the Sunny
Boy or disconnecting any wires from the Sunny
Boy. Failure to do so could expose you to lethal
voltages that can cause serious injury and/or
death.
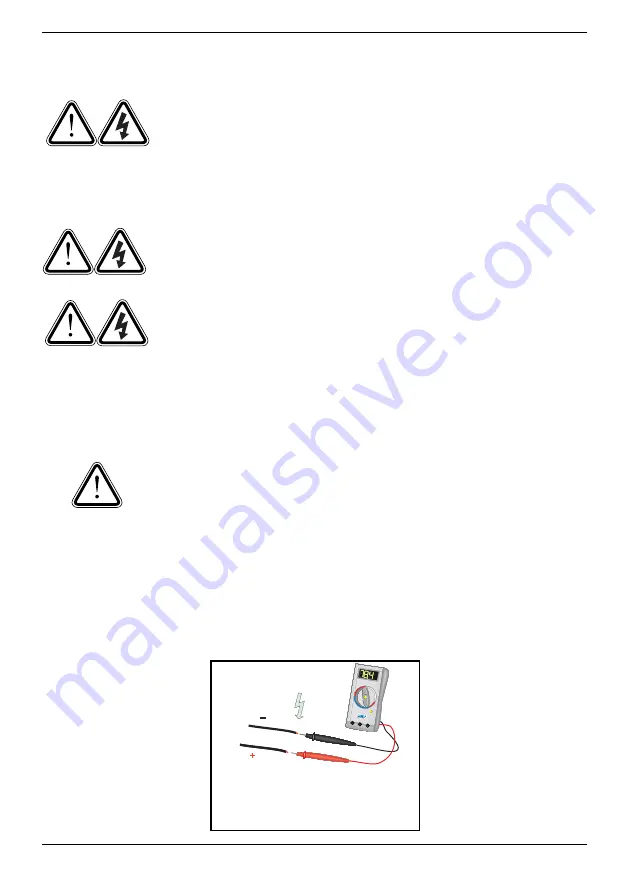
CAUTION: Verify the polarity and the open-circuit volt-
age from the PV strings before you connect the DC wires
to the Sunny Boy. Applying an open-circuit DC-input volt-
age that exceeds the maximum for the currently config-
ured DC-input-voltage range or has reversed polarity will
cause irreversible damage to the
Sunny Boy
and void the
warranty! Always configure the DC-input-voltage range
correctly before connecting the DC-input wires from the
PV array to the Sunny Boy (see "
Check both the polarity and
the open-circuit voltage from
the PV strings!
Summary of Contents for Sunny Boy SB 700U
Page 1: ...Sunny Boy SB 700U Installation Guide Version 1 1 SB700U 11 SE3207 TBE SB07U...
Page 2: ...ii SMA America SB700U 11 SE3207...
Page 14: ...1 6 SMA America SB700U 11 SE3207...
Page 16: ...2 2 SMA AmericaSB700U 11 SE3207...
Page 24: ...3 8 SMA America SB700U 11 SE3207 11 Verify that the Sunny Boy 700U is firmly mounted in place...
Page 46: ...4 22 SMA America SB700U 11 SE3207...
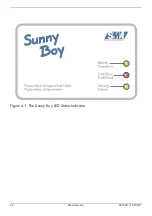
Page 50: ...6 2 SMA America SB700U 11 SE3207 Figure 6 1 The Sunny Boy LED Status Indicator...
Page 84: ...8 6 SMA America SB700U 11 SE3207...
Page 85: ......

