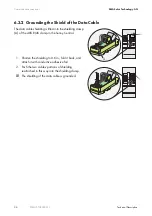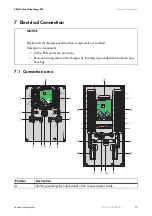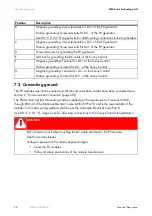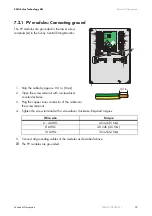
Attaching the Cable Conduits
SMA Solar Technology AG
28
SSMUS-TUS094511
Technical Description
5 Attaching the Cable Conduits
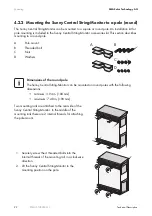
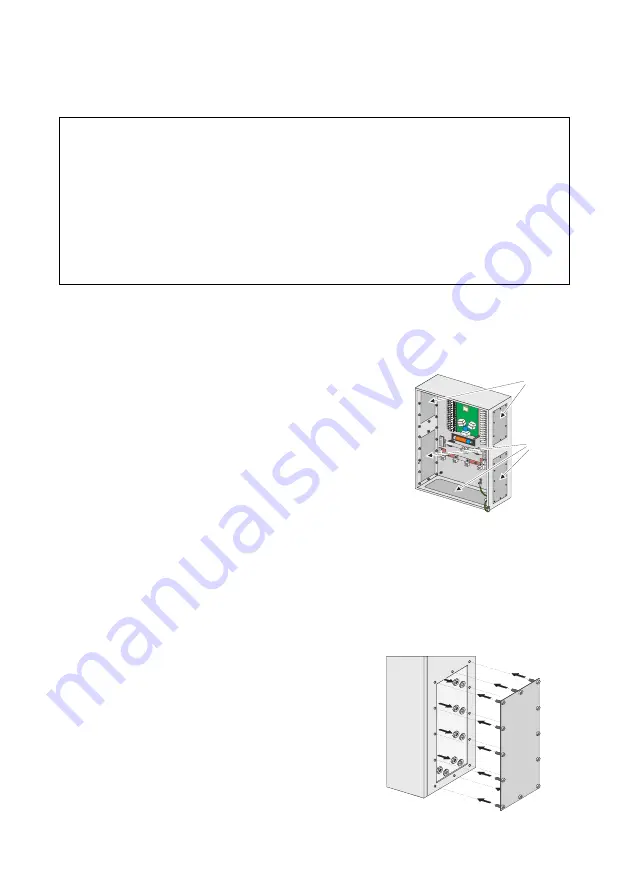
The cables of the Sunny Central and the PV generator can be routed into the Sunny Central String-
Monitor from left, right or bottom. The communication cables can be routed into the Sunny Central
String-Monitor from left or right. Metal plates are attached to the Sunny Central String-Monitor for this
purpose. The plates can be removed in order to punch the holes for the cable conduits.
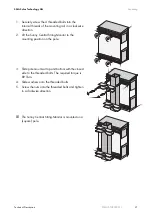
1. Check which position is the best for routing the cable (example: The Sunny Central is on the right
side of the Sunny Central String-Monitor. The right side of the Sunny Central String-Monitor can
be used for routing the cables).
2. Loosen nuts at the metal plates to be used.
3. Put the nuts aside.
4. Punch holes for the cable conduits into the plates.
5. Attach plates to the Sunny Central String-Monitor.
6. Tighten the screws with a torque of 22 in-lb
(2.5 Nm).
7. Insert the conduits into the openings.
8. Attach the cable conduits with the appropriate
screws.
NOTICE
Infiltration of water during the mounting and installation of the product.
Damage to the product.
• Do not open the Sunny Central String-Monitor when it is raining or when there is very
high humidity (>95 %).
• For conduit hubs, use only UL Listed rainproof, or wet location hubs complying with
UL 514B for entry into the enclosure.
A
Cable gland for:
• Communication
B
Cable gland for:
• Cable of the PV generator
• Cables of the Sunny Central
A
B

