10
Installing Your Interactive Whiteboard
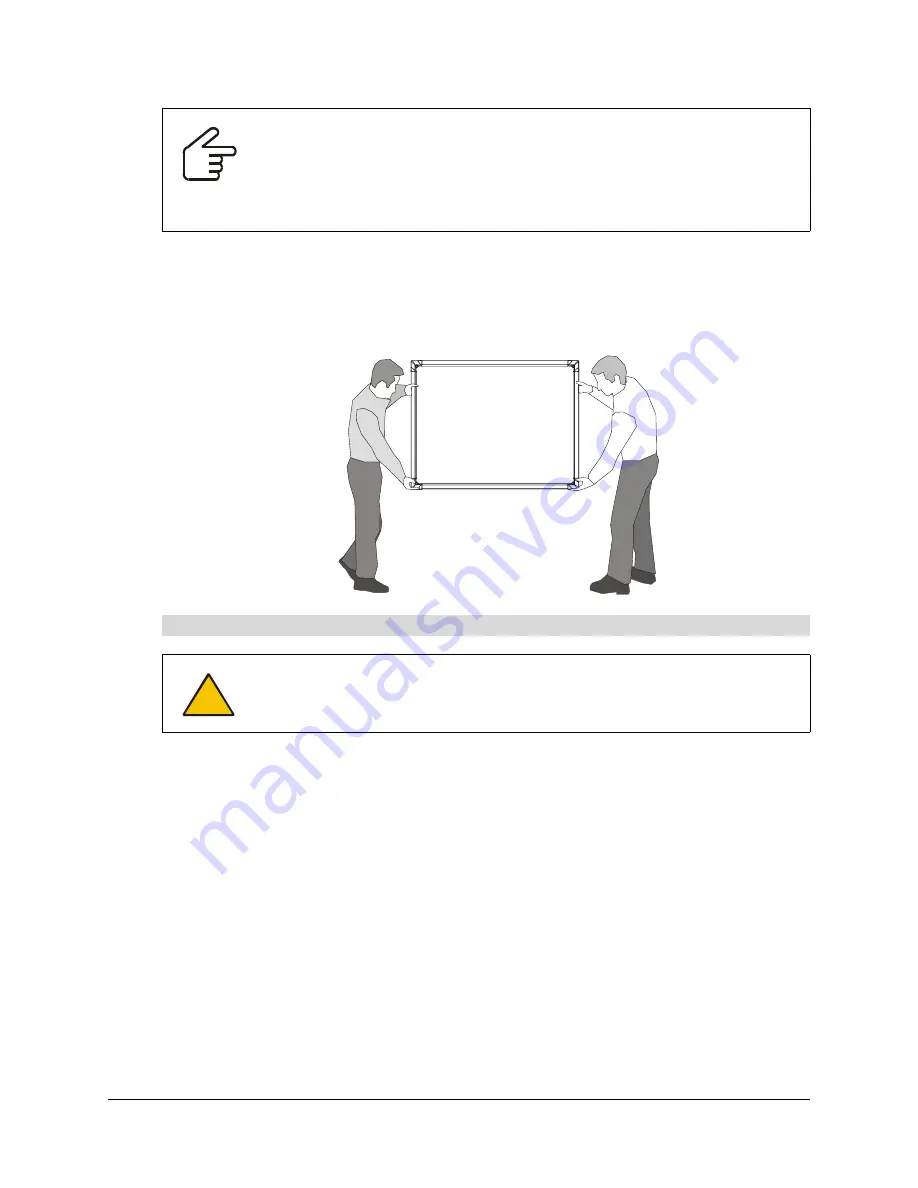
For safety, two people must lift the interactive whiteboard. To do this, you and your assistant
should stand at either side of the screen, supporting its weight at the bottom corners while
balancing the top with your other hand. Your assistant should continue to hold the interactive
whiteboard in place while you secure the mounting brackets to the wood framing (step 2 below).
1. Lift the SMART Board interactive whiteboard with the mounting brackets attached, and place it
into the prepared wall opening. Shim as necessary.
2. From the projection room side, insert one screw through the top row of holes in each mounting
bracket.
IMPORTANT
Before you install the interactive whiteboard into the wall, check that the wall is
even.
If you fit a large interactive whiteboard into an uneven wall, it is important that you
don’t flex the interactive whiteboard by forcing it to fit flush with the wall. The
interactive whiteboard has to be flat (not twisted or warped) for its digital cameras
to work correctly.
To install the interactive whiteboard in the wall opening
CAUTION
If you are installing the interactive whiteboard in an uneven wall, don’t push the
interactive whiteboard to ensure it is flush with the wall. Instead, allow the
interactive whiteboard to hang naturally, and then insert the screws, as this will
ensure that the interactive whiteboard is flat.
Summary of Contents for In-WallRear Projection Interactive Whiteboard
Page 1: ...In WallRear Projection SMART Board TM Installation Guide Interactive Whiteboard...
Page 14: ...8 Preparing to Install Your Interactive Whiteboard...
Page 42: ...36 Preparing Your Interactive Whiteboard for Use...
Page 48: ...42 Using and Maintaining the Interactive Whiteboard...
Page 62: ...56 Appendix B Restoring the Projector Settings...
Page 64: ...58 Waste Electrical and Electronic Equipment Regulations...


