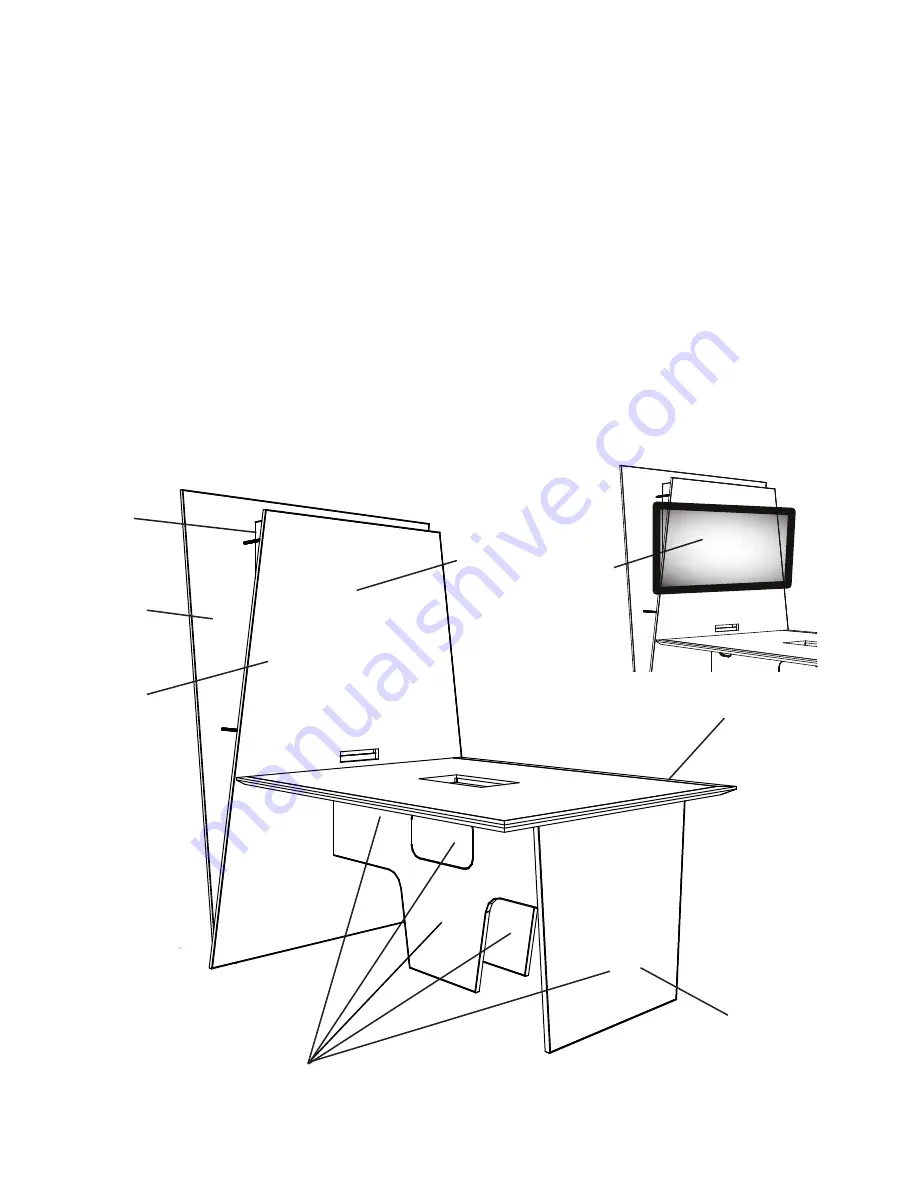
Approach to Assembly
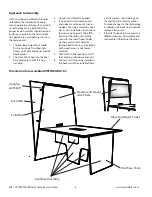
VISTA must be assembled in this order
to facilitate the installation of equip-
ment. Coordinate with your IT specialists
so technology can be installed at the
proper stage. Assembly should be done
as close as possible to the final installa-
tion position to avoid putting stress on
the components.
1. The Keel Base Assembly is made
first, consisting of two Keel Side
Panels, one Table End Panel, and the
Keel Bottoms.
2. The Front Wall is tied into the Keel
Base Assembly so that it is free-
standing.
3. Uprights and Shelf are applied
4. IT Specialists install components
and video monitor mount (not in-
cluded). The video monitor mount
has its own installation instructions
for mounting to a wall. The VISTA
front wall should be structurally
sound for the load if robust bolts,
washers and nuts are used for
through bolt fastening. Installation
with wood screws is not recom-
mended.
5. With VISTA in final position, install
the Table Top to the base and wall.
6. The very last thing to be installed is
the back wall. When installed there
is limited access to technology on
the shelf and the monitor mount.
To make changes to the technology
installation, the back wall should be
removed for service
7. If the VISTA needs to be moved to a
different location, disassemble and
reassemble in the desired location.
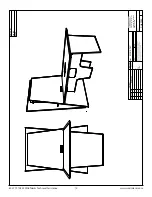
Front Wall
Back Wall
Monitor and Mount
attach here
Uprights
and Shelf
800 770 7042 SMARTdesks Technical Assistance
4
www.smartdesks.com
Table Top edged 3 sides
Keel Base Assembly
End Base Panel
Orientation for assembled VISTA MARK 16 C


