Quick set up guide
1.
Set up screen
a.
Take out of the bag, Unroll, unfold
b.
Inflate by closing both valves on right side of the screen first
c.
Open the large valve on the left side of the screen and using your handheld blower
inflate the screen to a standing position and close the big valve.
d.
Unscrew the small valve that is on top of the large valve you just closed and using your
handheld blower proceed to inflate the screen so that it is solid and the screen has
stretched
e.
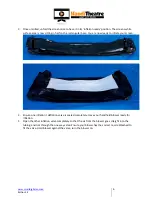
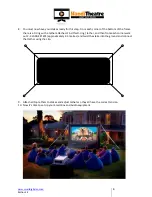
Zip on screen surface and attach tethers to D-Rings
- see set up guide provided for full
details and diagrams for set up, inflation & deflation
.
2.
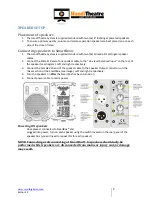
Set up Speakers
(for more details see manual provided)
a.
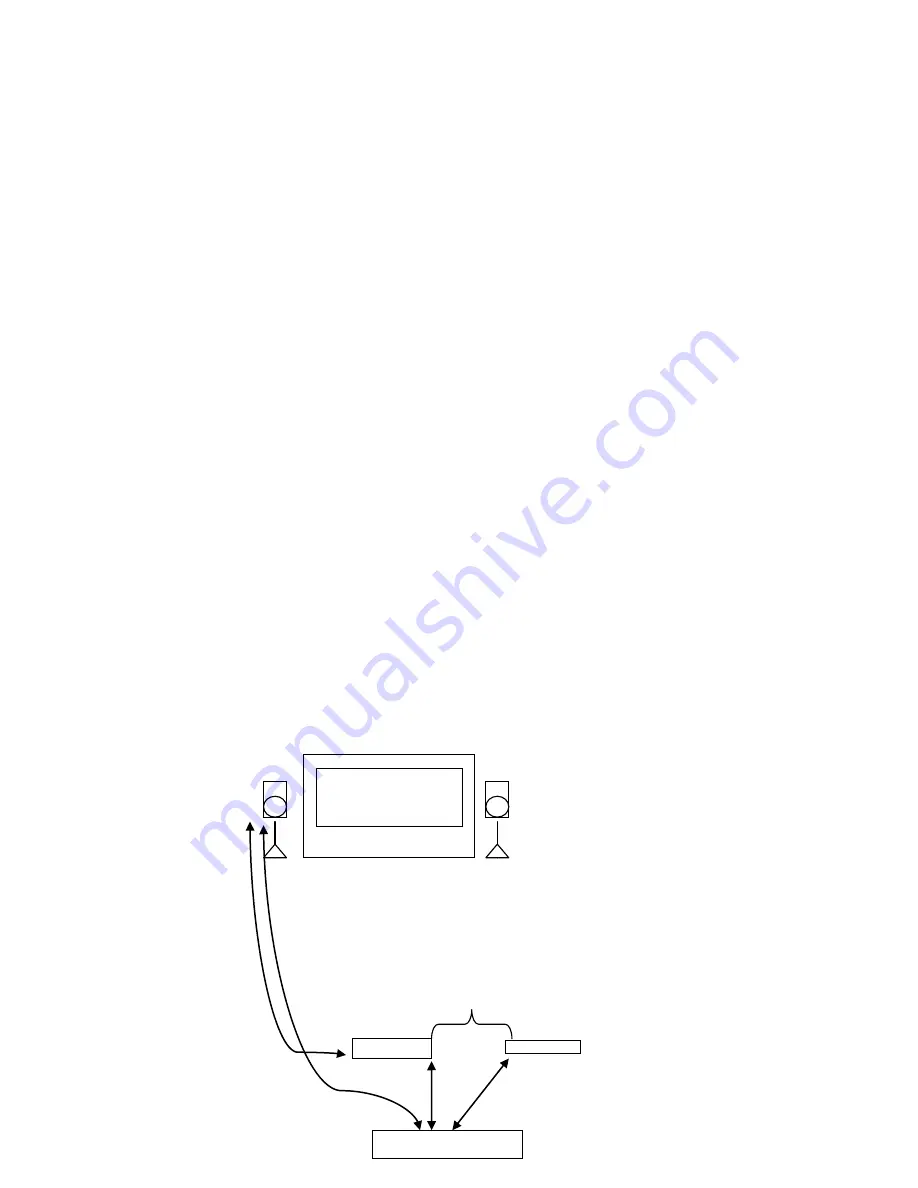
Put speaker stands on either side of the screen, Place the speakers on the stands
b.
Connect the power to your speakers
c.
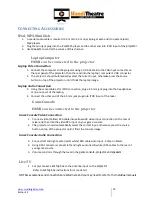
Connect the audio cables to the back of the speakers and then into the
AUDIO OUT
at
the back of the projector.
d.
Volume is controlled via the level switch at the back of the speakers
3.
Set up Projector and DVD player
(for more details see manual provided)
a.
Put the projector on a stand approx 4m – 5m away from the screen and approx 70cm
high
b.
Connect the projector to the power
c.
Connect one end of the
HDMI cable
to your projector and the other end into your DVD
player
d.
Connect your Blu-ray to the power
TURN everything on, power boards, speakers, projector and DVD player
Make sure you have selected HDMI as your source on the projector by using the remote, insert disk and
press play.
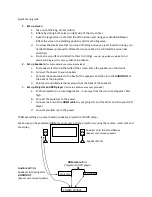
Speaker onto the stand below
(Repeat with second speaker)
Projector
DVD player
Speaker Stand
HDMI cable
from
Projector to DVD player
Audio lead
from
Speakers into projectors
AUDIO OUT
(Repeat with second speaker)
POWER SOURCE

