Page
7
Page
8
WORKLIGHT OPERATION
Power supply cord and plug
Your portable halogen worklight comes with a
4-ft.
power supply
cord with a 3-prong grounded plug. The maximum mounting distance
to receptacle is 4 feet when not used with an extension cord. DO NOT
attempt to plug the worklight into a non-grounded outlet or non-
grounded extension cord.
• DO N
OT remove the ground prong or otherwise try to alter the
plug. If the pro
vided plug will not fit the outlet receptacle, h
ave the
proper outlet receptacle installed b
y a qualified electrician. Improper
connection of the grounding conductor can result in electrical shock
and death.
• DO N
OT abuse the power supply cord. Never carry the worklight by
the power supply cord or pull the cord to disconnect the plug from the
outlet receptacle. Keep cord awa
y from heat, oil and sharp edges.
WARNING
: Improper connection of the grounding conductor
can result in electrical shock and death.
• DO N
OT abuse the power supply cord. Never carry the work light by
the power supply cord or pull the cord to disconnect the plug from the
outlet receptacle. Keep cord awa
y from heat, oil and sharp edges.
Adjusting the light direction
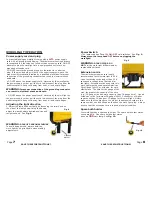
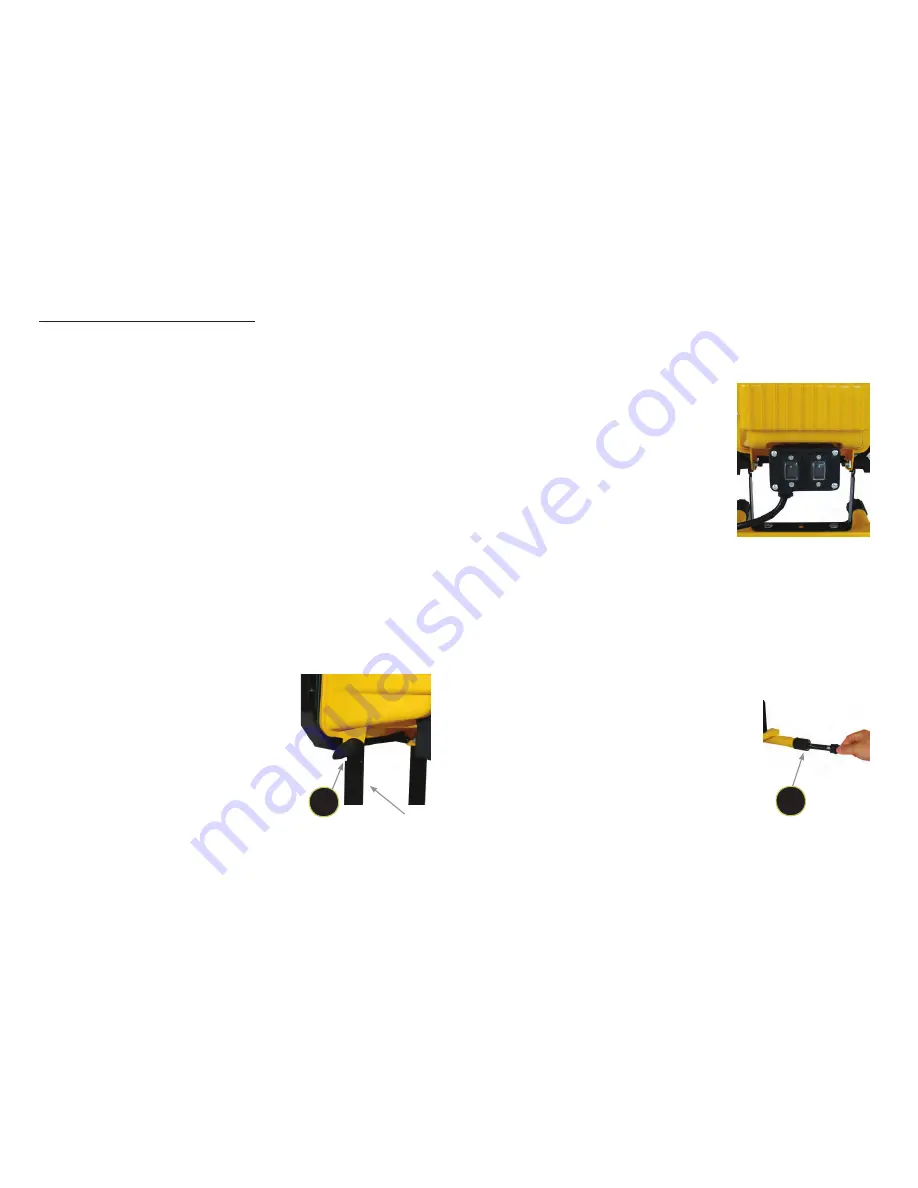
1. Adjust the lamp head vertically by loosening the twist knob on
the side of the lamp head. Using the handle,
adjust the lamp head to desired position and
retighten knob. See
Fig. 8.
WARNING
: RISK OF PERSONAL INJURY.
To av
oid being burned, al
ways hold the
work light by its grip handle when making
adjustments.
Power Switch
• The lamp head has
Two (2) ON–OFF
style switches. See
Fig. 9.
Always turn the lamp head OFF before unplugging the
worklight!
WARNING
: RISK OF FIRE. DO
NOT
aim the work light at flammable or
combustible surfaces.
Extension cords
The maximum extension cord length
recommended for this work light is 50 ft.
Use of extension cords longer than 50 ft.
can cause a voltage drop that can dim
the lights. Extension cords used with this
work light must have adequate American
Wire Gauge (A
WG), or wire si
z
e, for safe,
efficient use. The smaller the gauge of the
wire, the greater the capaci
ty of the wire
(e.g.
, 14-gauge wire has more capaci
ty than 16-gauge wire). Use an
extension cord of minimum 16-gauge (AWG) 3-conductor or higher
capacity such as 14-gauge or 12-gauge for this work light. Always
make sure that the prongs on the plug of the extension cord are the
same number
, si
ze and shape as those on the work light plug. Always
be sure that the extension cord is in good electrical condition.
Spare bulb holder
Your worklight has a spare bulb holder. The spare bulb holder stores
one spare bulb. One spare bulb holder stores
an extra
300
watt lamp. See
Fig. 10.
SAVE THESE INSTRUCTIONS!
SAVE THESE INSTRUCTIONS!
Fig. 8
D
U-shaped
bracket
Fig. 10
G
Fig. 9


