background image

11

10

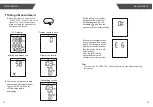
MEASUREMENT

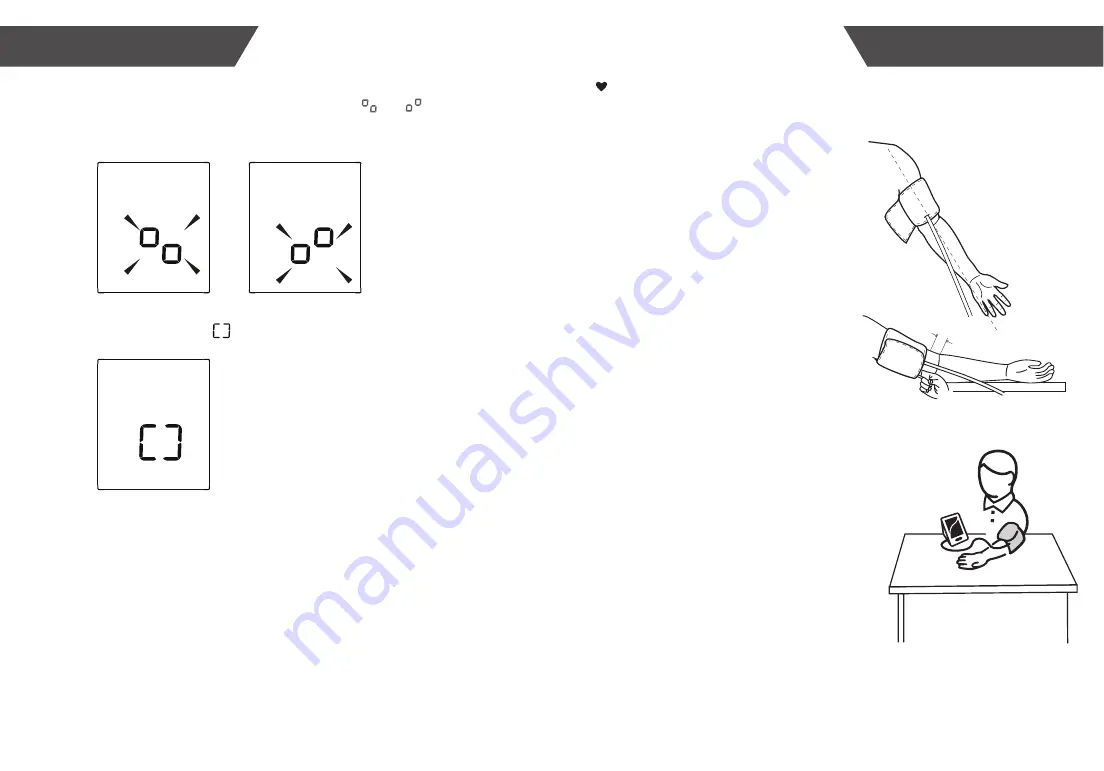
Tie the Cuff

2~3cm

BEFORE YOU START

Tip: 

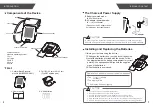
Replace the battery or connect 

AC adapter, 

the symbol       and       will be 

shown on the LCD, indicating pair-up is proceeding alternatively.

You can press “ START/STOP ” button at any time to stop pair-up.

If SUCCEED

, symbol          will be shown on the LCD.

1.

2.

3.
4.

5.

6.

7.

8.

9.

10.

11.

If FAIL, 

the monitor will turn off automatically.

Plug the connector on cuff tube into the 

device. 
Expose your upper arm by removing or 

adjusting clothing and jewelry. Make 

sure blood flow is not constricted by a 

rolled up sleeve.
Open the cuff and loosen fully.
Orient the cuff so that the tube exits 

towards the hand.
Place your arm through the cuff loop, 

with your palm facing up.
Position the cuff's edge about an inch 

(2–3 cm) above the elbow.
Align the 

Ф

 marker (located to the right 

of the tube exit) with the center of your 

arm. 
Tighten the cuff evenly around your arm 

by pulling on the end—make sure the 

Ф


marker stays aligned with the center of 

your arm.
Wrap the end of the cuff over your arm 

to secure it in place. Don't make it too 

tight—allow a finger to fit between the 

cuff and your arm. 
If possible, relax and rest for at least 5 

minutes before taking a measurement.
Lay your arm on a table with your palm 

facing up. The cuff should be at the 

same height as your heart. Sit up 

straight and rest your feet flat on the 

ground. Make sure the tube is not kinked 

or pinched.

Summary of Contents for iBloodPressure SMBP802-GS-001

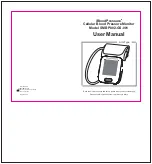
Page 1: ...Model SMBP802 GS 001 User Manual To use the monitor correctly and safely please read the manual thoroughly Please keep this manual in order to reference in future Manufactured for Smart Meter LLC 201...

Page 2: ...a Measurement INFORMATION FOR USER 14 Tips for measurement Maintenances ABOUT BLOOD PRESSURE 16 What are systolic pressure and diastolic pressure What is the standard blood pressure classification Ir...

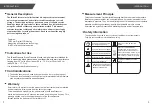
Page 3: ...revent any damage to the device SN Symbol for MANUFACTURE DATE General Description The iBloodPressure monitor features blood pressure measurement pulse rate measurement and cellular result transmissio...

Page 4: ...presence of a flammable anesthetic mixture with air of oxygen or nitrous oxide This unit is not suitable for continuous monitoring during medical emergencies or operations INTRODUCTION INTRODUCTION T...

Page 5: ...onments may affect the performance of the unit Please use a soft cloth to clean the whole unit before and after use Don t use abrasive or volatile cleaners Do not wash the cuff in a washing machine or...

Page 6: ...ims The display does not light up Do not use new and used batteries together Do not use different types of batteries together Do not dispose the batteries in fire Batteries may explode or leak Remove...

Page 7: ...so that the tube exits towards the hand Place your arm through the cuff loop with your palm facing up Position the cuff s edge about an inch 2 3 cm above the elbow Align the marker located to the rig...

Page 8: ...links on the LCD indicates data is transmitting Taking a Measurement Transmitting results Tip You can press START STOP button at any time to stop measuring during the process 3 If the data is successf...

Page 9: ...y place and avoid the sunshine Avoid intense shaking and dropping Use a damp cloth to remove dirt Avoid contact with water clean exterior with a dry cloth Avoid dusty places and unstable temperatures...

Page 10: ...t the day due to weather emotion exercise etc Also there is the white coat effect which means blood pressure usually increases in clinical settings It is okay to measure on either arm however there ma...

Page 11: ...is allowed Power supply Display mode Measurement mode Oscillographic testing mode Measurement range Measurement perimeter of the upper arm Weight External dimensions Attachment Mode of operation Cont...

Page 12: ...device labels labelling and information to be supplied Part 1 General requirements IEC 80601 2 30 2018 Medical electrical equipment Part 2 30 Particular requirements for the basic safety and essential...

Page 13: ...d amateur radio bands between 0 15 MHz and 80 MHz 6V For AC power port 3 Vrms 6 Vrms in ISM and amateur radio bands 80 AM at 1 KHz 10 V m 80 MHz 2 7 GHz 80 AM at 1 kHz 10 V m 80 MHz 2 7 GHz 80 AM at 1...

Page 14: ...Rules These limits are designed to provide reasonable protection against harmful interference in a residential installation This equipment generates uses and can radiate radio frequency energy and if...

Reviews: