background image

P.6


User Guide


Backlight


Three different ways to use the backlight: 


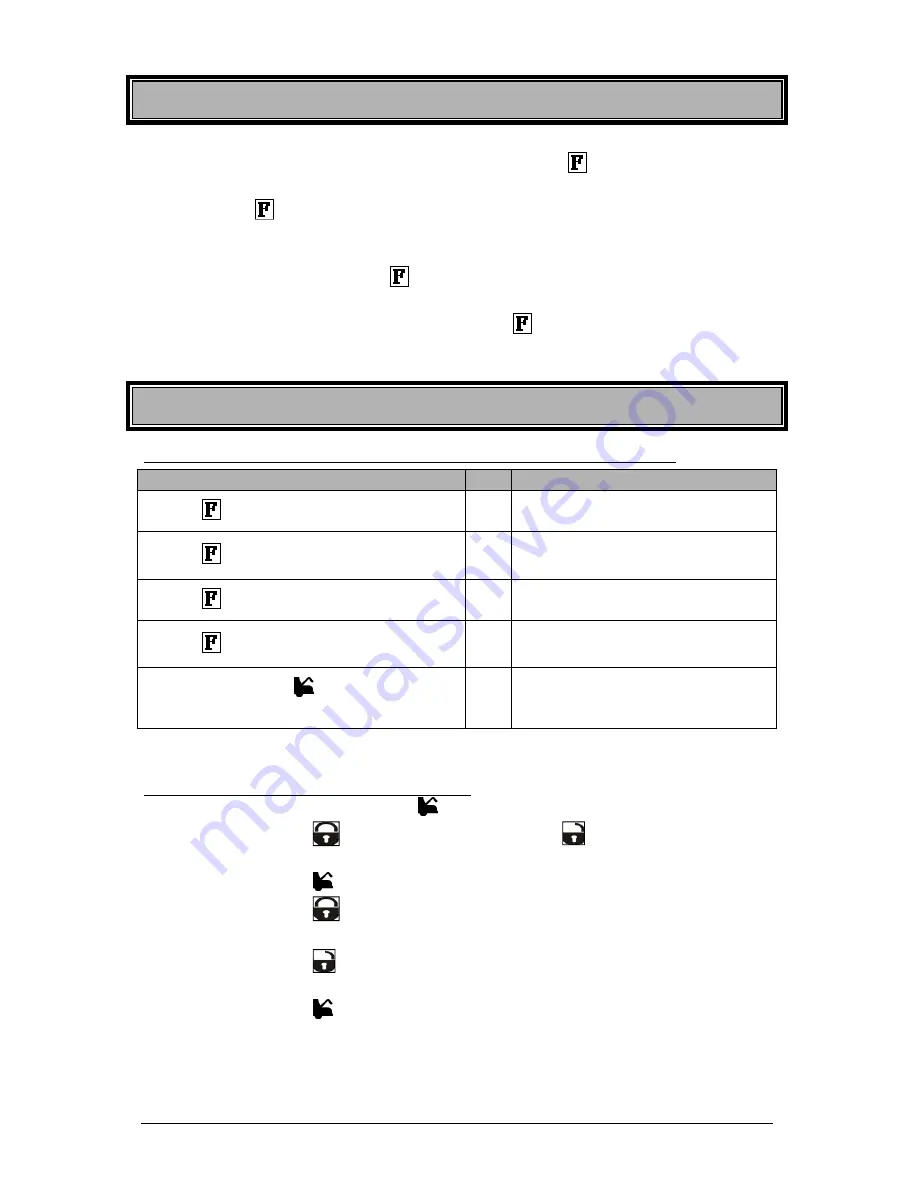
Turning the backlight on for 3 seconds, press the 

 for at least 1 second and 

release. 


If the 

 button is pressed and held for more than 5 seconds the backlight will stay ON 

as long as the button is held. 


To browse the MENU while the backlight is ON: 

a)


Press the 

 for at least 1 second and release. The backlight should 

turn ON. 

b)


Within 3 seconds, press the 

 button for 2 seconds to access the 

various functions. 

Remote’s


advanced


functions


and


MENU


How


to


access


default


advanced


remote


functions


and


MENU


User 


Transmitter (default) 

1.


Press 

 for 1 second and release 

Î


Remote beeps once and L-01 
appears on screen. 

2.


Press 

 a 2

nd

 time for 1 second and release 

Î


Remote beeps once and L-02 
appears on screen. 

3.


Press 

 a 3

rd

 time for 1 second and release 

Î


Remote beeps once and L-03 
appears on screen. 

4.


Press 

 a 4

th

 time for 1 second and release 

Î


Remote beeps once and MENU 
appears on screen. 

5.


At that point, press 

 to enter the remote’s 

MENU. 

Î


Follow the steps listed below in 
“Selecting and adjusting 
advance MENU options”

Note: The order of LEVELS and MENU can be re-arranged in the menu option FBPRO
 
Selecting and adjusting advanced menu options: 


When in MENU, press 

 button to enter the menu. 


Press 

 button to move up in the menu or 


button to move down in the 

menu. 


Press 

 button to select the option you would like to adjust  


Press 

 button to increase the value or to activate or deactivate a function 

or toggle through the selection. 


Press 

 button to decrease the value or to activate or deactivate a function 

or toggle through the selection. 


Press 

 button to move to the next sub-option or go back to the main menu. 


To SAVE modifications and EXIT remote’s MENU, do not touch any button for 
approximately 5 to 10 seconds. 


Summary of Contents for AS-2471TW-FM

Page 1: ... the vehicle operator to ensure their vehicle is parked in a safe and responsible manner 1 a Manual transmission When leaving the vehicle it is the user s responsibility to ensure that the gearshift lever is in the NEUTRAL position and the parking brake is engaged in order to avoid accidents upon remote starting b Automatic transmission When leaving the vehicle it is the user s responsibility to e...

Page 2: ...ill if installed 10 Remote Starter Features 11 Remote Door Locks 11 Remote Trunk Release 12 Idle Mode 12 Valet Modes 13 Panic Mode 13 Quick LockoutTM 14 Cold Weather Mode 14 Extended Run Time 14 Disable Enable LED flashing 15 Temperature Request If ACC Temp 100 installed 15 Advanced Features Installation programmable Options 15 Ignition controlled Door Locks 15 Secure Lock 15 Safe Start 15 Engine ...

Page 3: ...r or an experienced radio TV technician for help This device complies with the Industry Canada Radio Standards Specification RSS 210 Its use is authorized only on a no interference no protection basis in other words this device must not be used if it is determined that it causes harmful interferences to services authorized by IC In addition the user of this device must accept any radio interface t...

Page 4: ...ry Using the Transmitter Your remote starter is equipped with a 6 button multi channel remote control It can operate two independent vehicles equipped with identical remote starters see Multi car operation section on page 17 The functions of the 2 way transmitter are as follows LOCK Locks the doors and arms the STARTER KILL if installed UNLOCK Unlocks the doors and disarms the STARTER KILL if inst...

Page 5: ...onds Note Icon may vary AUX AUX This button serves as a second function button This button allows assigning different functions to any of the other four buttons LCD Transmitter basic confirmations Basic Vehicle Operations Function Button pressed Icon text Sound Instructions description Lock LOCK 1 beep Lock and arm the system Unlock UNLOCK 2 beeps Unlock and disarm the system Trunk or Aux 3 TRUNK ...

Page 6: ...for 1 second and release Î Remote beeps once and L 03 appears on screen 4 Press a 4th time for 1 second and release Î Remote beeps once and MENU appears on screen 5 At that point press to enter the remote s MENU Î Follow the steps listed below in Selecting and adjusting advance MENU options Note The order of LEVELS and MENU can be re arranged in the menu option FBPRO Selecting and adjusting advanc...

Page 7: ... press c Choose ON and wait A flashing A will appear on screen to confirm activation CWM 3 Cold weather mode function Through Advanced Options first press to select MENU then a Choose CWM and press b Choose ON OFF then press and hold until icon appears VALET 4 Valet function Through Advanced Options first press to select MENU then a Choose VALET and press b Choose ON OFF then press and hold until ...

Page 8: ... press to select MENU then a Choose CLOCK and press b Set the time at which you want to set the clock First set the hour and press then set the minutes and press TEMP 10 Temp Can be set to read the temperature in Celsius CTEMP or Fahrenheit FTEMP LANGU 11 Language Can be set to either English or French SBPRO 12 Side button function The side button can be programmed as Panic button Stop button Temp...

Page 9: ... the trunk is opened if the brake pedal is pressed if the parking brake is disengaged or if the ignition key is turned to the IGNITION ON RUN position To set the system to Ready Mode If Ready Mode is enabled by remote If Ready Mode is enabled by handbrake 1 Ensure that all the doors hood and trunk are closed Make sure that the gear selector is in the neutral position 2 With the engine running appl...

Page 10: ...ollowing 1 Turn the ignition key to the IGNITION ON RUN position Do not turn the key to the CRANK position while the engine is running This would cause the starter motor to re engage 2 Press the brake pedal to disengage the remote starter unit You are now ready to drive off Note On some Push To Start PTS vehicles no takeover is possible as pressing the brakes will shut the engine down Please talk ...

Page 11: ... ON Active Mode To arm the Starter Kill Press the button on the transmitter The parking lights will flash once The LED on the antenna will flash slowly If remote door locks are installed this will also lock the doors and arm the OEM style alarm if configured To disarm the Starter Kill Press the button on the transmitter The parking lights will flash twice The LED on the antenna will remain OFF If ...

Page 12: ... turn it to the ON position not Crank without pressing on the brake b Once the key is in the ON position press on the brake pedal to put the transmission in gear Pressing the brake pedal at this step will cancel the remote starter takeover c Drive off If your vehicle has a manual transmission Idle Mode can be activated through the same routine as that used for Ready Mode page 9 at the last step pr...

Page 13: ... Mode Using the KEY Ignition Valet Mode 1 Insert the ignition key into the ignition switch Within 10 sec turn the key to the IGNITION RUN and OFF positions until parking lights flash twice 2 Turn the ignition OFF 3 The LED on the antenna will switch OFF indicating that the vehicle is now out of Valet mode 4 The icon will disappear from the LCD remote if the or button is pressed Using the TRANSMITT...

Page 14: ...o the IGNITION ON RUN position Or by using the remote as so 2 way remote a Press and release to select L 01 Press and hold the button until the icon disappears from the display 1 way remote b Rapidly press AUX twice While the remote s LED is flashing press and hold until the parking lights flash for 2 seconds pause and then flash once To verify whether the system is in cold weather mode The icon s...

Page 15: ...tion Controlled Door Locks option the doors will automatically lock as soon as the ignition key is turned to the IGNITION ON RUN position while the brakes are pressed The remote car starter will also lock any door that was unlocked and opened then closed the next time the brake pedal is pressed only when doors are monitored When the key is turned to the OFF position the doors will automatically be...

Page 16: ...button this will lock the doors arm the OEM style alarm if configured and confirm that the vehicle is in Turbo Mode 5 The engine will shut down after 60 seconds If your vehicle has a manual transmission follow all steps of the Ready Mode routine page 9 to activate Turbo Mode At the last step Press to lock the doors and have the engine shut down after 60 seconds The parking lights will flash 3 time...

Page 17: ...e button is pressed a second time on the transmitter Horn Confirmation AUX 1 can be programmed to trigger the horn every time the button is pressed or when the button is pressed twice within 3 seconds When horn confirmation is activated panic mode is enabled If horn confirmation is disabled panic mode will not be available Horn Chirp Timing The pulse duration can be configured by your installer fr...

Page 18: ... horn The system monitors the following Doors Hood Ignition Note If an intrusion has occurred the HORN will sound for a maximum of 1 minute If an intrusion has occurred and pressed the horn provides an intrusion code corresponding to the type of intrusion that occurred Diagnostic table 1x power interruption 4x Doors intrusion 3x Hood 6x Ignition Missing a Start or a Stop Confirmation If you have n...

Page 19: ...PRO setting 1 default FBPRO setting 2 FBPRO setting Features Levels FBPRO setting Features Levels 1 Basic features L01 2 Multicar operation L01 2 Multicar operation L02 3 Customize feature L02 3 Customize feature L03 1 Basic features L03 M MENU MENU M MENU MENU FBPRO setting 3 FBPRO setting 4 FBPRO setting Features Levels FBPRO setting Features Levels 3 Customize feature L01 2 Multicar operation L...

Page 20: ...give the lowest range The range will be significantly lower in a crowded parking lot than in open space Always hold the transmitter high approximately at shoulder height Holding the transmitter against your chin will also increase your range your head acts as an antenna The operating range will be somewhat lower on vehicles equipped with an aftermarket or factory alarm Diagnostics Parking Light Fl...

Reviews: