PMWT-660/680 Installation Guide
13
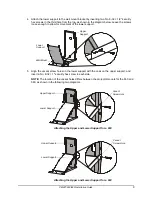
2. Attach the projector plate to the projector bracket by inserting a No. 8-32 × 1/2" security hex
screw through the projector plate’s slot and into the projector bracket’s screw hole. Don’t
tighten the screw completely. Insert it only until the threads of the screw become visible on the
inside of the projector bracket.
3. Repeat this process for the three remaining screws.
Hanging the Interactive Whiteboard
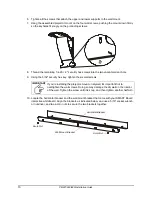
1. With the help of an assistant, lift the interactive whiteboard and then gently lower it onto the
wall mount bracket until the brackets on the interactive whiteboard and wall mount engage.
TIP
If you insert the next screw in the projector’s diagonally opposite corner, your
assistant won’t have to support the projector while you insert the third and
fourth screws.
CAUTION
Two people are required to mount the interactive whiteboard on the wall, because
the interactive whiteboard is too heavy for one person to easily maneuver it onto
the wall mount bracket.
CAUTION
Make sure the interactive whiteboard is secure by sliding it sideways slightly
before
you release it.
Slot in Projector Plate
Interactive
Whiteboard
Wall Mount
Bracket
Summary of Contents for PMWT-660
Page 21: ......


