Customizing SMART Slate
Underlay and Icon Strip (cont.)
© 2009 SMART Technologies ULC. All rights reserved. SMART Board, Notebook, smarttech and
the SMART logo are trademarks of SMART Technologies ULC in the U.S. and/or other countries.
All other third-party product and company names are for identification purposes only and may be
trademarks of their respective owners. Printed in Canada 11/2009.
SMART Technologies
November 2009
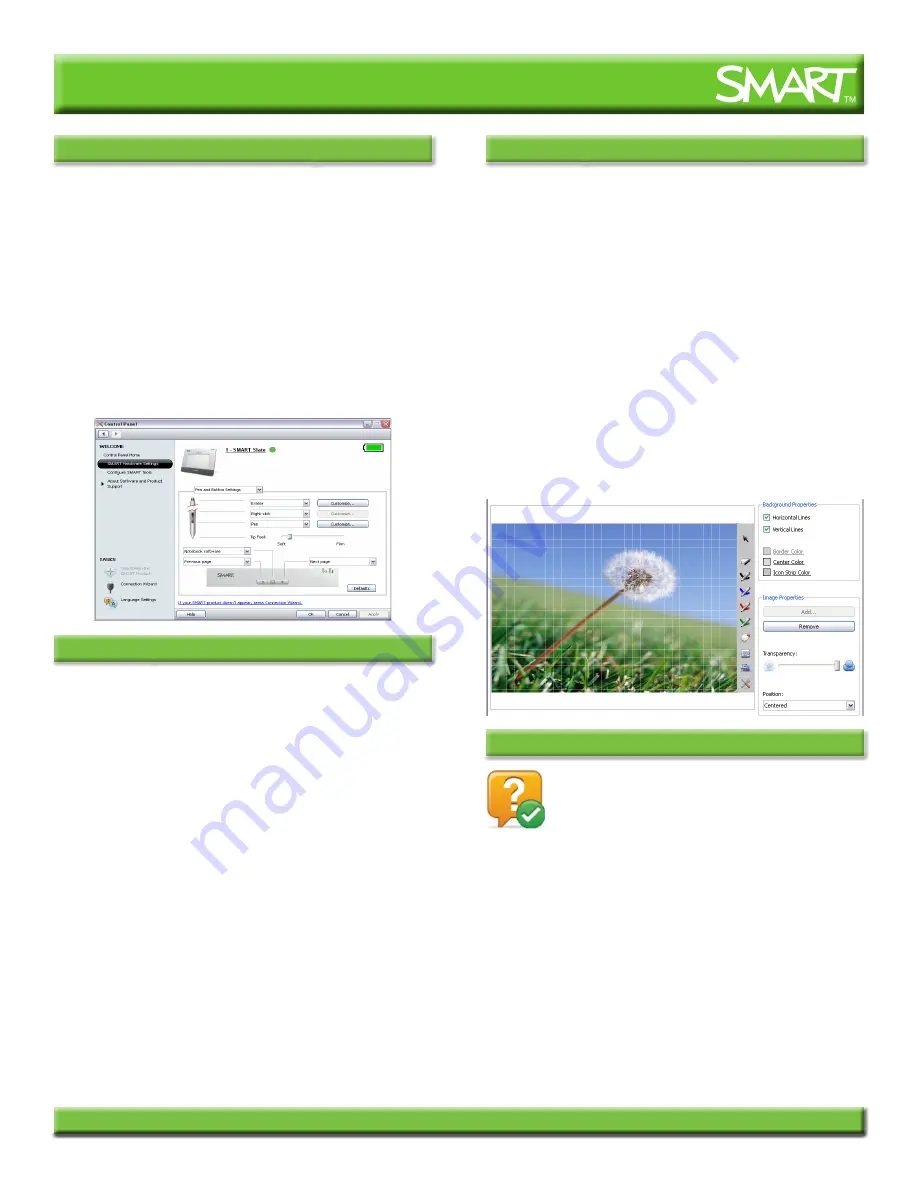
You can customize the pen and function button settings using the
Control Panel.
To access pen and function button settings
1. Press the
SMART Board
icon in the notification area
2. Select
Control Panel
. The
Control Panel
appears.
3. Press
SMART Hardware Settings
4. Select
Pen and Button Settings
from the drop-down menu
5. Modify the settings to your preference
6. Press
OK
You can use the SMART Slate to control computer
applications and make notes on the SMART Board interactive whiteboard,
SMART Podium interactive pen display or any computer-projected image,
from anywhere in the classroom. You can customize function and pen
buttons and underlay icon strips to suit your needs, and deliver engaging,
collaborative lessons that are interactive and accessible.
Let’s review what you’ve learned:
• SMART Slate features
• How to customize the pen and button settings
• How to create a customized underlay and icon strip
Pen and Button Settings
Underlay and Icon Strip
You can customize the underlay image and icon strip buttons using the
Control Panel.
To access underlay and icon strip settings
1. Press the
SMART Board
icon in the notification area
2. Select
Control Panel
. The
Control Panel
appears.
3. Press
SMART Hardware Settings
4. Select
Set Up Underlay and Icon Strip
from the
drop-down menu
To configure an icon strip
1. Press the
Configure Icon Strip
button. The
Configuration
screen appears.
2. Modify the settings to your preference
TIP
: Press the
Browse
button to add a shortcut to any
executable (.exe) program file or folder, or the
Link to
Website
button to create a shortcut to a website using your
default Internet browser.
3. Press
OK
NOTE
: You can add a maximum of 11 items to the icon strip
from any of the three Available Tools tabs.
To customize and print an underlay
1. Press the
Customize Underlay
button. The
Configuration
screen appears.
2. Modify the properties and settings to your preference
3. Press the
Add
button to add a background image to the
underlay. The
Open
dialog box appears.
4. Browse to an image file, and then press the
Open
button
TIP
: Use the
Transparency
slider to modify the clarity of your
background image.
5. Press the
button. The
window appears.
6. In your printer preferences, select
Landscape Orientation
,
and then print the underlay
NOTE
: You need to trim the excess paper from the edges of
the underlay before installing it on your SMART Slate.
Conclusion


