!
To prevent damage, smart recommends
having the wheel changed at a qualified
specialist workshop.
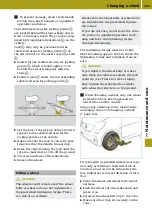
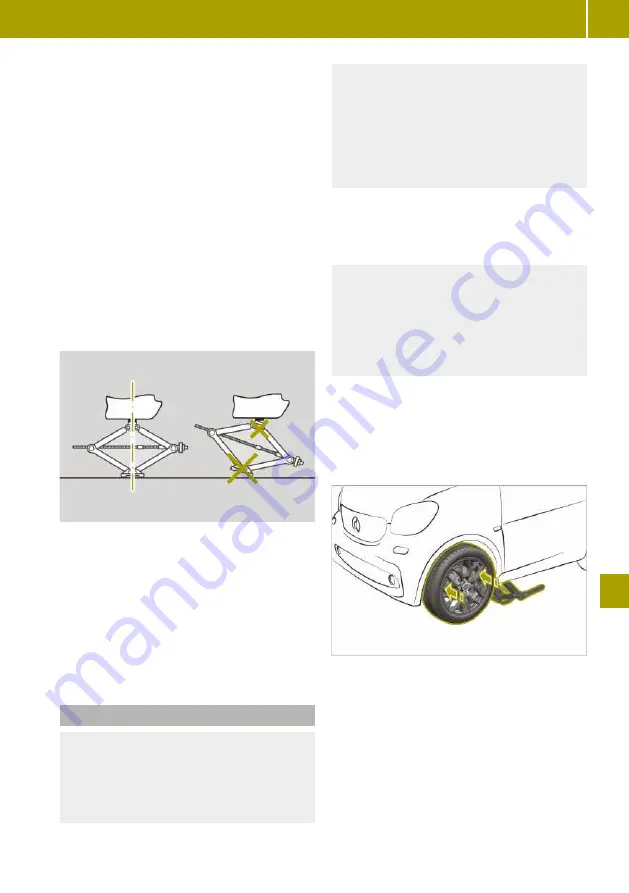
The reinforced areas for jacking points
=
are located behind the front wheels and in
front of the rear wheels. They can be recog-
nised by triangular indentations
?
on the
vehicle.
Jack
;
may only be positioned on the
reinforced areas for jacking points
=
on
the sill and not on the outer covering of sill
A
.
X
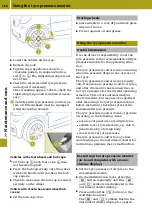
Search for the reinforced area for jacking
points
=
which is found approx. 7 cm
behind the sill at triangular indenta-
tions
?
.
X
Position jack
;
under the corresponding
reinforced area for jacking points
=
.
X
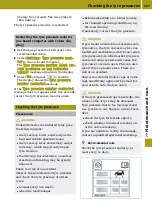
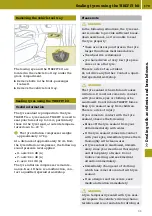
Set the foot of the jack up vertically with
respect to the reinforced area for the
jacking points on the vehicle.
X
Make sure that the jack is correctly posi-
tioned so that the vehicle cannot slip.
X
Raise the vehicle using the jack until the
tyre is a maximum of 3 cm off the ground.
X
Unscrew and remove the wheel bolts.
X
Remove the wheel.
Fitting a wheel
G
WARNING
The wheels could come loose if the wheel
bolts or wheel nuts are not tightened to
the prescribed tightening torque. There
is a risk of an accident.
Ensure that the wheel bolts or wheel nuts
are tightened to the prescribed tighten-
ing torque.
If you are not sure, do not move the vehi-
cle. Contact a qualified specialist work-
shop and have the tightening torque
checked immediately.
The tightening torque must be 105 Nm.
After travelling approx. 500 km, check the
tightening torque and retighten if neces-
sary.
G
WARNING
If you tighten the wheel bolts or wheel
nuts when the vehicle is raised, the jack
could tip over. There is a risk of injury.
Only tighten the wheel bolts or wheel
nuts when the vehicle is on the ground.
!
When changing a wheel, only use wheel
bolts which have been approved for
wheel rims and the vehicle.
Always pay attention to the instructions
and safety notes on "Changing a wheel"
Fit tyres with a specified direction of rota-
tion only according to their direction of
rotation. An arrow on the sidewall of the
tyre indicates its correct direction of rota-
tion.
X
Clean the wheel and wheel hub contact
surfaces.
X
Push the wheel onto the wheel hub and
press it on.
X
Screw in the wheel bolts up to the cone.
X
Make sure that they sit securely on the
cone.
Changing a wheel
165
>> Maintenance and care
.
Z

