16
Configuring the SMART Hub SE240
1.
Press
Menu
, and then press
Orient
.
OR
Press both pen tray buttons simultaneously. (This option is only available for SMART products
with pen trays.)
2.
If multiple SMART products are connected to the SMART Hub SE240, press the surface of the
SMART product you want to orient.
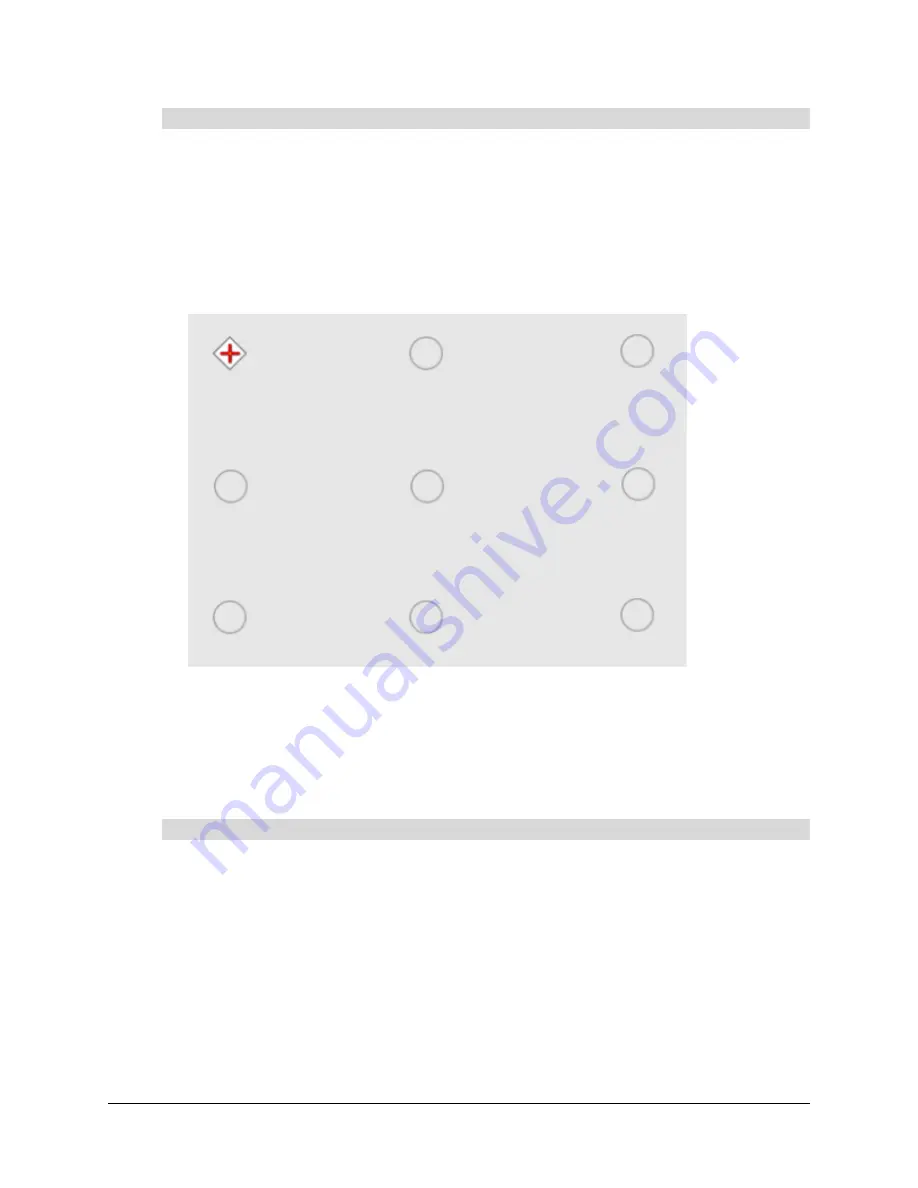
The orientation screen appears.
3.
Using a pen from your SMART product’s pen tray, press, hold and release the center of the
first target.
4.
Repeat step 4 for each target.
The orientation data saves to the SMART product’s flash memory.
You’ve oriented your SMART product.
1.
Connect the computer with Notebook software to the SMART Hub SE240 (see page 22).
2.
Open Notebook software’s Welcome Center and press
Orient
.
OR
Open Notebook software’s Control Panel and press
Orient/Align the SMART Board
.
OR
Press both pen tray buttons simultaneously. (This option is only available for SMART products
with pen trays.)
The orientation screen appears.
To orient your SMART product using the SMART Hub SE240’s firmware
To orient your SMART product using Notebook software
Summary of Contents for SE240
Page 1: ...Installation and User s Guide SMART Hub SE240 ...
Page 4: ...ii Important Information ...
Page 10: ...4 About the SMART Hub SE240 ...
Page 20: ...14 Installing the SMART Hub SE240 ...
Page 50: ...44 Configuring the SMART Hub SE240 ...
Page 90: ...84 Troubleshooting the SMART Hub SE240 ...
Page 92: ...86 Regulatory Compliance ...
Page 99: ......


