Configuring the SMART Hub SE240
29
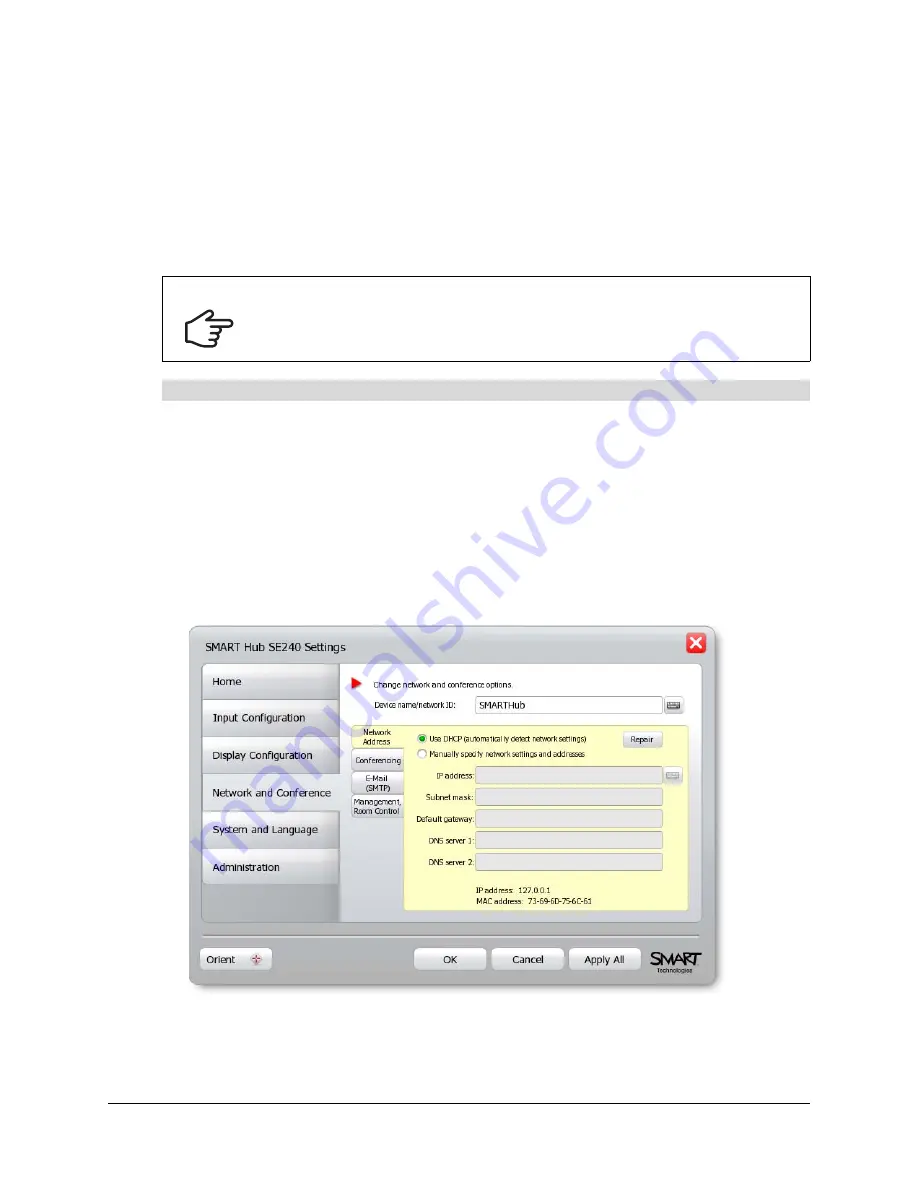
Configuring Networking and Conferencing Settings
Connect the SMART Hub SE240 to a network to take advantage of its networking and
conferencing features. These features include:
•
sending Whiteboard files to specified e-mail addresses
•
connecting to LinQ software client computers
•
using Bridgit conferencing software to collaborate with anyone, anywhere in the world
1.
Press
Menu
.
The Welcome Center appears.
2.
Press
Settings
.
The
Settings
dialog box appears.
3.
If a password is required to change the configuration settings, type the password in the box at
the bottom of the menu, and then press
OK
.
NOTE:
For information on the configuration settings password, see page 20.
4.
Press
Network and Conference
.
5.
In the
Device name/network ID
box, type a name for the SMART Hub SE240.
NOTE:
The SMART Hub SE240 uses this name in Bridgit software conferences as the
participant’s name, and in LinQ software as the server name.
IMPORTANT
You must be familiar with basic networking, Simple Network Management Protocol
(SNMP) and Simple Mail Transfer Protocol (SMTP) to complete the following
procedures. If you are not familiar with these concepts, refer this guide to an
information technology professional in your organization.
To configure basic networking settings
Summary of Contents for SE240
Page 1: ...Installation and User s Guide SMART Hub SE240 ...
Page 4: ...ii Important Information ...
Page 10: ...4 About the SMART Hub SE240 ...
Page 20: ...14 Installing the SMART Hub SE240 ...
Page 50: ...44 Configuring the SMART Hub SE240 ...
Page 90: ...84 Troubleshooting the SMART Hub SE240 ...
Page 92: ...86 Regulatory Compliance ...
Page 99: ......


