22 |
CHAPTER 3
– WORKING WITH THE SMART TABLE TOOLKIT
8. Type the answer to the first question in the
Answer
box.
TIP
The answer should be only one or two words.
9. Type feedback for the first question in the
Feedback
box.
NOTE
Feedback appears after students answer the question.
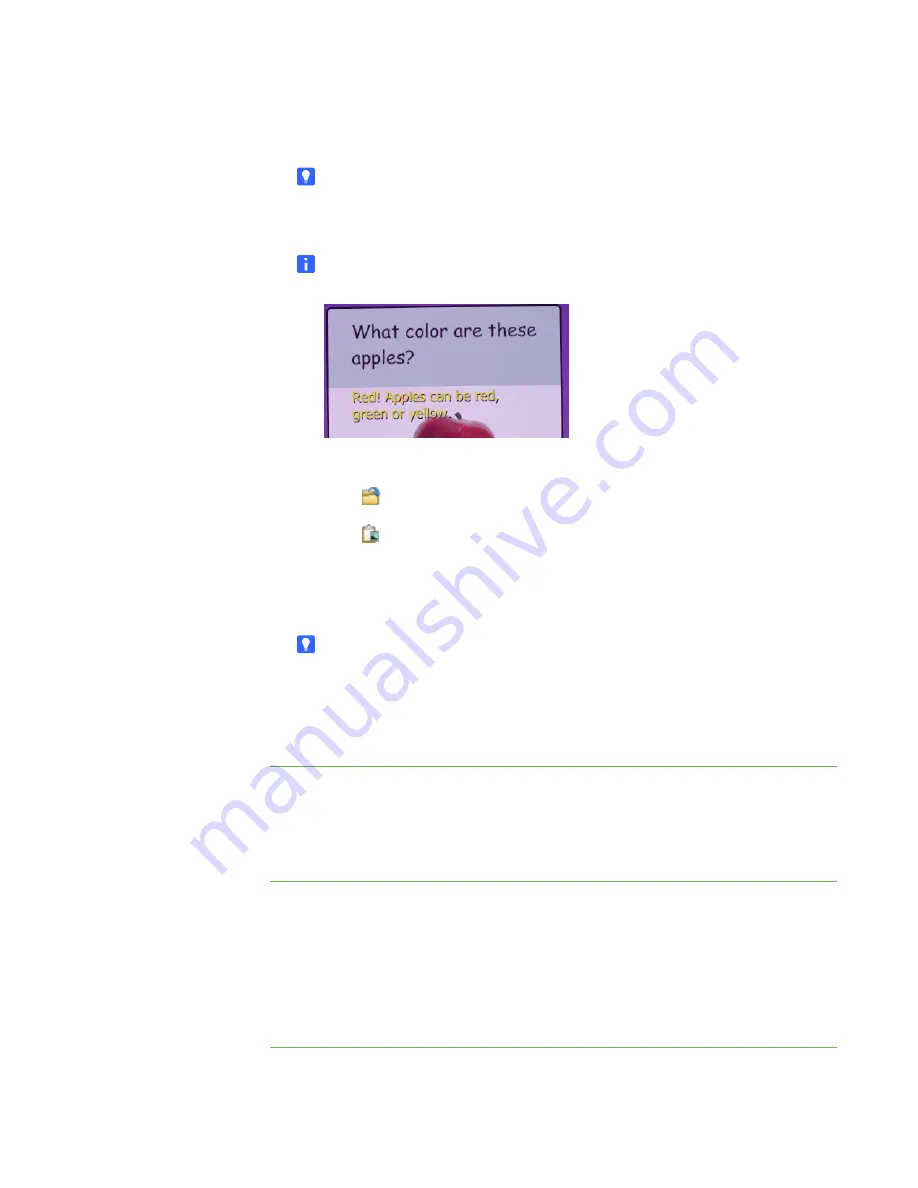
10. Add an image for the first question using either of the following methods:
–
Click
Import image
to import a JPEG, GIF or PNG file.
–
Click
Paste image
to paste a graphics file that you copied in
another application.
11. Click
Add
, and then repeat steps 7 to 10 for each question you want to include in
the challenge.
TIPS
–
To edit a question, select it in the
All questions
list, and then repeat
–
To remove a question, select it in the
All questions
list, and then
click
Remove
.
To edit a question set
1. Click
Multiple Choice
.
2. Select the question set in the
All Activities
list.
3. Repeat steps 3 to 11 in the previous procedure.
To remove a question set
1. Click
Multiple Choice
.
2. Select the question set in the
All Activities
list, and then click the
Remove
button
below the
All Activities
list.
The
Confirmation
dialog box appears.
3. Click
Yes
.
Summary of Contents for Table 230i
Page 1: ...PLEASE THINK BEFORE YOU PRINT SMART Table 230i User s Guide...
Page 10: ...4 CHAPTER 1 OVERVIEW...
Page 40: ...34 CHAPTER 3 WORKING WITH THE SMART TABLE TOOLKIT...
Page 54: ...48 APPENDIX A USING THE REMOTE CONTROL...
Page 62: ...56 INDEX...
Page 63: ......
Page 64: ...Contact SMART Technologies Toll Free 1 866 518 6791 U S Canada or 1 403 228 5940...


