37 |
CHAPTER 4
– MAINTAINING YOUR SMART TABLE
Orienting the Surface
Whenever you or a student touch the SMART Table’s surface a small
×
or
•
should
appear. If the
×
or
•
doesn’t appear where you touched the surface, you may need to
orient the surface.
To orient the surface
1. Turn on your SMART Table.
The SMART Table Activities menu appears.
2. Connect the USB storage device bracelet to your SMART Table.
The menu changes from
Student
mode to
Teacher
mode.
3. Click
Orient
.
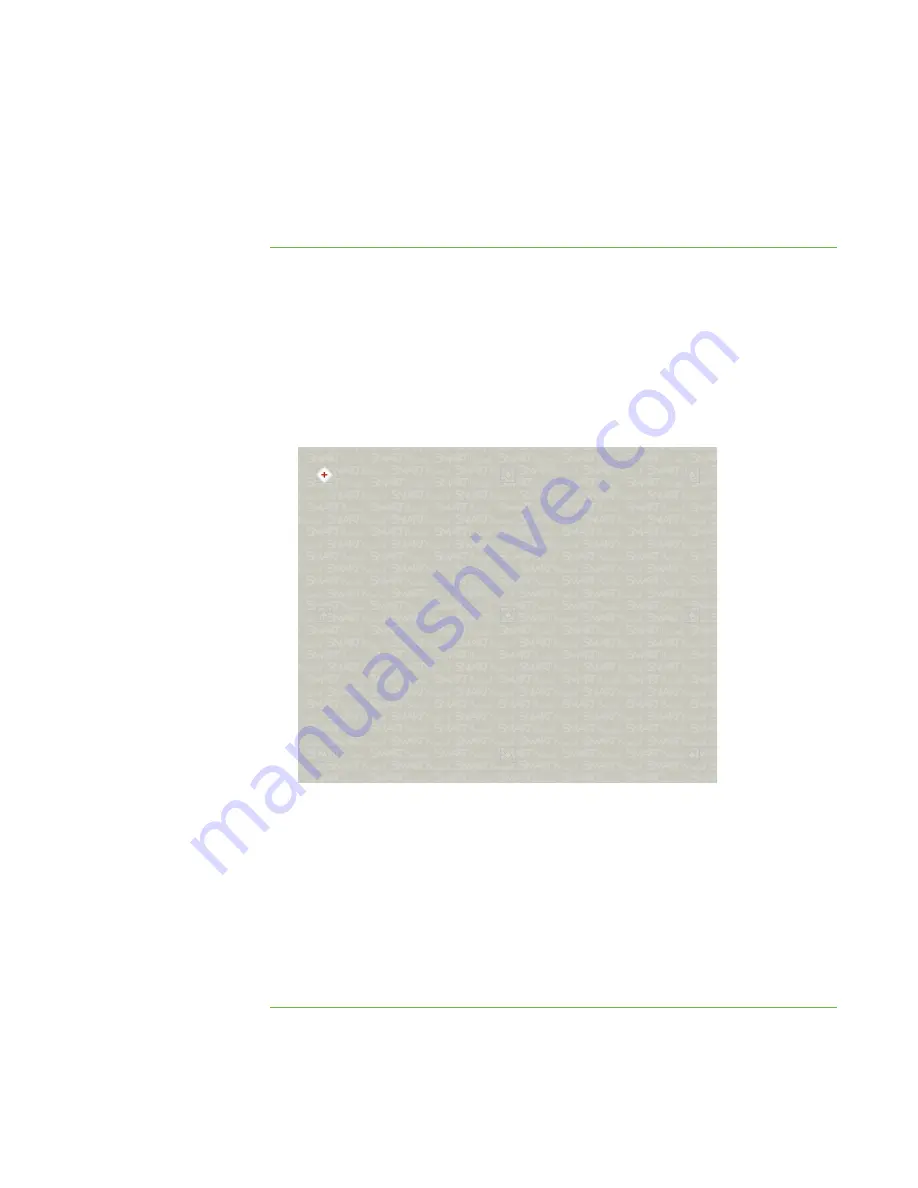
The orientation screen appears.
4. Using your finger, press and hold the center of the first target until the red cross
moves to the next target.
5. Repeat step 4 for each target.
The orientation data saves to your SMART Table’s memory, and the
SMART Table Activities menu reappears.
6. Disconnect the USB storage device bracelet.
The menu changes from
Teacher
mode to
Student
mode.
Summary of Contents for Table 230i
Page 1: ...PLEASE THINK BEFORE YOU PRINT SMART Table 230i User s Guide...
Page 10: ...4 CHAPTER 1 OVERVIEW...
Page 40: ...34 CHAPTER 3 WORKING WITH THE SMART TABLE TOOLKIT...
Page 54: ...48 APPENDIX A USING THE REMOTE CONTROL...
Page 62: ...56 INDEX...
Page 63: ......
Page 64: ...Contact SMART Technologies Toll Free 1 866 518 6791 U S Canada or 1 403 228 5940...


