- 16 -
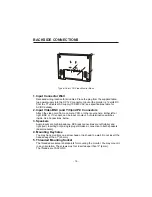
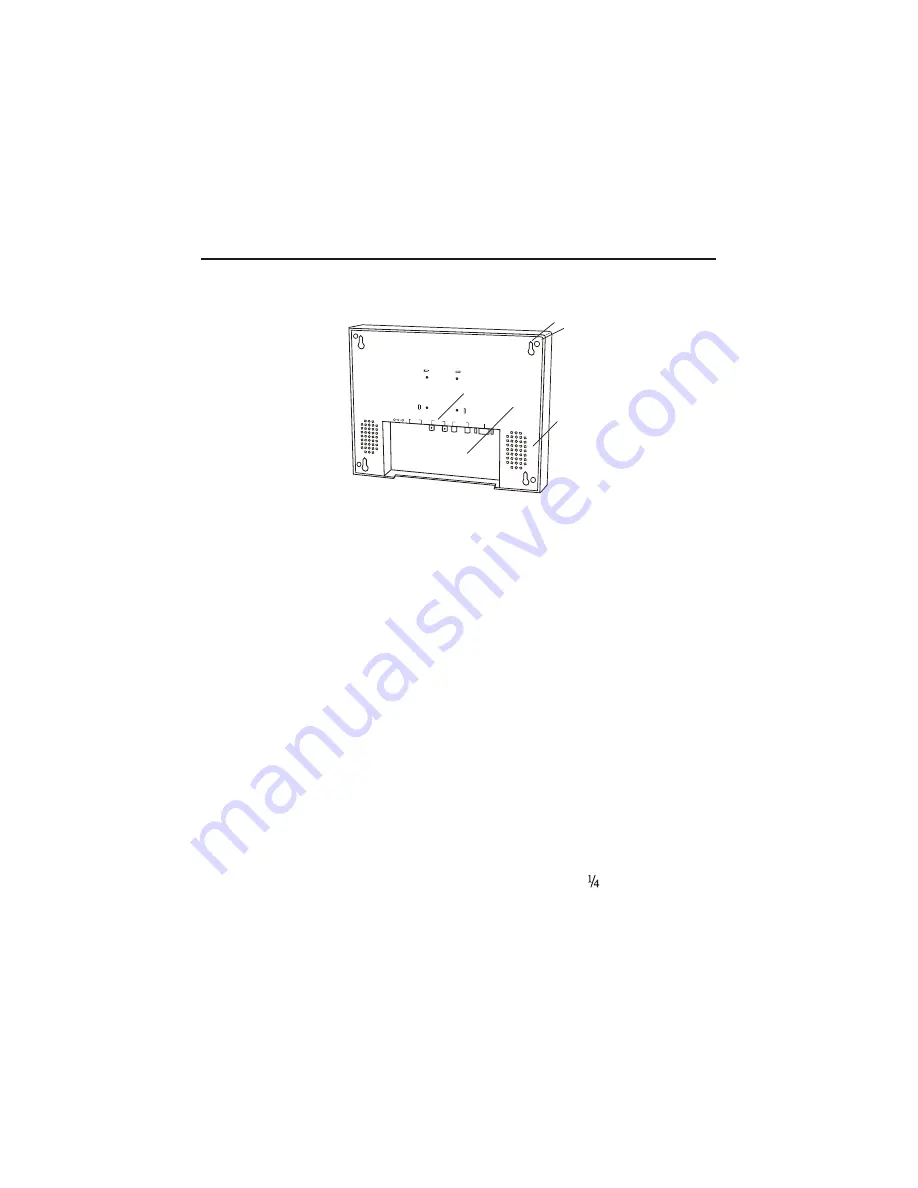
BACKSIDE CONNECTIONS
1. Input Connector Wall
Recessed wiring location for all cables. Place the plug from the supplied table-
top power supply into the DC 12V connector. Input at the monitor is 12 volts DC
from the TT universal AC supply (100-240 VAC, see specifications table for
AC/DC details).
2. Input Video BNC (and Y/C)and P.C Connectors
Attach the video cord from a camera, VCR, or other source here. Either left or
right, BNC or Y/C socket, can be input or output. Auto-termination switches
inside. See Connections, below.
3. Speakers
Audio inputs are high impedance. RCA jack connections are left (white) and
right (red). Inserting only a single plug will make a connection to both speakers
(dual monaural).
4. Mounting Keyholes
You may hang monitors on a screw head or nail head to a wall. Do not insert the
heads deeper than 1" (25mm).
5. Threaded Mounting Socket
The threaded sockets are hardpoints for mounting the monitor. You may mount it
in any orientation. The screws must not insert deeper than " (6 mm).
The threads are 10-32 UNC.
Typical Color LCD Video Monitor Back
-
+
DC12V
AUDIO
VIDEO
S-VIDEO
PC
1
2
3
4
5
Summary of Contents for STM-150
Page 1: ...www smartec security eu Smartec STM 150 170 190 LCD Monitors User Manual...
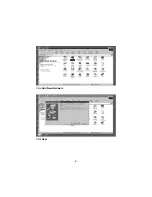
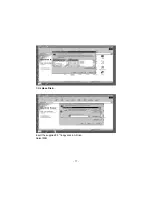
Page 8: ...Click Add New Hardware Click Next 8...
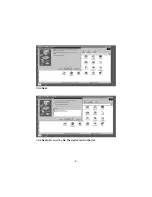
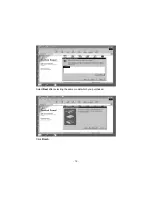
Page 9: ...Click Next Click Next after selecting No the device isn t in the list 9...
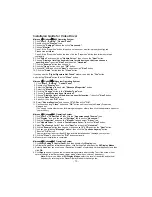
Page 11: ...Click Have Disk Insert the supplied 3 5 floppy disk in A Drive Select OK 11...
Page 12: ...15 LCD MONITOR Select Next after selecting the same model which you purchased Click Finish 12...

