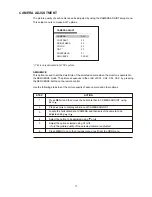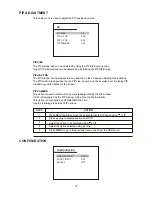
Use the following steps to adjust the picture quality.
STEP
ACTION
1
2
3
Press MENU and then move the indication bar to PICTURE using or .
Press
or
to display sub-menu of PICTURE.
Move the indication bar to the item to be adjusted using or .
4
Adjust the option selected using
or
.
5
Press MENU to go to the previous OSD window or exit from the OSD.
CAMERA TITLE
CAMERA TITLE
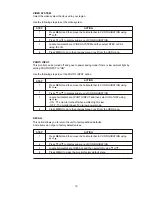
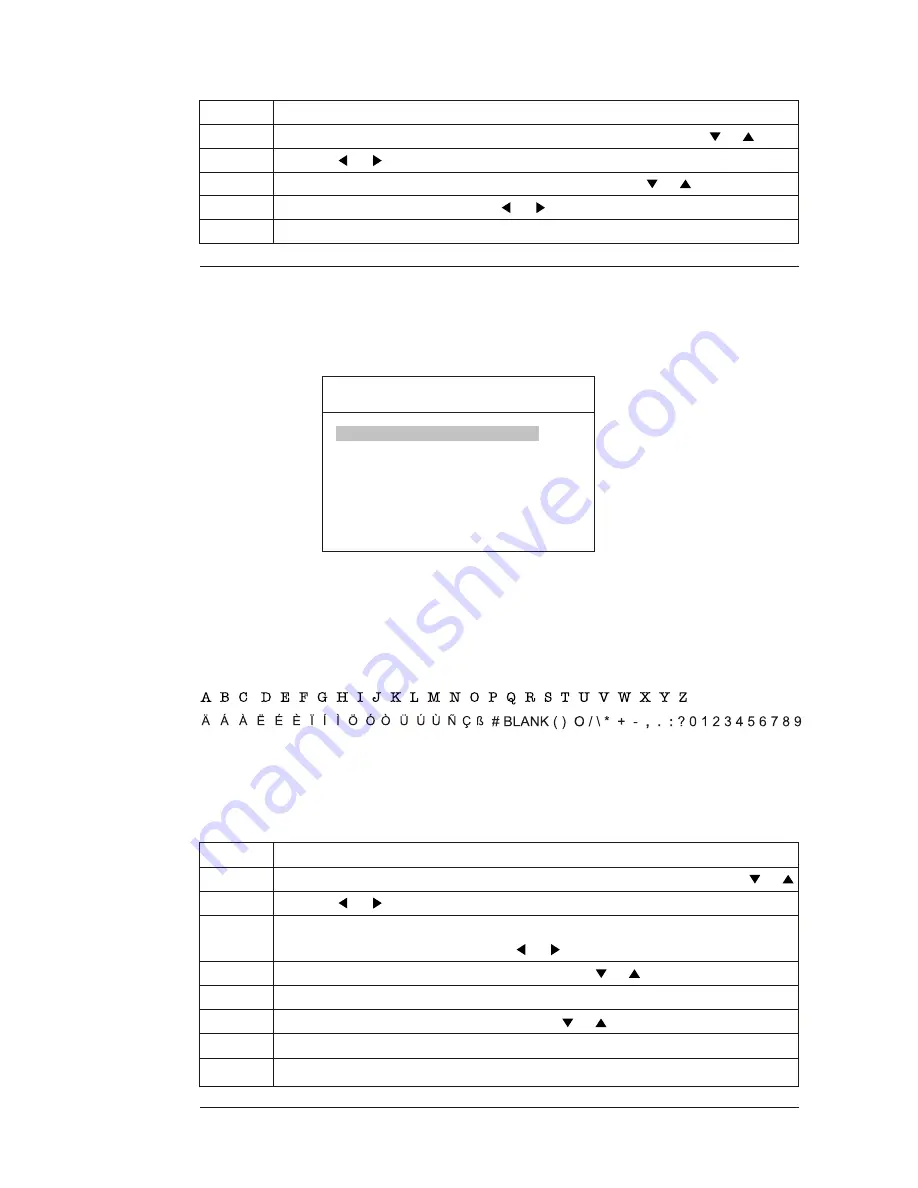
The CAMERA TITLE setup screen allows you to modify the name of each camera.
This option is also used to select whether or not the screen displays the camera title.
CA1
CA1
CA2
CA2
DISPLAY
ON
CA1 & CA2
An 8-character title can be designated for each camera or video input, and this title appears on
the screen when the display option is ON and the camera is selected.
The default camera title is "CA" with the corresponding number.
Following are the available characters for camera titles regardless of the language setting :
DISPLAY
To display the camera title on the screen, select the DISPLAY option "ON".
Use the following steps to adjust the CAMERA TITLE option.
STEP
ACTION
1
2
3
Press MENU and then move the indication bar to CAMERA TITLE using or .
Press
or
to display the sub-menu of CAMERA TITLE.
Move the indication bar to the item to be adjusted (CA1 or CA2) and select the
character position of the title using
or
.
4
Change the character of the title selected using or .
5
Press MENU to display the previous OSD window.
7
Select the DISPLAY option "ON" or "OFF".
8
Press MENU to go to the previous OSD window or exit from the OSD.
6
Move the indication bar to DISPLAY using or .
16


