2014 Compacta International, Ltd. - Rev.
9/14
Harmony P2, iSmartenit, and Smartenit are trademarks of Compacta Intl. Ltd.
INSTEON is a registered trademark of SmartLabs, Inc. X10 is a registered trademark of X10.
(#6007E & #6007F)
(949) 429-3303
Technical Support
Smartenit.com
Quick Start Guide
- Harmony P2
Model #6007C
Product Brief
Installation
Home Automation Gateway
Set-up
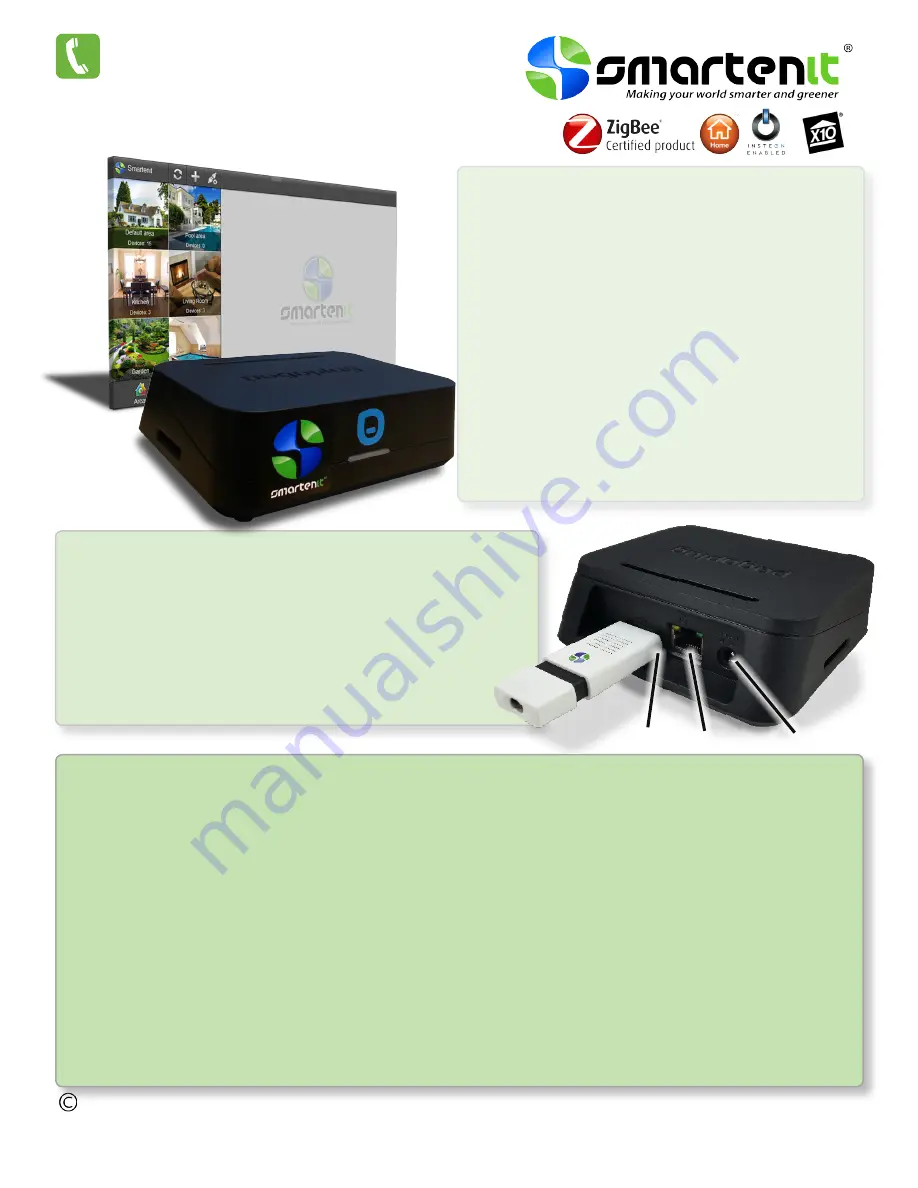
Ethernet Power
USB Port
Your Harmony P2
is a stand-alone home automation
gateway that offers control of your compatible ZigBee Home
Automation (HA), INSTEON, X10 and WiFi devices from any
computer or smart phone (Android or iOS) connected to the
Internet.
The Harmony P2 is compatible with 3 interfaces. Choose the
USB-CID for compatibility with ZigBee HA only, the EZIComm
for INSTEON/X10 only, or the ZBPLM to support all 3 protocols.
With the iSmartenit app, setup and control of your devices
has never been easier! Remote access to control your
devices on demand and/or set up automated schedules
based on a variety of conditions can all be handled via
iSmartenit.
iSmartenit is available on either the Google Play or the iTunes
Stores. Search keyword “iSmartenit”.
1. Connect your interface (
USB-CID, EZIComm* or ZBPLM*
) to USB Port
* When connecting to EZIComm or ZBPLM, use USB cable provided to connect to USB port
2. Using the Ethernet cable provided, plug one end into your Ethernet
switch/router and the other end into your Harmony P2.
Note: If you need a longer cable, use a straight-through patch cable, not a cross-over cable.
3. Connect your Harmony P2 to power with the supplied 12V DC
power supply
.
As updates are made for the best user experience, please visit our Wiki to get the most recent “how-to” instructions for using
the iSmartenit application with your Gateway.
iSmartenit Wiki - http://wiki.smartenit.com/index.php?title=iSmartenit
Basics
1. Install iSmartenit app - available on iTunes, Google Play, or open web app at
http://app.smartenit.com
2. Create a user account to register your gateway for easy access from any iSmartenit application (optional)
3. Discover the Harmony P2 Gateway on your local network
4. Discover your smart devices
5. Directly control and monitor your smart devices
6. Set up Wizards to automate smart device control and monitoring
For our growing list of compatible devices, visit - http://wiki.smartenit.com/index.php?title=Supported_Devices
The Harmony SE must be installed indoors
1.
Register
Register the device with your electric utility using the included
installation code and the instructions provided by the utility.
Each code is unique to a particular device, so please ensure the
provided numbers are entered correctly.
2. Connect network cable to Ethernet port and Internet router
3. Connect power supply
4. Point antenna upwards


